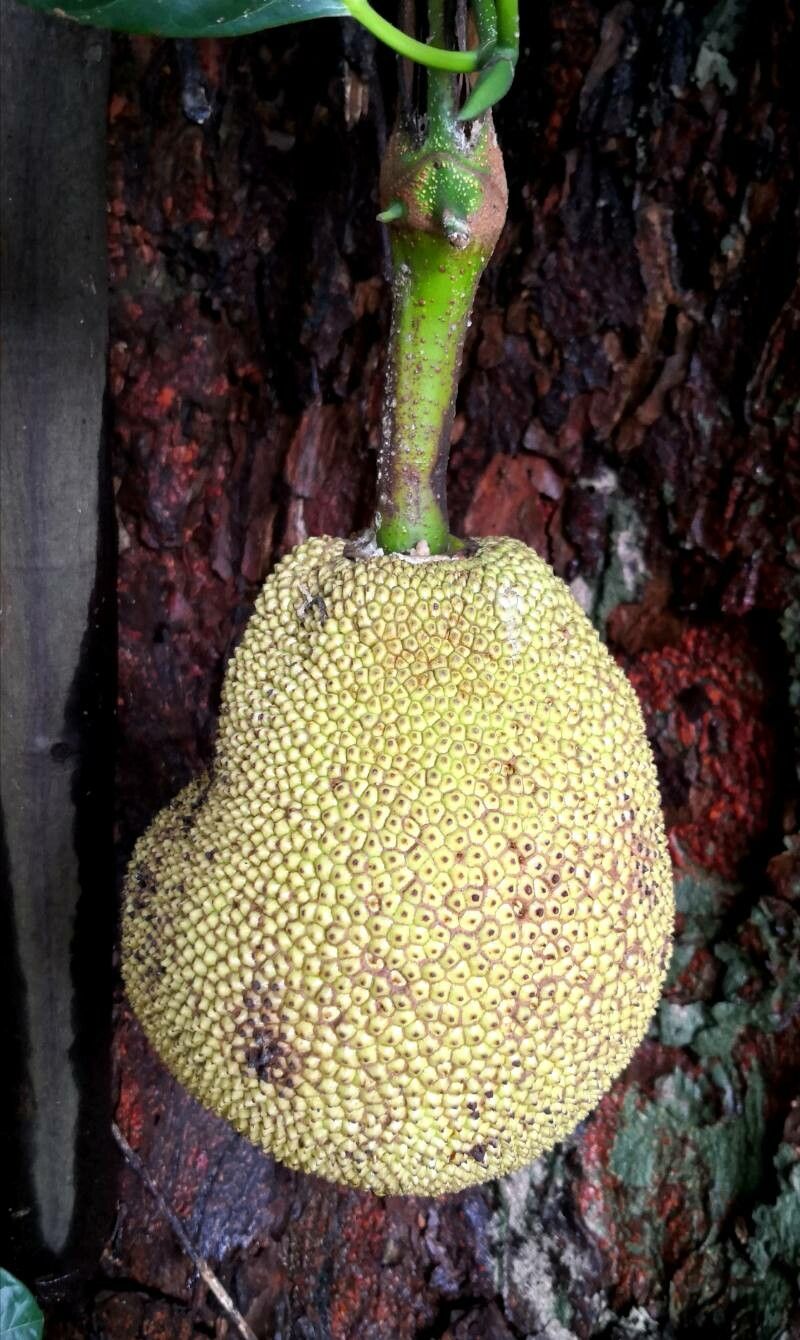
Hello there, fellow plant lovers! Today, we’re diving into the wonderful world of Artocarpus integer, a fantastic tropical treasure that brings so much joy to any garden. You might know it better as Cempedak, a close relative of the jackfruit, celebrated for its incredibly fragrant and delicious fruit. Growing a Cempedak from a tiny cutting or seed is an incredibly rewarding journey. It’s a bit of a labor of love, and while not the easiest for absolute beginners, with a little guidance and the right approach, you’ll be well on your way to success!
The Best Time to Start
Timing is everything when it comes to coaxing new life from your Cempedak. The sweet spot for propagation is usually during the active growing season, typically from late spring through summer. This is when the plant has plenty of energy to focus on developing roots. You’ll want to select stems that are mature but not woody – think of them as being somewhere between brand new growth and old, tough branches.
Supplies You’ll Need
Here’s what you’ll want to gather before you get started:
- Sharp Pruning Shears or a Clean Knife: For making clean cuts.
- Rooting Hormone: A powder or gel that encourages root development. Look for one suitable for semi-hardwood cuttings.
- Well-Draining Potting Mix: A blend of peat moss, perlite, and a bit of compost works beautifully. You want something that won’t hold too much moisture.
- Small Pots or Containers: Clean and with drainage holes.
- Plastic Bag or Humidity Dome: To maintain a humid environment around your cuttings.
- Optional: Heating Mat: To provide gentle warmth from below.
Propagation Methods
While Cempedak can be grown from seed, propagating from stem cuttings is often more predictable and faster for developing a fruit-bearing plant of a known variety.
Here’s how I like to do it:
- Select Your Cutting: Choose a healthy stem that’s about 6-10 inches long and has at least 3-4 sets of leaves. Make a clean cut just below a leaf node (where a leaf attaches to the stem).
- Prepare the Cutting: Gently remove the lower leaves, leaving only the top 2-3 to help with photosynthesis. If the remaining leaves are very large, you can cut them in half horizontally to reduce water loss.
- Apply Rooting Hormone: Dip the cut end of the stem into your rooting hormone, ensuring it’s evenly coated. Tap off any excess.
- Pot It Up: Fill your clean pot with your prepared potting mix. Make a small hole in the center of the soil with your finger or a pencil.
- Plant the Cutting: Insert the prepared cutting into the hole, making sure the rooting hormone stays on the cut end and it’s nestled snugly in the soil. Firm the soil around the stem.
- Create a Humid Environment: Water the soil gently until it’s moist but not waterlogged. Then, cover the pot with a clear plastic bag (making sure the leaves don’t touch the plastic if possible) or place it under a humidity dome. This creates a mini-greenhouse effect.
- Find a Warm Spot: Place the pot in a bright spot that receives indirect sunlight. Avoid harsh, direct sun, which can scorch the delicate cutting. If you have a heating mat, now’s the time to use it – place the pot on top.
The “Secret Sauce”
Here are a couple of tricks I’ve learned over the years that really make a difference with these tropical beauties:
- Bottom Heat is Your Friend: Cempedak cuttings love warmth from below. A heating mat set to around 75-80°F (24-27°C) will significantly speed up root formation. It mimics the tropical soil temperatures they thrive in.
- Don’t Over-Water, But Don’t Let it Dry Out: This is a delicate balance. You want the soil to stay consistently moist but never soggy. Check the moisture level by gently poking your finger into the soil about an inch down. If it feels dry, give it a light watering. The plastic bag helps retain this moisture, so you won’t need to water as often.
- Patience with the Leaves: If you notice a leaf wilting, resist the urge to immediately water or mist every leaf. Sometimes, slight wilting is the plant trying to conserve energy. Focus on maintaining soil moisture and humidity.
Aftercare & Troubleshooting
Once you see new leaves or vigorous growth emerging from your cutting, that’s a fantastic sign that roots have formed! At this point, you can gradually remove the plastic bag or humidity dome, acclimatizing the new plant to your home’s humidity levels over a few days. Continue to water as needed, and eventually, you can transplant your Cempedak into a slightly larger pot.
The most common pitfall is rot. If your cutting turns mushy, black, or starts to fall apart, it’s likely due to too much moisture and poor air circulation. Ensure your potting mix is genuinely well-draining and that you aren’t overwatering. If you catch it early, you might be able to salvage a healthier section of the stem, but often, it’s a sign to start again.
A Warm Closing
Growing Artocarpus integer is a journey that rewards patience and a willingness to learn. Don’t be discouraged if your first attempt isn’t a runaway success. Each cutting, each plant, teaches you something new. So, enjoy the process, celebrate the small victories, and soon you’ll have your very own Cempedak to nurture and, hopefully, enjoy the fruits of your labor later on! Happy gardening!
Resource:
https://identify.plantnet.org/k-world-flora/species/Artocarpus%20integer%20(Thunb.)%20Merr./data