Hey there, fellow plant lovers!
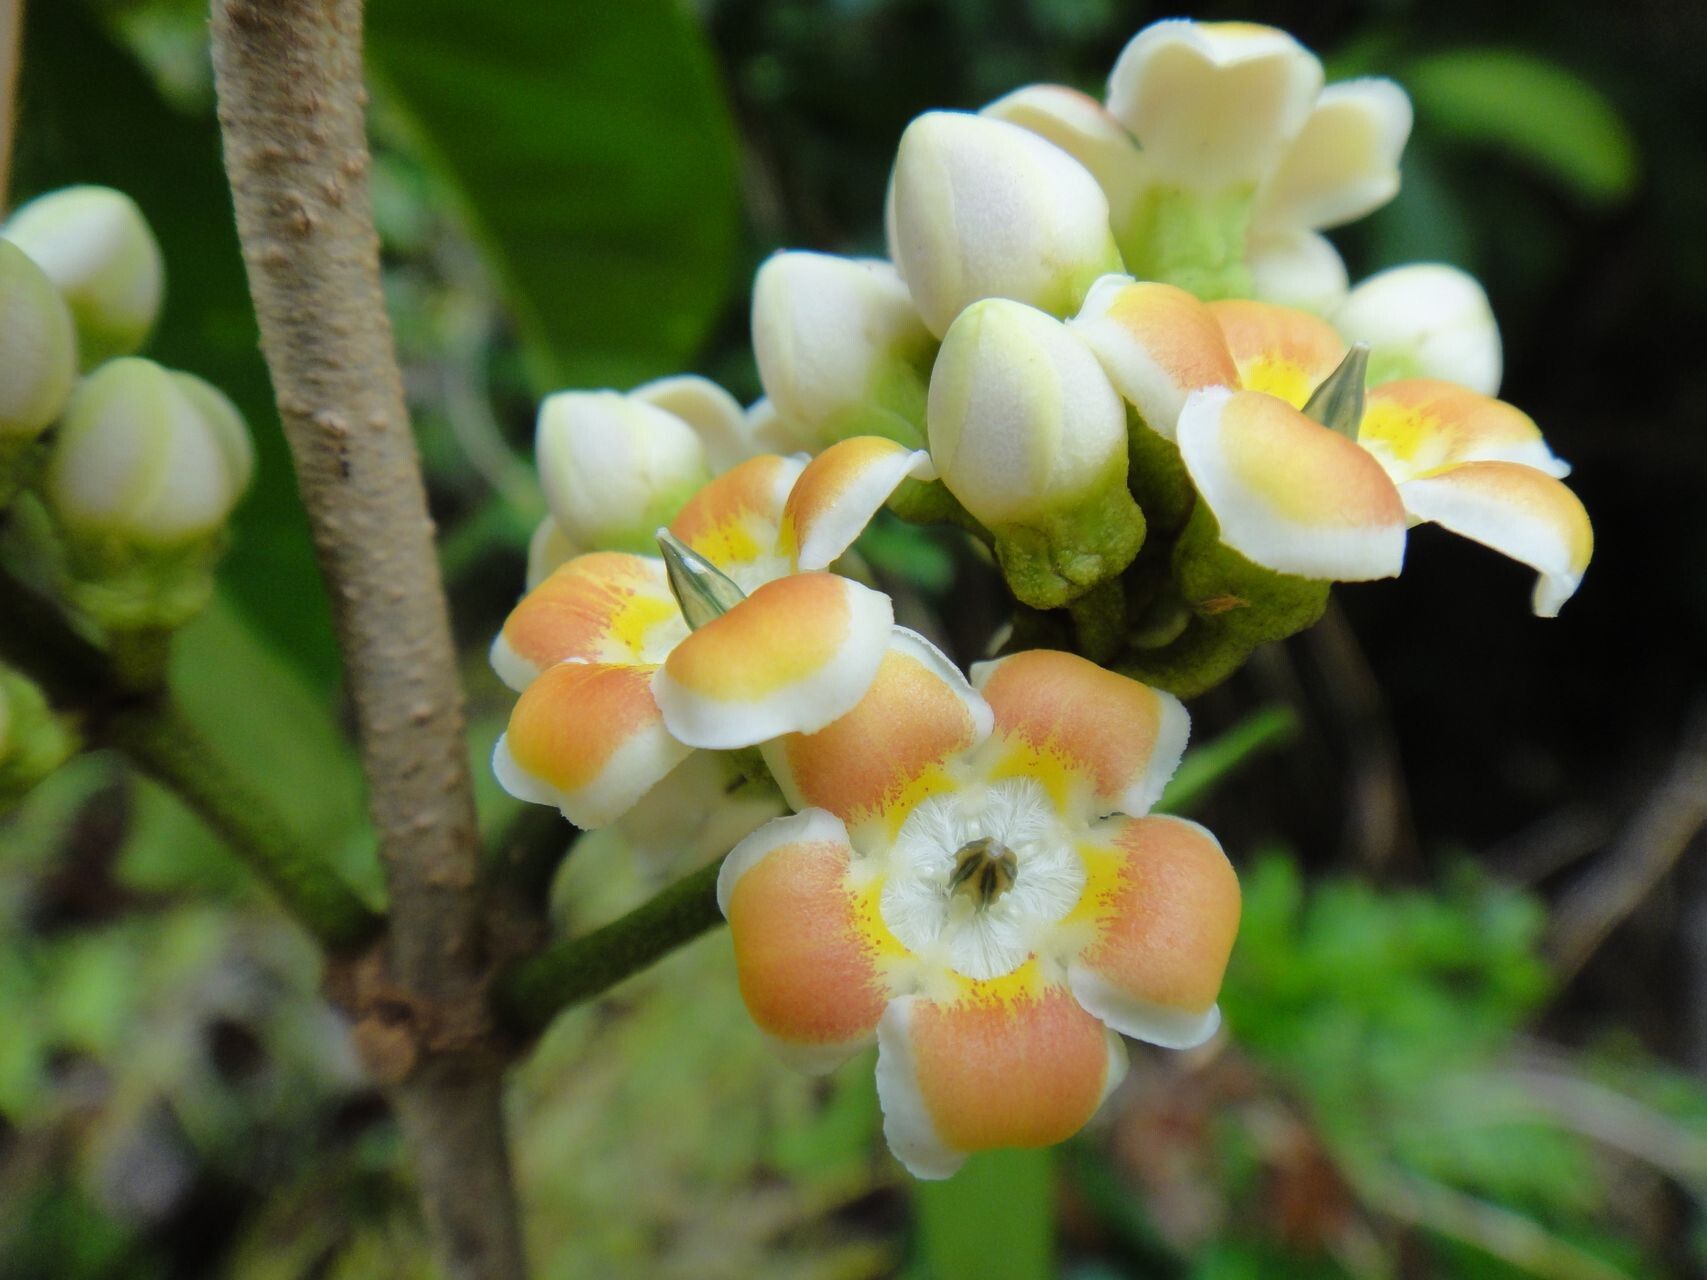
It’s so good to have you join me today. I’m absolutely buzzing to talk about Artabotrys francii, often called the “Ylang-ylang Vine” or simply “Francii.” If you’ve ever seen this beauty, you’ll understand why. Its glossy, dark green leaves and those delightful, sweetly fragrant, star-shaped yellow flowers are just intoxicating. It’s like having a little piece of tropical perfume wafting through your home or garden. And the best part? Bringing a new one into existence from a parent plant is incredibly satisfying. A little bit hands-on, a lot rewarding! Now, for those wondering, is this a beginner-friendly propagation? I’d say it’s moderately easy. It likes a bit of attention and the right conditions, but with a few key steps, you’ll be well on your way.
The Best Time to Start
The sweet spot for propagating Artabotrys francii is definitely when the plant is in its active growing season. Think late spring through early summer. The plant is energized, pushing out new growth, and has the reserves to put into developing those all-important new roots. Trying to propagate when it’s slowing down or dormant just won’t give you the best results.
Supplies You’ll Need
Gathering your supplies beforehand is like having your ingredients prepped for a delicious meal. It makes the whole process smoother. Here’s what I always have on hand:
- Sharp Pruning Shears or a Clean Knife: For making those clean cuts. Sterilize them!
- Rooting Hormone: A powder or gel really gives those cuttings a helpful kickstart.
- Well-Draining Potting Mix: I like a blend of equal parts perlite, coco coir, and a good quality all-purpose potting soil.
- Small Pots or Seedling Trays: With good drainage holes, of course.
- Clear Plastic Bags or a Humidity Dome: To keep humidity high around your cuttings.
- Watering Can or Spray Bottle: For gentle watering.
Propagation Methods
I find that taking stem cuttings is the most reliable way to go for Artabotrys francii. It’s straightforward and yields great results.
Stem Cuttings:
- Select Your Cutting: Look for a healthy, non-flowering stem that is about 4-6 inches long. It should be semi-hardwood – meaning it’s not brand new and soft, but not old and woody either. You know, that perfect bendy-but-firm stage.
- Make the Cut: Using your clean shears or knife, make a clean cut just below a leaf node (the little bump where a leaf attaches to the stem). This is where the magic happens for root development.
- Prepare the Cutting: Gently remove the leaves from the bottom half of the cutting. You want to expose those nodes. Leave 1-2 sets of leaves at the top to help with photosynthesis.
- Dip in Rooting Hormone: Lightly dip the cut end into your rooting hormone powder or gel. Tap off any excess. This step is crucial for encouraging strong root formation.
- Plant Your Cutting: Fill your small pots with your prepared potting mix. Make a small hole with your finger or a pencil and insert the cutting. Gently firm the soil around the stem to ensure good contact.
- Water Gently: Water the soil thoroughly but gently. You don’t want to dislodge the cutting.
- Create a Humid Environment: Place the pot inside a clear plastic bag, loosely secured, or cover it with a humidity dome. This creates a miniature greenhouse effect, keeping the leaves from drying out before roots can form.
The “Secret Sauce”
Here are a couple of little tricks that have made a world of difference for me:
- Watch the Water Level: If you ever opt for water propagation (which I find a bit trickier for Francii, but possible!), never let the leaves touch the water. Only the stem should be submerged. Once leaves dip, they tend to rot, and that’s a fast track to losing your cutting.
- Bottom Heat is Your Friend: For those really stubborn cuttings, or if you’re propagating in a cooler month, a heat mat placed under the pots can really speed things up. It encourages root development from below, almost like little underground warmth.
Aftercare & Troubleshooting
Once your cutting is nestled in its pot, let it be and keep the soil consistently moist but not soggy. This is key. It should feel like a wrung-out sponge. In about 4-6 weeks, you should see signs of new growth at the top – tiny leaves unfurling. That’s your cue that roots have formed!
The biggest challenge you might face is rot. If you see your cutting wilting, turning mushy, or developing dark, soft spots, it’s usually a sign of too much moisture and not enough air circulation. If this happens, gently pull it out. If the base is rotted, it’s sadly a goner. If it’s just looking a bit sad but not mushy, you can try trimming away any affected parts and repotting in fresh, drier soil with better drainage. Don’t let it discourage you; it’s a learning curve for all of us.
A Little Encouragement
Propagating plants is a beautiful act of patience and hope. It takes time, and sometimes things don’t work out the first try. Embrace the process, observe your little ones closely, and celebrate every tiny success. You’re nurturing new life, and that’s truly something special. Happy propagating!
Resource:
https://identify.plantnet.org/k-world-flora/species/Artia%20francii%20(Guillaumin)%20Pichon/data