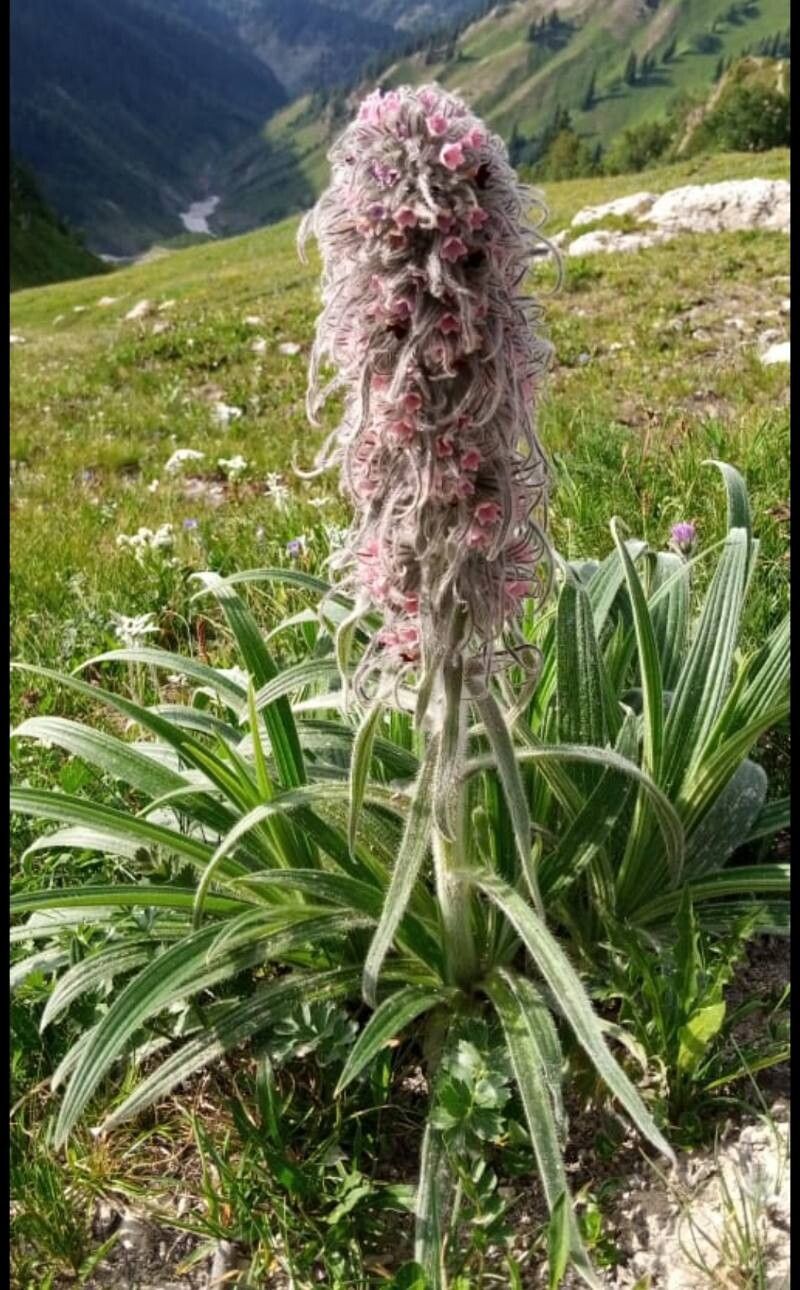
Hello there, fellow plant lovers! Today, we’re diving into the delightful world of Arnebia benthamii, often known as the “Prophet Flower” for its beautiful, often deep purple or black blooms. This isn’t a plant you see everywhere, which makes its unique beauty all the more special. Propagating it is a wonderful way to share its charm or simply expand your own collection with minimal cost. Now, I won’t pretend this is the absolute easiest plant for a complete novice to propagate, but with a little patience and these tried-and-true methods, you can absolutely succeed. It’s a rewarding journey, and I’m excited to guide you through it!
The Best Time to Start
For Arnebia benthamii, your best bet is to start in late spring or early summer. This is when the plant is actively growing and has plenty of energy to put towards establishing new roots. You’ll want to select healthy, non-flowering stems for your cuttings. Trying to propagate right after it has flowered can be a bit trickier, as the plant might be winding down its energy reserves.
Supplies You’ll Need
Before we get our hands dirty, let’s gather our trusty tools:
- Sharp pruning shears or a clean knife: For making clean cuts.
- Rooting hormone powder or gel: This isn’t strictly necessary for all plants, but it really gives Arnebia a helpful boost.
- A well-draining potting mix: I often use a blend of equal parts peat moss, perlite, and coarse sand. Alternatively, a good quality seed-starting mix will also work.
- Small pots or trays: Clean pots with drainage holes are essential.
- A plastic bag or propagator lid: To create a humid environment.
- Watering can with a fine rose: For gentle watering.
Propagation Methods
We’ll focus on a couple of the most effective ways to get new Arnebia plants going.
Stem Cuttings: My Go-To Method
This is usually my preferred method for Arnebia, yielding excellent results.
- Take Your Cuttings: In late spring or early summer, select healthy stems that are about 4-6 inches long. Look for stems that have recent growth but haven’t started flowering. Using your clean shears or knife, make a cut just below a leaf node (the spot where a leaf attaches to the stem).
- Prepare the Cuttings: Gently remove the lower leaves from the cutting, leaving just a few at the top. This prevents them from rotting in the soil. If you have larger leaves, you can even cut them in half horizontally to reduce water loss.
- Apply Rooting Hormone: Dip the cut end of the stem into your rooting hormone powder or gel. Tap off any excess.
- Plant the Cuttings: Make a small hole in your prepared potting mix with a pencil or your finger. Insert the cutting into the hole, ensuring the leaf node where you removed the leaves is buried. Gently firm the soil around the base.
- Create Humidity: Water the pot gently. Then, cover the pot with a clear plastic bag or a propagator lid to create a mini-greenhouse. You can use skewers to keep the bag from touching the leaves.
- Find a Good Spot: Place the pot in a bright location, but out of direct sunlight. Consistent warmth is key, so a warm windowsill is ideal.
Division: For Established Plants
If you have a larger, established Arnebia, dividing it in spring is another excellent option.
- Gently Excavate: Carefully dig up the entire plant.
- Inspect the Roots: Gently shake off excess soil to expose the root ball. Look for natural breaks where the plant seems to have formed separate crowns.
- Divide the Plant: Using a clean trowel or your hands, gently pull or cut the root ball apart into sections. Each section should have at least one healthy crown and some roots.
- Replant: Immediately replant the divisions into pots or back into their original location, ensuring they are at the same depth they were before. Water them thoroughly.
The “Secret Sauce” (Pro Tips)
Here are a couple of little tricks I’ve learned over the years that make a big difference:
- Bottom Heat is Your Friend: While not always essential, placing your pots on a heat mat can significantly speed up root development. It mimics the warmth of spring soil and gives those cuttings a real energy boost.
- Air Circulation is Crucial: Don’t forget to open the plastic bag or propagator lid for a few minutes each day to allow for air exchange. Too much stagnant humidity can encourage fungal diseases. It’s a balance between keeping it moist and letting it breathe.
Aftercare & Troubleshooting
Once your cuttings have started to root – you’ll usually see new growth appearing within a few weeks – it’s time to adjust their care.
- Gradual Acclimatization: Once roots have formed and new leaves are developing, you can gradually remove the plastic bag over several days to help the plant adjust to normal room humidity.
- Watering: Water whenever the top inch of soil feels dry. Always ensure good drainage to prevent waterlogged conditions.
- Patience is Key: Don’t be discouraged if you don’t see immediate results. Some plants take their time.
- Troubleshooting Rot: The most common enemy here is overwatering and lack of drainage, which can lead to rot. If your cutting looks mushy or black at the base, it’s likely beyond saving. Next time, ensure your soil mix is extra free-draining and be meticulous about watering only when needed. If you see mold on the soil surface, improve air circulation.
A Encouraging Closing
Propagating Arnebia benthamii is a journey of observation and a little bit of green-thumb magic. It might take a couple of tries, but the thrill of seeing those first tiny roots emerge and then watching a new baby plant unfurl its leaves is incredibly satisfying. Be patient with yourself and with your plants, enjoy the process, and soon you’ll have beautiful Prophet Flowers to admire, share, and cherish. Happy growing!
Resource: