My Dearest Fellow Gardeners,
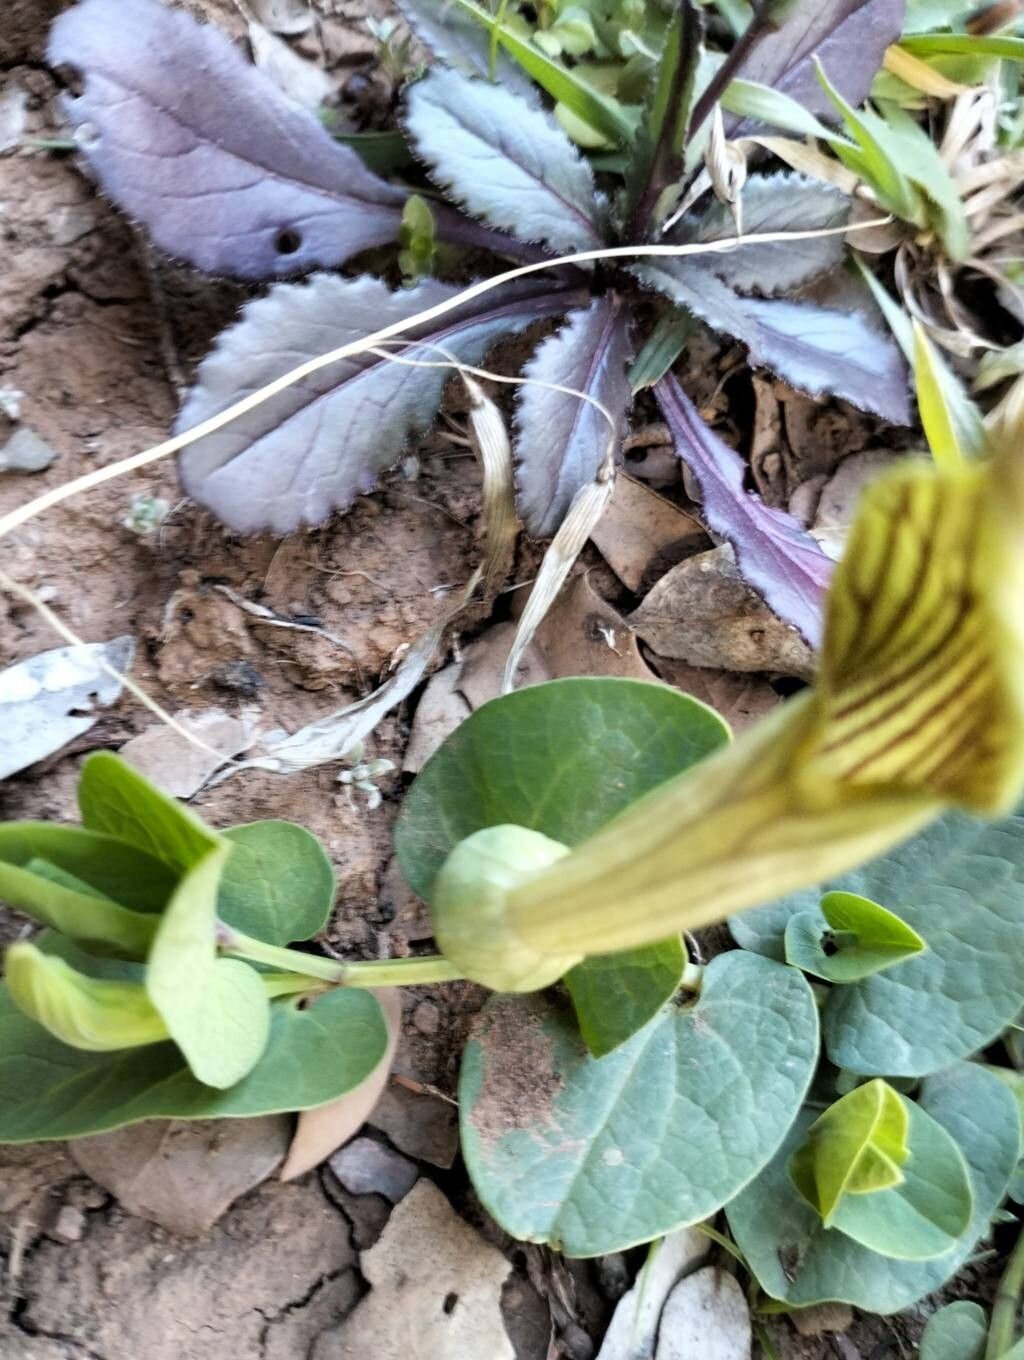
There’s something truly magical about coaxing a new plant into existence from just a tiny piece of its parent. It’s a profound connection to the cycle of life, and with the Aristolochia fontanesii, also known as the Dutch Pipe Vine, the rewards are especially beautiful. Its unique, curiously shaped flowers are a guaranteed conversation starter, and the satisfaction of creating more of these beauties yourself? Well, that’s a joy that can’t be beat. Honestly, while not the absolute easiest plant to propagate for a complete novice, it’s certainly achievable with a little patience and these practical tips. Let’s dive in!
The Best Time to Start
For Aristolochia fontanesii, late spring to early summer is your golden window. This is when the plant is in its most vigorous growth phase. You’re looking for stems that are new and flexible, but not so soft that they’ll easily bruise. Avoid trying to propagate from old, woody stems; they’re just not as eager to sprout roots.
Supplies You’ll Need
Here’s what I always have on hand when I’m ready to propagate:
- Sharp, clean pruning shears or a sharp knife: Crucial for clean cuts that heal well.
- Rooting hormone (optional, but helpful): A powder or gel that encourages root development.
- Well-draining potting mix: A blend of peat or coco coir, perlite, and a bit of compost works wonders. Don’t use dense garden soil!
- Small pots or trays with drainage holes: Little homes for your new babies.
- Clear plastic bags or a propagator lid: To create a humid environment.
- Water spray bottle: For misting.
- Gloves (optional): Some people prefer them.
Propagation Methods
I’ve found success with a couple of different methods for Aristolochia fontanesii, but my favorite is stem cuttings.
Stem Cuttings:
- Select a healthy stem. Look for one that snapped cleanly when you bent it, rather than breaking.
- Take your cutting. Using your clean shears, make a cut just below a leaf node (where a leaf attaches to the stem). Aim for a cutting about 4-6 inches long.
- Prepare the cutting. Gently remove the lower leaves, leaving just a couple at the top. This prevents them from rotting in the soil. If your cutting is a bit long, you can prune it back.
- Apply rooting hormone (if using). Dip the cut end into the rooting hormone, tapping off any excess.
- Plant your cutting. Make a small hole in your prepared potting mix with a pencil or your finger. Carefully insert the cut end into the hole and gently firm the soil around it. Don’t pack it down too hard.
- Water delicately. Give the soil a gentle watering. You want it moist, but not waterlogged.
- Create a humid environment. Cover the pot with a clear plastic bag (forming a mini-greenhouse) or place it in a propagator with a lid. Make sure the leaves don’t touch the plastic if possible.
Water Propagation (less common for this plant but can work):
- Follow steps 1-3 for stem cuttings.
- Place the cutting in a jar of water. Ensure the leaf nodes where you removed leaves are submerged, but don’t let the leaves themselves touch the water.
- Change the water every few days. This prevents bacterial growth.
- Once roots have formed (this can take weeks), carefully transplant the cutting into potting mix.
The “Secret Sauce” (Pro Tips)
Here are a few things I’ve learned along the way that really make a difference:
- Don’t be afraid of sacrifice. Sometimes, the healthiest cuttings come from stems that are just a little bit woody, but still have some flexibility. If you have a stem that’s only soft and new, it might be too fragile. Look for that sweet spot.
- Bottom heat is your friend. If you have a heat mat designed for seedlings and cuttings, popping your pots on it can significantly speed up root development. It mimics the warmth of spring soil.
- Patience is more than a virtue; it’s a necessity. With Aristolochia fontanesii, you might not see roots for several weeks, or even a couple of months. Resist the urge to constantly pull them out to check. Trust the process!
Aftercare & Troubleshooting
Once you see new leaf growth, that’s a fantastic sign that roots have formed! Gently tug on the cutting; if there’s resistance, you’ve got roots.
- Gradual acclimatization: Carefully remove the plastic bag or propagator lid for a few hours each day, gradually increasing the time until the plant is used to normal humidity.
- Continue watering: Keep the soil consistently moist, but never soggy.
- Repot when ready: Once the new plant has a good root system and is actively growing, you can transplant it into a slightly larger pot.
The most common issue you’ll encounter is rot. This usually happens if the soil is too wet or the humidity is too high without enough air circulation. If you see a cutting turning mushy or black, it’s likely rotted. Don’t despair; just start again with fresh material and ensure better drainage and airflow.
A Encouraging Closing
Growing anything new is an adventure, and propagating your Aristolochia fontanesii is no different. Be patient with yourself and with your little cuttings. Every gardener has had failures – it’s part of the learning curve! Enjoy the process, celebrate the tiny successes, and soon you’ll be admiring your very own Dutch Pipe Vines, grown with your own two hands. Happy gardening!
Resource: