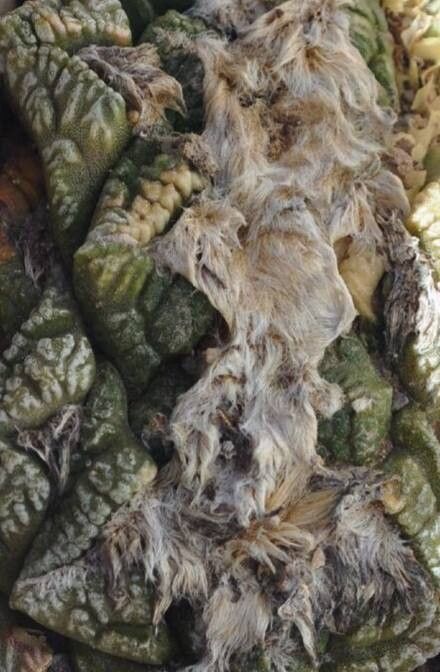
Hey there, fellow garden enthusiasts! Today, we’re diving into the wonderful world of propagating one of my absolute favorite cacti: Ariocarpus fissuratus. If you’ve ever seen this desert gem, you’ll know why it’s so captivating. With its unique, tessellated tubercles that look like ancient hieroglyphs, it’s a real showstopper.
The appeal of Ariocarpus fissuratus, often called the living rock cactus, is its understated beauty. Propagating it is incredibly rewarding because you’re essentially helping to preserve and spread this remarkable species. Now, I won’t sugarcoat it – Ariocarpus isn’t the easiest plant to propagate for a complete beginner. It’s a slow grower and a bit particular, but with a little patience and the right approach, you can absolutely succeed. Think of it as a delightful challenge!
The Best Time to Start
For Ariocarpus fissuratus, spring is your golden ticket. This is when the plant is really gearing up for its active growing season. You’ll find that cuttings taken during this time have the best chance of forming roots and developing into healthy new plants. Starting in late spring or early summer also works well, as long as you have enough time before cooler weather returns. Avoid propagating in the dead of winter when the plant is dormant.
Supplies You’ll Need
To get your propagation station ready, here’s what you’ll want to have on hand:
- A well-draining soil mix: I like to use a cactus and succulent mix, but I always amend it with extra perlite or pumice. Think gritty – the more drainage, the better!
- Sharp, sterilized pruning shears or a clean knife: This is crucial for making clean cuts and preventing disease.
- Rooting hormone (optional but recommended): While not strictly necessary for all cacti, it can give your Ariocarpus cuttings a little nudge in the right direction.
- Small pots or seedling trays: Choose pots that are just big enough for your cuttings.
- A spray bottle: For delicate misting.
- Labels: So you don’t forget what you’ve planted where!
Propagation Methods
Ariocarpus fissuratus is primarily propagated by offsets (pups) that naturally form at the base of the parent plant. This is by far the most common and successful method.
- Gently examine your mature Ariocarpus. Look for any small, new growth that has emerged from the base. These are your pups!
- Carefully detach the offset. Using your sterilized knife or shears, make a clean cut as close to the parent plant as possible. Try to get a bit of root attached if you can, but don’t worry too much if you can’t.
- Allow the cutting to callus. This is a critical step! Place the detached offset on a dry paper towel in a bright, warm spot (but out of direct sunlight) for several days, perhaps even a week. You want the cut surface to dry out and form a protective scab. This prevents rot.
- Potting up. Once callused, you can plant your offset. Use your gritty soil mix in a small pot. You can either lay the offset on top of the soil, gently pressing the base in, or if it has a bit of a stem, you can insert the callused end just into the soil.
- Water sparingly, if at all. Initially, I don’t water. The callused offset has enough moisture to sustain itself for a while. After a week or two, I might give it a very light misting around the base.
The “Secret Sauce” (Pro Tips)
Now, for a couple of little tricks I’ve learned over the years that can make all the difference:
- Don’t rush the callus! I know it’s tempting to plant your offset right away, but letting it callus properly is your best defense against rot. Think of it like giving your baby plant a natural bandage.
- Bottom heat can be a game-changer. If you can, place your potted cuttings on a seedling heat mat. Ariocarpus roots love a bit of warmth, and bottom heat can encourage root development much faster than just ambient room temperature. Just keep the surface soil from getting too hot.
- Patience is truly a virtue with these guys. Ariocarpus are notoriously slow growers. Don’t panic if you don’t see huge progress overnight. Weeks, and sometimes months, can pass before you see new root formation or growth.
Aftercare & Troubleshooting
Once you see signs of new growth – like a tiny bit of plumpness at the base or the appearance of new tubercles – you know your Ariocarpus fissuratus has rooted!
- Start watering more regularly. Begin with a light watering, letting the soil dry out completely between waterings. As the plant grows, you can move towards a standard cactus watering schedule.
- Gradually introduce more light. Once rooted, your new plant can handle more direct sunlight, but acclimate it slowly to prevent scorching.
The most common troubleshooting issue you’ll encounter is rot. If your offset turns mushy and black, or develops soft spots, it’s almost certainly rot. This usually happens from too much moisture before callusing or from planting a cutting that wasn’t properly callused. Unfortunately, if rot sets in, it’s very difficult to save the plant. If you catch it early, you might be able to cut away the rotted parts and re-callus the healthy sections, but it’s a long shot.
A Warm Wrap-up
Propagating Ariocarpus fissuratus is a journey that requires a bit of care and a whole lot of patience. But the reward of seeing your own unique living rock cactus thrive, knowing you helped it come into being, is truly special. So, gather your supplies, take a deep breath, and enjoy the process. Happy propagating!
Resource: