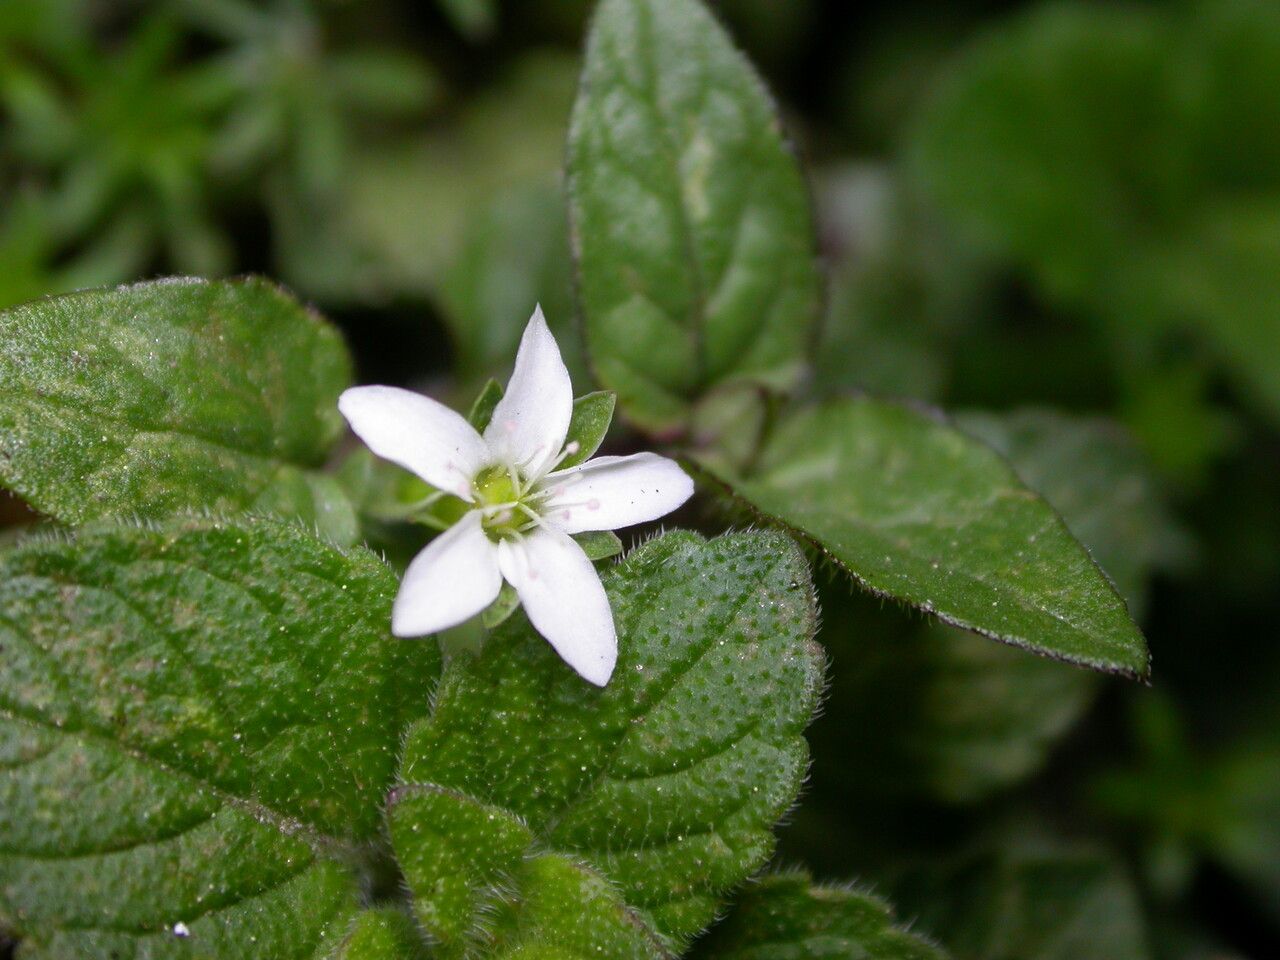
Hello, fellow plant lovers! Today, we’re going to dive into the delightful world of propagating Arenaria orbiculata, also known as the Little Roundleaf Sandwort. If you’ve ever admired its delicate, mat-forming habit and tiny white star-like flowers, you’re in for a treat. There’s nothing quite as satisfying as watching a tiny cutting transform into a thriving new plant, and Arenaria orbiculata is surprisingly amenable to some easy propagation techniques. For those just starting out, I’d say this little gem falls into the “moderately easy” category. With a little patience and the right approach, you’ll be on your way to a whole garden of these beauties!
The Best Time to Start
For the highest success rate with Arenaria orbiculata, I find that late spring to early summer is your golden window. This is when the plant is actively growing, and the young, flexible shoots will root most readily. You want to work with material that is neither too woody nor too leggy. Think of it as catching the plant at its peak energy, ready to share its abundance.
Supplies You’ll Need
Before we get our hands dirty, let’s gather our essentials:
- Clean, sharp pruning shears or a sharp knife: For making precise cuts.
- Small pots or trays: With good drainage holes.
- Well-draining potting mix: A mix of equal parts seed starting mix, perlite, and coarse sand works wonderfully. You can also use a standard cactus or succulent mix.
- Rooting hormone (optional but recommended): A powder or gel will give your cuttings a helpful boost.
- Watering can or spray bottle: For gentle watering.
- Clear plastic bag or propagation dome: To create a humid environment.
- Labels: To keep track of your precious new plants!
Propagation Methods
I’ve had excellent luck with a couple of methods for Arenaria orbiculata, and I think you will too.
Stem Cuttings
This is my go-to method, and it’s quite straightforward.
- Take your cuttings: In late spring or early summer, select healthy, non-flowering stems. Using your clean shears, take cuttings that are about 3-4 inches long. Make your cut just below a leaf node (where the leaves attach to the stem).
- Prepare the cuttings: Gently remove the lower leaves from the cutting, leaving the top 2-3 sets of leaves intact. If your cuttings are a bit floppy, you can trim the remaining leaves in half to reduce water loss.
- Apply rooting hormone: Dip the cut end of the stem into your rooting hormone, tapping off any excess.
- Plant your cuttings: Fill your small pots or trays with your prepared potting mix. Make a small hole in the center of the mix with a pencil or your finger. Insert the cut end of the Arenaria orbiculata cutting into the hole, ensuring it’s firm enough to stand on its own. Gently firm the soil around the stem.
- Create humidity: Water the potting mix gently until it’s evenly moist. Then, cover the pot or tray with a clear plastic bag or propagation dome. This traps humidity, which is crucial for the cuttings to root. Place the covered pots in a bright spot, but out of direct sunlight.
Division
If you have a mature, clump-forming Arenaria orbiculata, division is a fantastic way to multiply your plants.
- Dig up the clump: Gently dig up the entire plant from its pot or garden bed. It’s best to do this when the plant is actively growing but perhaps not in full bloom to minimize stress.
- Separate the crowns: Carefully tease the root ball apart. You’re looking to separate the clump into smaller sections, each with its own roots and at least a couple of healthy shoots. You can use your hands or a clean knife if the roots are dense.
- Replant: Plant the divided sections into new pots filled with your well-draining potting mix or directly into prepared spots in your garden. Water them well.
The “Secret Sauce” (Pro Tips)
Here are a few things I’ve learned over the years that really make a difference:
- Don’t let the leaves touch the water: If you happen to be trying water propagation (though I find cuttings in a gritty mix more reliable for this plant), make absolutely sure the leaves aren’t submerged. Any part of the stem in water is fine, but leaves sitting in water are a ticket to rot.
- Bottom heat is your friend: For stem cuttings, placing your pots on a gentle heat mat can dramatically speed up the rooting process. It mimics the warmth of spring soil and encourages strong root development. About 70-75°F (21-24°C) is ideal.
- Air circulation matters: While humidity is key, stagnant air can lead to fungal issues. If you’re using a plastic bag, open it for a few minutes each day to allow for fresh air exchange. This will also help prevent mold.
Aftercare & Troubleshooting
Once your cuttings have been planted, keep the potting mix consistently moist but not waterlogged. You’ll know they’re rooting when you start to see new growth, or when they resist a gentle tug. This can take anywhere from 3-6 weeks.
When roots have clearly developed and new growth is visible, you can gradually remove the plastic cover to acclimate the new plants to normal humidity levels. Once they are well-established, you can transplant them into slightly larger pots or their permanent garden location.
The most common problem you might encounter is rot. This usually happens if the soil is too wet, or if there isn’t enough air circulation. If you see a cutting turning brown and mushy, it’s best to discard it to prevent the spread of any fungal issue. Don’t be discouraged; it’s all part of the learning process!
A Encouraging Closing
Propagating Arenaria orbiculata is a wonderful way to expand your collection and share these charming plants with friends. Be patient, keep a close eye on your cuttings, and celebrate every sign of progress. The joy of nurturing a new life from a tiny piece of your favorite plant is truly special. Happy propagating!
Resource: