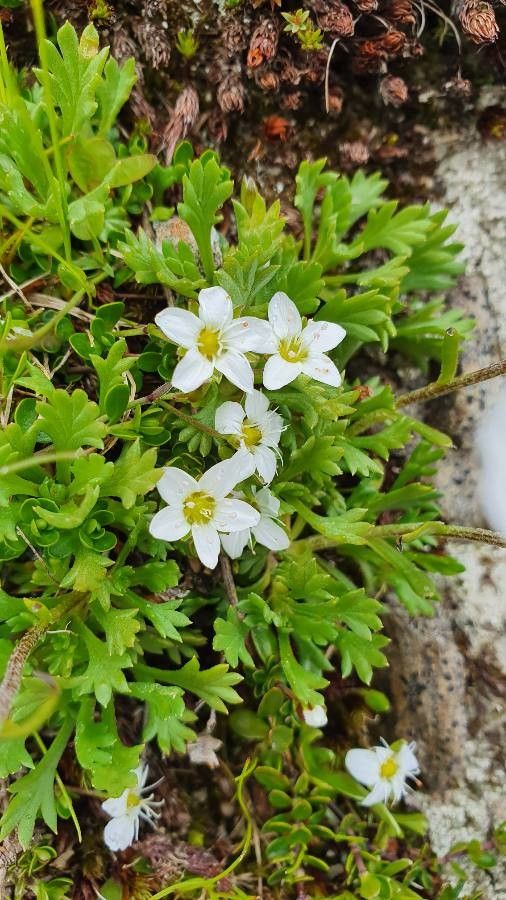
Hey there, fellow garden enthusiasts! It’s so good to have you here. Today, we’re diving into the delightful world of Arenaria biflora, also known as twin-flowered sandwort. If you’re a fan of those charming, low-growing mounds of delicate white flowers that pepper your rock garden or spill over the edges of a container, then you’re in for a treat. Propagating Arenaria biflora is a wonderfully rewarding experience, letting you multiply those beautiful little specimens without a hefty price tag. For beginners, I’d say this plant is refreshingly approachable. You won’t be pulling your hair out, I promise!
The Best Time to Start
When it comes to the ideal time to propagate Arenaria biflora, I find that late spring to early summer is your golden window. Think of it as the plant just bursting with energy post-flowers. This is when the stems are typically firm, not too leggy or woody, and have plenty of reserves to put into making new roots. Waiting until after the initial flush of bloom is key; you’ll get a much better success rate.
Supplies You’ll Need
Gathering your supplies beforehand makes the whole process smoother. Here’s what I usually have on hand:
- Sharp pruning shears or a clean razor blade: For taking clean cuts. Sterilize them with rubbing alcohol!
- A rooting hormone powder or gel: This is a great booster, though not always strictly necessary for Arenaria biflora.
- A well-draining potting mix: A mix of perlite, coarse sand, and peat moss or coco coir is perfect. Or, a good quality succulent/cactus mix will work wonders.
- Small pots or seed trays: Clean ones, of course.
- A spray bottle: For gentle misting.
- Plastic bags or a propagator: To create a humid environment.
- Labels: So you don’t forget what you’ve planted!
Propagation Methods
Arenaria biflora is quite happy to be propagated through stem cuttings. It’s my go-to method for this lovely little plant.
-
Taking the Cuttings: On a bright, mild morning, select healthy, non-flowering stems. Look for ones that are about 3-4 inches long and are somewhat firm but still flexible. Using your sterilized shears or razor, make a clean cut just below a leaf node (where a leaf joins the stem). Remove the lower leaves, leaving just a couple at the very top.
-
Applying Rooting Hormone (Optional but Recommended): Dip the cut end of the stem into your rooting hormone. Tap off any excess. This helps to encourage root development.
-
Planting the Cuttings: Fill your clean pots or trays with your well-draining potting mix. Make a small hole with your finger or a pencil. Insert the treated end of the cutting into the hole, ensuring it’s firm enough to stand upright. Gently firm the soil around the base of the cutting.
-
Creating Humidity: Water the soil lightly from the bottom or gently mist the surface. You want it moist, not waterlogged. Then, cover the pots with a clear plastic bag or place them in a propagator. This creates a mini greenhouse effect, keeping humidity high, which is crucial for cuttings to root. Make sure the leaves don’t touch the sides of the bag, as this can promote rot.
The “Secret Sauce” (Pro Tips)
Now, for a couple of little tricks I’ve picked up over the years:
- Don’t Over-Water! This is probably the biggest mistake people make. Arenaria biflora loves good drainage. While cuttings need moisture, soggy soil is their enemy. It leads to rot before roots can even form. Aim for consistently moist, not soaking wet.
- Bottom Heat is Your Friend: If you have the space, placing your pots on a seedling heat mat can really speed things up. A gentle warmth from below encourages those roots to dive into action much faster than ambient room temperature alone.
Aftercare & Troubleshooting
Once your cuttings are planted, place them in a bright spot, but out of direct, harsh sunlight. Too much sun will scorch those tender new stems. Keep the humidity up, and check the soil moisture regularly. You’ll know your cuttings are starting to root when you see new growth appearing, or if you gently tug on a cutting and feel resistance. This might take anywhere from 3 to 6 weeks, so patience is key!
The most common issue you’ll encounter is rot. If you see stems turning black, mushy, or simply falling over, it’s a clear sign of too much moisture. If this happens, remove the affected cuttings immediately to prevent it from spreading. You might need to adjust your watering schedule and ensure your soil mix is as well-draining as possible.
A Encouraging Closing
Propagating plants is such a satisfying journey. It’s more than just making more plants; it’s about understanding their life cycles and connecting with nature on a deeper level. So go ahead, give it a try! Be patient with your little Arenaria biflora cuttings. Enjoy the process of watching them grow, and soon you’ll have a whole army of these beautiful, blooming little treasures to share or enjoy in your own garden. Happy planting!
Resource:
https://identify.plantnet.org/k-world-flora/species/Arenaria%20biflora%20L./data