Hello fellow garden lovers!
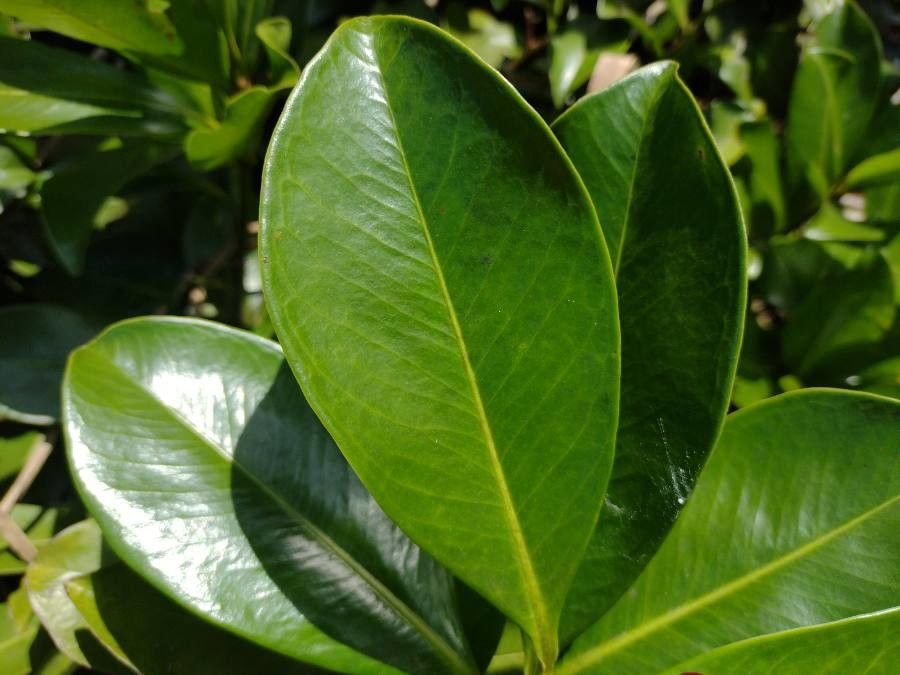
Today, we’re diving into the delightful world of propagating Ardisia revoluta. If you’re drawn to its glossy, dark green leaves and the charming clusters of small red berries that often follow, you’re in for a treat. Creating more of these beauties from existing plants is incredibly satisfying. And you know what? While it might sound intimidating, propagating Ardisia revoluta is quite manageable, even for those of you who are just starting your propagation journey. Think of it as another fun chapter in your gardening adventure!
The Best Time to Start
For the highest success rates, aim to propagate your Ardisia revoluta during the active growing season. This typically falls in late spring or early summer. During this period, the plant has plenty of energy to dedicate to root development, giving your new cuttings a stronger start.
Supplies You’ll Need
Gathering your tools beforehand makes the whole process so much smoother. Here’s what you’ll want to have on hand:
- Sharp, clean pruning shears or a knife: For taking clean cuts.
- Rooting hormone (optional but recommended): This gives cuttings a little boost.
- Well-draining potting mix: A good blend of peat moss, perlite, and coarse sand works wonders. You can also find specific cutting mixes.
- Small pots or seed trays: Clean ones, of course!
- Plastic bags or a propagation dome: To maintain humidity.
- A watering can with a fine rose: For gentle watering.
- Patience! This is the most important tool.
Propagation Methods
Ardisia revoluta can be propagated from stem cuttings and, if your plant is mature and has multiple stems, division can also be an option. Let’s focus on stem cuttings as it’s the most common and generally successful method.
Stem Cuttings:
- Select your cutting: Look for healthy, new growth on your Ardisia revoluta. You want stems that are firm but not woody. Aim for cuttings about 4-6 inches long.
- Make the cut: Using your clean pruning shears or knife, make a clean cut just below a leaf node. A leaf node is where a leaf attaches to the stem; it’s where roots will most likely form.
- Prepare the cutting: Gently remove the lower leaves, leaving about two to three leaves at the top. This helps reduce water loss. If your cutting is very long, you can trim the remaining leaves in half horizontally to further decrease transpiration.
- Apply rooting hormone (optional): Dip the cut end of the stem into the rooting hormone powder or gel. Tap off any excess.
- Pot it up: Make a hole in your prepared potting mix with a pencil or your finger. Insert the cutting into the hole, ensuring the leaf nodes are below the soil line. Gently firm the soil around the stem.
- Water gently: Water thoroughly until you see water drain from the bottom of the pot.
- Create a humid environment: Cover the pot with a clear plastic bag, propping it up with sticks so it doesn’t touch the leaves, or place it inside a propagation dome. This traps humidity, which is crucial for cuttings to root.
- Find a good spot: Place the pot in a warm location with bright, indirect light. Avoid direct sun, as this can scorch the delicate cuttings.
The “Secret Sauce” (Pro Tips)
As I’ve tinkered with propagation over the years, I’ve learned a few tricks that can really make a difference with plants like Ardisia revoluta.
- Don’t let the leaves touch the water: If you decide to try water propagation with a cutting (though soil is generally more reliable for this plant), make absolutely sure that the leaves are not submerged. If they are, they’ll rot very quickly, and you’ll lose your cutting before it even has a chance to form roots. Only the stem should be in the water.
- Consider bottom heat: While not strictly necessary, placing your pots on a gentle heat mat can significantly speed up the rooting process. It mimics the warmth of the soil in a greenhouse and encourages those roots to get busy. Just make sure the heat isn’t too intense – warm, not hot, is the goal.
- Mist, don’t soak: Once your cuttings are potted, you want to maintain that humidity, but overwatering at this stage can lead to rot. Lightly misting the inside of the plastic bag or the soil surface with your watering can every few days is usually sufficient. You’ll know it’s working if you see condensation on the inside of the bag.
Aftercare & Troubleshooting
Once your cuttings have developed a good root system – you might see roots peeking out of the drainage holes or feel a gentle tug when you lightly try to pull the cutting – it’s time for a little adjustment.
- Transplant carefully: Gently remove the new plant from its pot. If you used rooting hormone, it should hold together well. Pot it into a slightly larger container with fresh, well-draining potting mix.
- Transition to normal care: Gradually introduce your new plant to its permanent light conditions. Water it as you would a mature Ardisia revoluta, allowing the soil to dry out slightly between waterings.
- Watch for rot: The most common sign of failure is rot. If your cutting turns mushy and black, or if the lower stem becomes soft and wilts even when the soil is moist, rot is likely the culprit. This usually happens due to overwatering or poor drainage. If you spot it early, you can try to cut away the rotted section and repot what’s left, but often, it’s challenging to save.
Remember, propagation is a learning process. Not every cutting will make it, and that’s perfectly okay! Don’t get discouraged. Each attempt teaches you something new about your plant and your own gardening skills. Enjoy the journey of creating new life for your beloved Ardisia revoluta. Happy propagating!
Resource:
https://identify.plantnet.org/k-world-flora/species/Ardisia%20revoluta%20Kunth/data