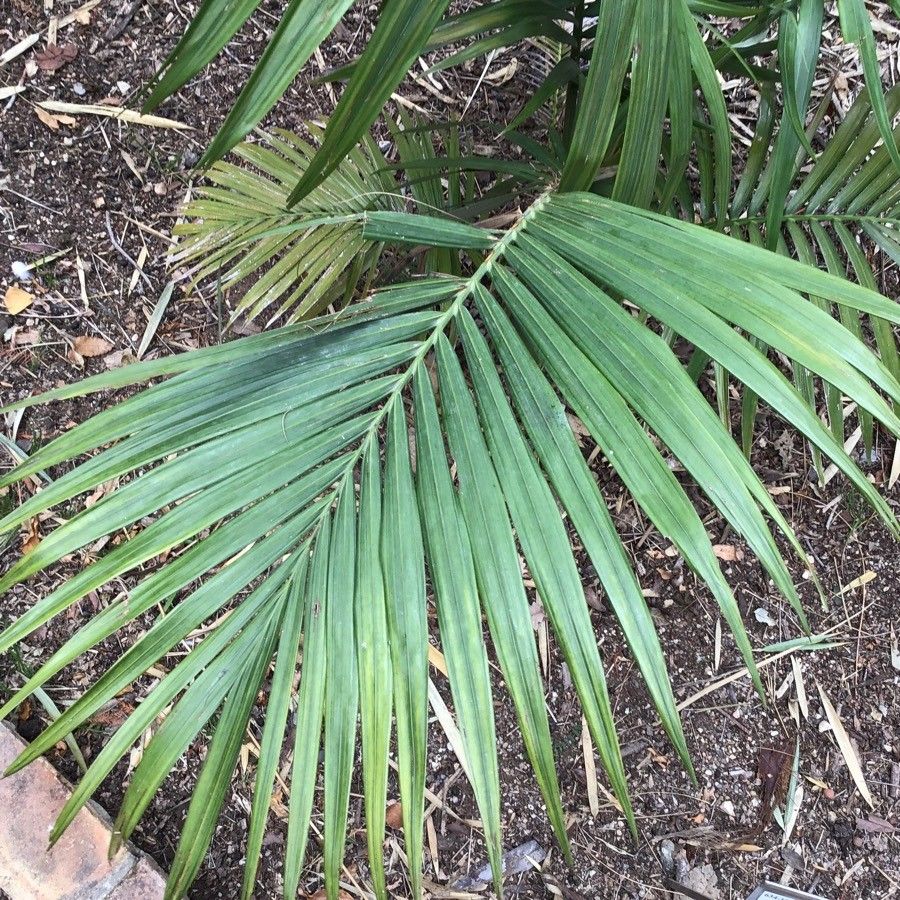
Hello fellow plant lovers! Today, we’re diving into the wonderful world of propagating Archontophoenix myolensis, also known as the Myola Palm. If you’ve ever admired this stunning Australian native with its slender, elegant trunk and graceful crown of fronds, you’ll be thrilled to know you can grow your own! There’s something truly special about coaxing a new life from an existing plant, and the Myola Palm is a fantastic candidate for this rewarding endeavor. For beginners, I’d say it’s a moderate challenge – not difficult, but it does require a bit of attention to detail. But don’t let that deter you; with a little guidance, you’ll be well on your way.
The Best Time to Start
For the highest success rate with Archontophoenix myolensis, spring is your best friend. This is when the plant is naturally coming out of its dormancy and has the most energy for new growth. Aim to take cuttings or divide during this period, when temperatures are warming up and daylight hours are increasing. This gives your new propagation the best head start.
Supplies You’ll Need
Before we get our hands dirty, let’s gather our tools:
- Sharp, clean pruning shears or a sturdy knife: Essential for making clean cuts without crushing the plant tissue.
- Well-draining potting mix: A blend of coco coir, perlite, and a bit of coarse sand works wonderfully. You want good aeration.
- Small pots or seedling trays: Choose containers with drainage holes.
- Rooting hormone powder or gel (optional but recommended): This can significantly boost root development.
- Clear plastic bags or a propagation dome: To create a humid environment for cuttings.
- Spray bottle: For misting.
- Trowel or small spade: For divisions.
- Water: Clean, room-temperature water.
Propagation Methods
The most straightforward way to propagate Archontophoenix myolensis is through division. These palms can produce offsets, or “pups,” at their base, which are essentially miniature versions of the parent plant.
Method: Division of Offsets
- Assess the Parent Plant: Gently clear away any loose soil or debris from the base of your mature Myola Palm. Look for small shoots or offsets emerging from the sides of the main trunk. They should have their own small root system starting to form.
- Carefully Separate: Using your sharp pruning shears or knife, make a clean cut to separate the offset from the parent plant. Try to get as much of the offset’s root system as possible. If the offset is still quite small, it might be best to wait a little longer until it’s more established.
- Prepare the New Pot: Fill your chosen pot with your well-draining potting mix. Make a small well in the center.
- Plant the Offset: Gently place the separated offset into the well, ensuring its roots are spread out. Backfill with soil, firming it gently around the base.
- Water Thoroughly: Water the newly potted offset well until water drains from the bottom. This helps settle the soil around the roots.
- Create Humidity: Place the pot inside a clear plastic bag, zipping it up loosely, or cover it with a propagation dome. This will create a humid microclimate, mimicking tropical conditions and preventing the new plant from drying out too quickly.
The “Secret Sauce” (Pro Tips)
There are a few little tricks I’ve learned over the years that can really make a difference:
- Don’t be afraid to be firm, but gentle! When separating an offset, resist the urge to yank. Make a decisive cut, and it will be cleaner and less stressful for both the parent and the pup.
- Use a dab of cinnamon on the cut: After you’ve separated the offset, if there’s a larger exposed surface where it was attached to the parent, a light dusting of cinnamon powder can act as a natural fungicide and help prevent rot.
- Bottom heat is your friend: If you can, place your potted offsets on a gentle heat mat designed for propagation. This consistent warmth from below encourages root formation much more effectively than ambient room temperature alone.
Aftercare & Troubleshooting
Once your Myola Palm offset is potted, keep it in a bright, indirect light location. Avoid direct sun, which can scorch its young leaves. Mist the leaves regularly and check the soil moisture. It should remain consistently slightly moist, but never waterlogged.
If you notice yellowing leaves or wilting, it might be a sign of too much or too little water. Stick your finger into the soil; if it feels dry, water it. If it feels soggy, you might be overwatering. Rot is the biggest enemy of new propagations. Look for mushy stems or blackening at the base. If you spot rot, remove the affected part immediately with a clean knife, and let the remaining healthy part air dry for a day or two before repotting in fresh, dry soil. Be patient; it can take several weeks for good root development.
A Little Patience Goes a Long Way
Propagating Archontophoenix myolensis is a journey, not a race. Enjoy the process of nurturing these new palms. With a bit of care and attention, you’ll soon be rewarded with your very own elegant Myola Palms to grace your home or garden. Happy propagating!
Resource:
https://identify.plantnet.org/k-world-flora/species/Archontophoenix%20myolensis%20Dowe/data