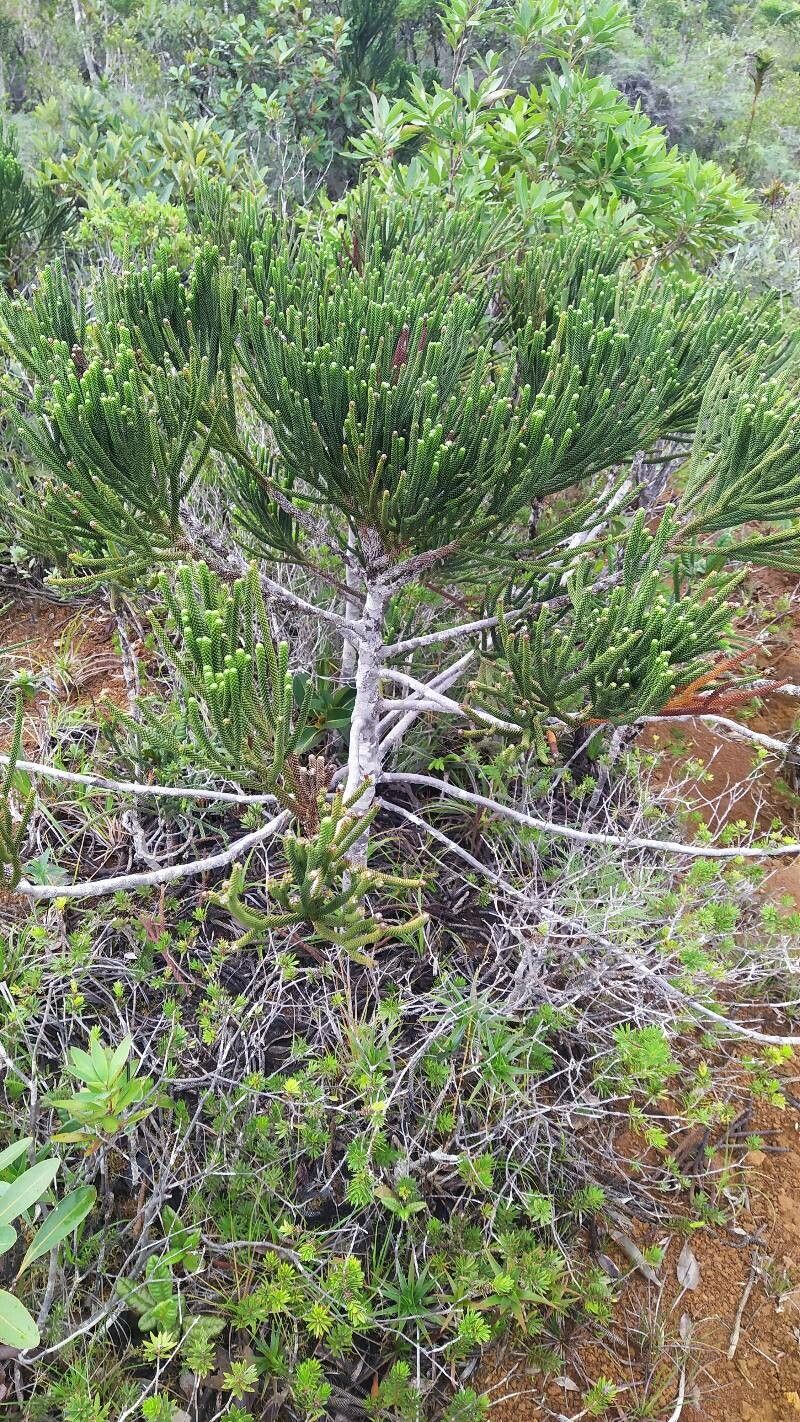
Hello fellow garden enthusiasts! Today, we’re going to talk about a truly unique tree, the Araucaria goroensis. You know, the one that looks like a living sculpture, with its tiered branches and striking, almost alien form? It’s a real showstopper, and the idea of bringing more of these beauties into your garden, or even sharing them with friends, is just wonderfully rewarding.
Now, I won’t lie to you. Propagating Araucaria goroensis isn’t quite as simple as rooting a geranium, but with a little care and attention, it’s certainly achievable. It’s a project that rewards patience, and that’s part of what makes it so satisfying. For beginners, it might be a bit of a stretch, but don’t let that deter you! Think of it as a delightful challenge.
The Best Time to Start
When it comes to getting these trees to strike, timing is everything. The sweet spot for propagating Araucaria goroensis is typically in late spring to early summer. This is when the plant is actively growing, meaning it has more energy to put into developing new roots. Look for new, yet still somewhat pliable, stem growth. Avoid hard, woody stems from older growth, as these are much less likely to root successfully.
Supplies You’ll Need
Before we dive in, let’s gather our toolkit. Having everything ready will make the process much smoother.
- Sharp, sterilized pruning shears or a clean knife: For making clean cuts.
- Rooting hormone powder or gel: This is your best friend for encouraging root development.
- A well-draining potting mix: I like a blend of perlite, coarse sand, and a good quality peat-free potting compost. Aim for something that can breathe!
- Small pots or trays: Enough to accommodate your cuttings. Make sure they have drainage holes.
- Clean water: For misting and watering.
- A clear plastic bag or humidity dome: To create that essential humid environment.
- Optional: A heat mat: This can significantly speed up root formation.
Propagation Methods: Stem Cuttings
For Araucaria goroensis, taking stem cuttings is usually the most successful method. Here’s how I do it:
- Select your cutting: Choose a healthy, vigorous stem from the current season’s growth. Aim for a piece that’s about 4-6 inches long.
- Make the cut: Using your sterilized shears or knife, make a clean cut just below a leaf node. A node is where the leaves attach to the stem.
- Prepare the cutting: Gently remove any lower leaves from the bottom 1-2 inches of the cutting. This prevents them from rotting in the soil. Don’t strip too many leaves from the top; you want enough to keep the plant going.
- Apply rooting hormone: Dip the cut end into your rooting hormone powder or gel. Tap off any excess. This step is crucial for boosting your success rate!
- Plant the cutting: Make a hole in your prepared potting mix with a pencil or your finger. Insert the prepared cutting, ensuring the hormone-coated end is well within the soil. Gently firm the soil around the stem.
- Water gently: Water the potting mix thoroughly but gently, ensuring the soil is moist but not waterlogged.
- Create the humidity: Place the pot inside a clear plastic bag or cover it with a humidity dome. Seal the bag loosely or ensure good ventilation for the dome. This traps moisture, which the cuttings desperately need to survive until they can take up water through roots.
- Provide light and warmth: Place the cuttings in a bright spot with indirect sunlight. If you’re using a heat mat, set it to a gentle warmth (around 70-75°F or 21-24°C).
The “Secret Sauce” (Pro Tips)
Over the years, I’ve learned a few tricks that can really make a difference.
- Don’t let leaves touch the water (if you were considering water propagation): Though I recommend soil for Araucaria goroensis, if you were to try water propagation with other plants, always ensure the leaves stay above the water line. Leaves submerged will rot and likely kill your cutting before it even has a chance.
- Bottom heat is a game-changer: Seriously, if you can invest in a heat mat, do it! For woody cuttings like these, consistent bottom heat provides the perfect environment for root initiation, speeding up the process considerably and improving your strike rate.
- A gentle misting is your friend: Instead of heavy watering once planted, lightly mist the cuttings every couple of days, especially before covering them with plastic. This keeps the humidity high without waterlogging the soil and potentially causing rot.
Aftercare & Troubleshooting
Once you start seeing signs of new growth, it’s a good indicator that roots are forming! Don’t rush to transplant immediately. Give them a few weeks to establish.
- Acclimatize gradually: Once you see a decent amount of new growth, start slowly acclimatizing your cuttings to normal air. Open the plastic bag a little each day for a week, or lift the humidity dome for longer periods.
- Check for roots: You can gently tug on the cutting. If you feel resistance, roots are likely forming. You might also see them peeking out of the drainage holes.
- Troubleshooting rot: The most common issue you’ll face is rot. If your cutting turns black and mushy, it’s a sign of too much moisture and not enough air circulation. Unfortunately, once rot sets in, it’s very difficult to save. In this case, it’s best to discard the failed cutting and try again, perhaps with a slightly drier mix or better ventilation next time. Another sign of failure is a cutting that wilts severely and never recovers, even with adequate moisture.
A Encouraging Closing
And there you have it! Propagating Araucaria goroensis is a journey that requires a bit of patience and observation, but the reward of seeing a tiny new tree flourish is truly something special. Don’t be discouraged if your first few attempts aren’t perfect. Each try is a learning experience. Be patient, enjoy the quiet satisfaction of nurturing new life, and soon you’ll have more of these magnificent trees to admire and share. Happy propagating!
Resource: