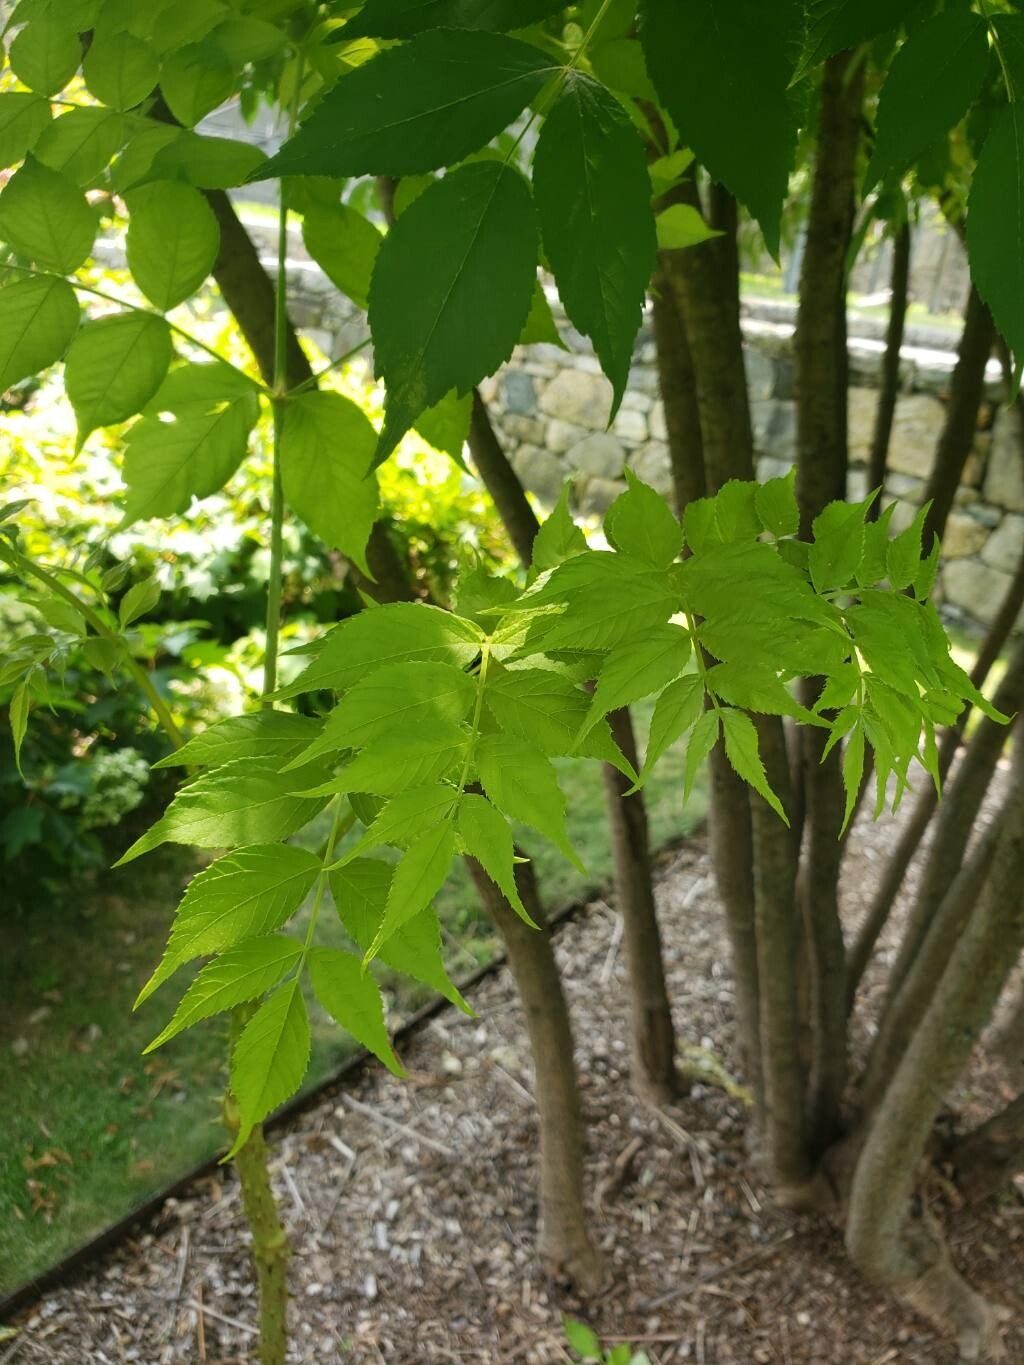
Hello, plant lovers! Today, I want to chat with you about a truly handsome plant that brings a touch of the exotic to many gardens: Aralia chinensis, also known as Chinese angelica tree. I’ve spent two decades with my hands in the dirt, and I can tell you, there’s something incredibly satisfying about taking a piece of a plant you love and coaxing it into a new life. Propagating Aralia chinensis is a wonderfully rewarding endeavor, and while it might seem a bit daunting at first, I promise it’s quite achievable, even for those of you just starting your gardening journey.
The Best Time to Start
For me, the sweet spot for propagating Aralia chinensis is in late spring to early summer. This is when the plant is in its full growth phase, brimming with energy. You’ll find the stems are developing nicely, and they have plenty of vigor to push out roots. Aim for semi-hardwood cuttings – stems that are no longer brand new and soft, but not yet old and woody.
Supplies You’ll Need
Here’s what you’ll want to have on hand before you begin:
- Sharp Pruning Shears or a Clean Knife: For making clean cuts.
- Rooting Hormone: A powder or gel to encourage root development.
- Potting Mix: A well-draining mix. I like to use a blend of equal parts peat moss, perlite, and a little bit of compost.
- Small Pots or Trays: With drainage holes, of course!
- Plastic Bags or a Propagator: To create a humid environment.
- Watering Can or Mister: For keeping things moist.
- Labels: To remember what you’ve planted and when.
Propagation Methods
I find two methods work particularly well for Aralia chinensis: stem cuttings and division.
Stem Cuttings
This is my go-to method for multiplying my plants.
- Take your cuttings: Using your clean shears, cut sections of stem that are about 4-6 inches long. Make your cut just below a leaf node (where a leaf attaches to the stem).
- Prepare the cuttings: Gently remove the lower leaves, leaving just a couple at the top. If the remaining leaves are very large, you can cut them in half to reduce water loss.
- Apply rooting hormone: Dip the cut end of each stem into your rooting hormone, tapping off any excess.
- Plant them up: Fill your pots with your prepared potting mix. Make a hole in the center of each pot with your finger or a pencil.
- Insert the cuttings: Place a cutting into each hole, ensuring the leaf nodes are below the soil surface. Gently firm the soil around them.
- Water and cover: Water the soil thoroughly. Then, cover the pots with a plastic bag or place them in a propagator to maintain high humidity. This is crucial!
- Find a good spot: Place your pots in a bright location, but out of direct sunlight. A greenhouse or a warm windowsill works well.
Division
If you have an established plant, division is a wonderfully simple way to get new ones.
- Dig up the plant: In early spring, before new growth really takes off, carefully dig up your Aralia chinensis.
- Examine the root ball: You’ll likely see multiple stems growing from a central root ball.
- Separate the divisions: Gently use your hands or a spade to separate the root ball into sections, ensuring each section has at least one healthy stem and a good amount of roots.
- Replant immediately: Plant each division into its new location in your garden or into separate pots, watering them in well.
The “Secret Sauce” (Pro Tips)
Over the years, I’ve learned a few little tricks that make a big difference.
- Bottom Heat is Your Friend: For stem cuttings, especially if you’re doing this a bit earlier in the season or in a cooler spot, a heat mat placed under your pots can significantly speed up root formation. It mimics that lovely warm soil of summer.
- Cleanliness is Key: Always use sterilized tools and pots. This prevents any nasty fungal infections from taking hold, which is the most common reason for failure. A quick wipe with rubbing alcohol does wonders.
- Don’t Be Afraid to “Wiggle”: When you think the cuttings might have rooted (after about 4-6 weeks), give them a gentle tug. If you feel resistance, it means roots are forming! If they come out easily, chances are they haven’t rooted yet.
Aftercare & Troubleshooting
Once your cuttings have developed roots – and you’ll know this when you see new green growth appearing – it’s time to transition them.
- Acclimatize them: Gradually decrease the humidity by opening the plastic bag or propagator vents a little more each day over a week.
- Watering: Keep the soil consistently moist but not waterlogged. Overwatering is probably the biggest culprit for rot. If you notice the leaves wilting even when the soil is moist, it could be a sign of root rot.
- Watch for rot: If a cutting turns black or mushy, it’s likely rotted. Remove it immediately to prevent the spread. Sometimes, a cutting won’t root at all. That’s just part of the process, and it’s okay! Just try again.
A Encouraging Closing
Propagating plants is a dance with nature. There will be successes, and yes, there will be times when things don’t quite work out. But the joy of nurturing a new plant from a simple cutting is immense. Be patient with your Aralia chinensis, observe them closely, and most importantly, enjoy the journey of bringing more beauty into your world. Happy gardening!
Resource:
https://identify.plantnet.org/k-world-flora/species/Aralia%20chinensis%20L./data