Oh, hello there! Pull up a chair and let’s chat about a little gem I’ve come to adore: Arabidopsis cebennensis. If you’re looking for a plant that’s a bit unusual, with delicate beauty and a surprising resilience, this is your gal. Propagating it has been a real joy for me, and I’m excited to share how you can bring more of these lovely plants into your garden (or windowsill!).
Introduction: A Pocketful of Sunshine
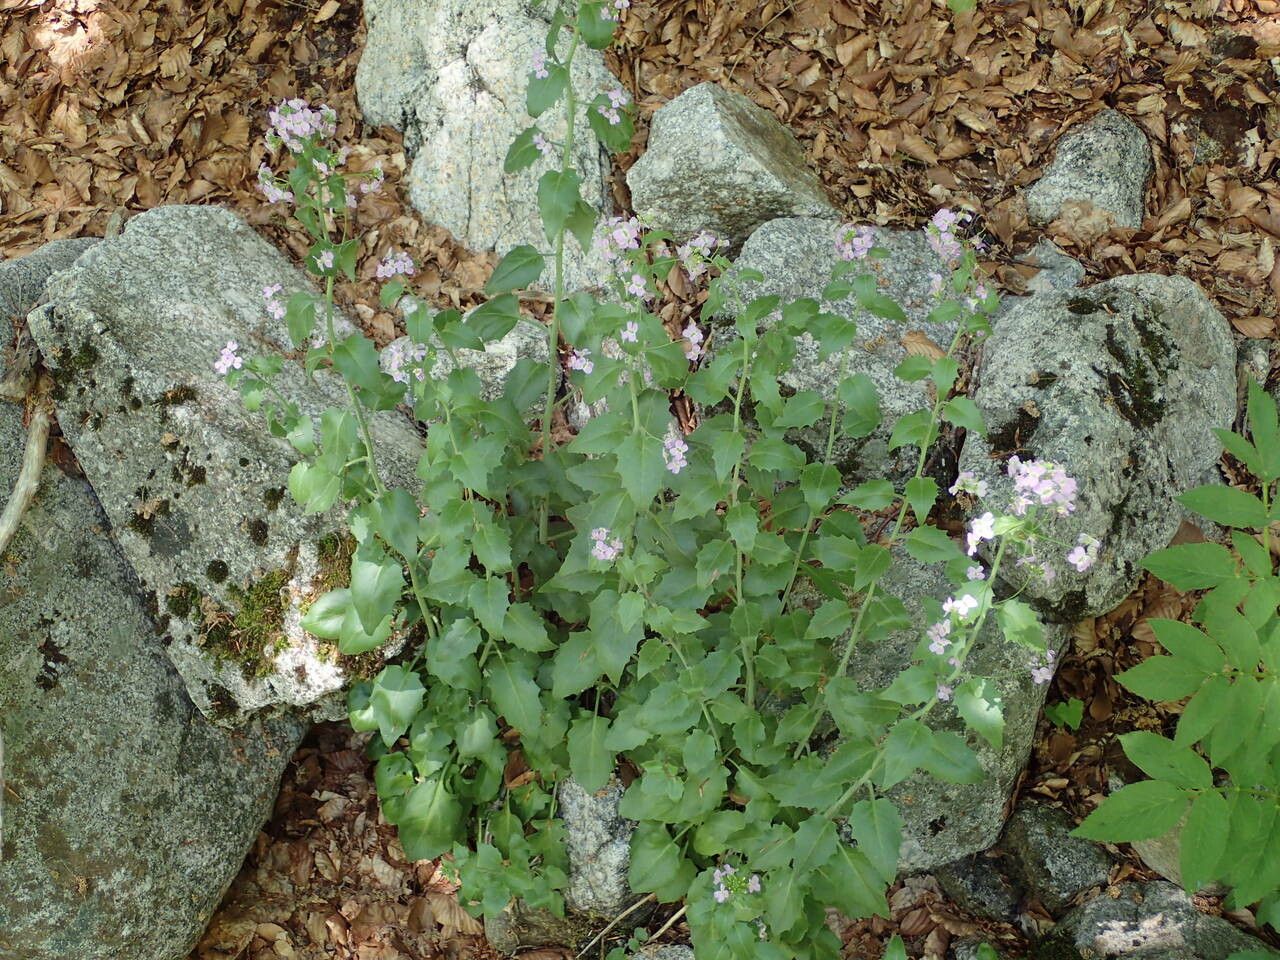
Arabidopsis cebennensis, with its dainty, almost ethereal foliage and tiny, star-like flowers, brings a touch of understated elegance to any space. It’s one of those plants that makes you pause and appreciate the subtle wonders of nature. I often describe it as a miniature woodland sprite, whispering secrets of the forest floor.
Now, for the good news: propagating Arabidopsis cebennensis isn’t overly complicated. While it’s not as straightforward as, say, a pothos, I’d say it’s definitely approachable for beginner gardeners with a bit of patience and attention. The reward of seeing those tiny roots emerge, knowing you helped create a whole new life, is just incredible.
The Best Time to Start
For the highest success rate with Arabidopsis cebennensis, I always recommend starting in late spring or early summer. This is when the plant is actively growing and has plenty of energy to put into rooting. You want to take cuttings from healthy, vigorous stems that aren’t flowering. Think of it as harvesting prime building materials!
Supplies You’ll Need
Here’s a little rundown of what you’ll want to have on hand:
- Sharp, clean pruning shears or a razor blade: We need surgical precision here!
- Rooting hormone (powder or gel): This gives your cuttings a little boost.
- A well-draining potting mix: I like to use a mix of peat-free compost, perlite, and a bit of coarse sand. It needs to drain like a sieve.
- Small pots or seed trays: Choose ones with drainage holes, of course.
- A clear plastic bag or propagation dome: To create a mini-greenhouse effect.
- Water spray bottle: For maintaining humidity.
- Optional: A heat mat: This can really speed up the rooting process.
Propagation Methods
I find that stem cuttings are the most reliable way to propagate Arabidopsis cebennensis. Here’s how I do it:
1. Taking the Cuttings:
- Gently select a healthy, non-flowering stem from your parent plant.
- Using your sharp shears or razor blade, make a clean cut just below a leaf node. A leaf node is where a leaf attaches to the stem; this is where roots are most likely to form.
- Aim for cuttings that are about 3-4 inches long.
- Remove the lower leaves from the cutting, leaving just a couple of sets of leaves at the top. This prevents them from rotting in the soil or water.
2. Preparing for Rooting:
- Dip the cut end of the stem into your rooting hormone, ensuring it’s coated. Tap off any excess.
- Moisten your potting mix thoroughly but don’t make it soggy.
- Make small holes in the potting mix with a pencil or your finger.
- Gently insert the prepared cuttings into the holes, ensuring the leaf nodes are buried.
- Lightly firm the soil around the cuttings.
3. Creating the Humid Environment:
- Water the soil gently again to settle it.
- Cover the pots with a clear plastic bag or place them under a propagation dome. This traps humidity, which is crucial for cuttings that haven’t developed roots yet to absorb moisture.
- Place the pots in a bright location out of direct sunlight, or on a heat mat if you have one.
The “Secret Sauce” (Pro Tips)
After 20 years, you pick up a few little tricks! Here are a couple of things that have really worked wonders for me with Arabidopsis cebennensis:
- Don’t let the leaves touch the water: If you’re tempted to try water propagation (though I find soil is better for this one), it’s absolutely vital that no leaves touch the water. They will rot, and then the rot will travel down the stem and kill your cutting before it even has a chance to root.
- Bottom warmth is your best friend: If you have a heat mat, use it! Consistent bottom warmth mimics natural spring conditions and dramatically speeds up root development. It’s like a little spa treatment for your cuttings.
Aftercare & Troubleshooting
Once your cuttings are planted, keep the soil consistently moist but not waterlogged. You want it to feel like a wrung-out sponge. Check on them regularly, and you may need to lightly mist the leaves inside the plastic bag if things are looking a bit dry.
You’ll know your cuttings are taking root when you see new leaf growth. This can take anywhere from 3-6 weeks, so be patient! You can also give them a gentle tug – if there’s resistance, roots are forming.
The most common pitfall is rot. If a cutting turns black and mushy, it’s unfortunately a goner. This is usually due to too much moisture, poor drainage, or lack of ventilation. If you see a bit of mold on the soil surface, try to increase airflow by propping open the plastic bag slightly.
A Encouraging Closing
Propagating plants is such a wonderful act of faith and patience. Don’t be discouraged if every single cutting doesn’t make it. Each one you nurture into a new life is a small victory. Enjoy the process, learn from each attempt, and soon you’ll have a delightful collection of Arabidopsis cebennensis to admire. Happy growing!
Resource: