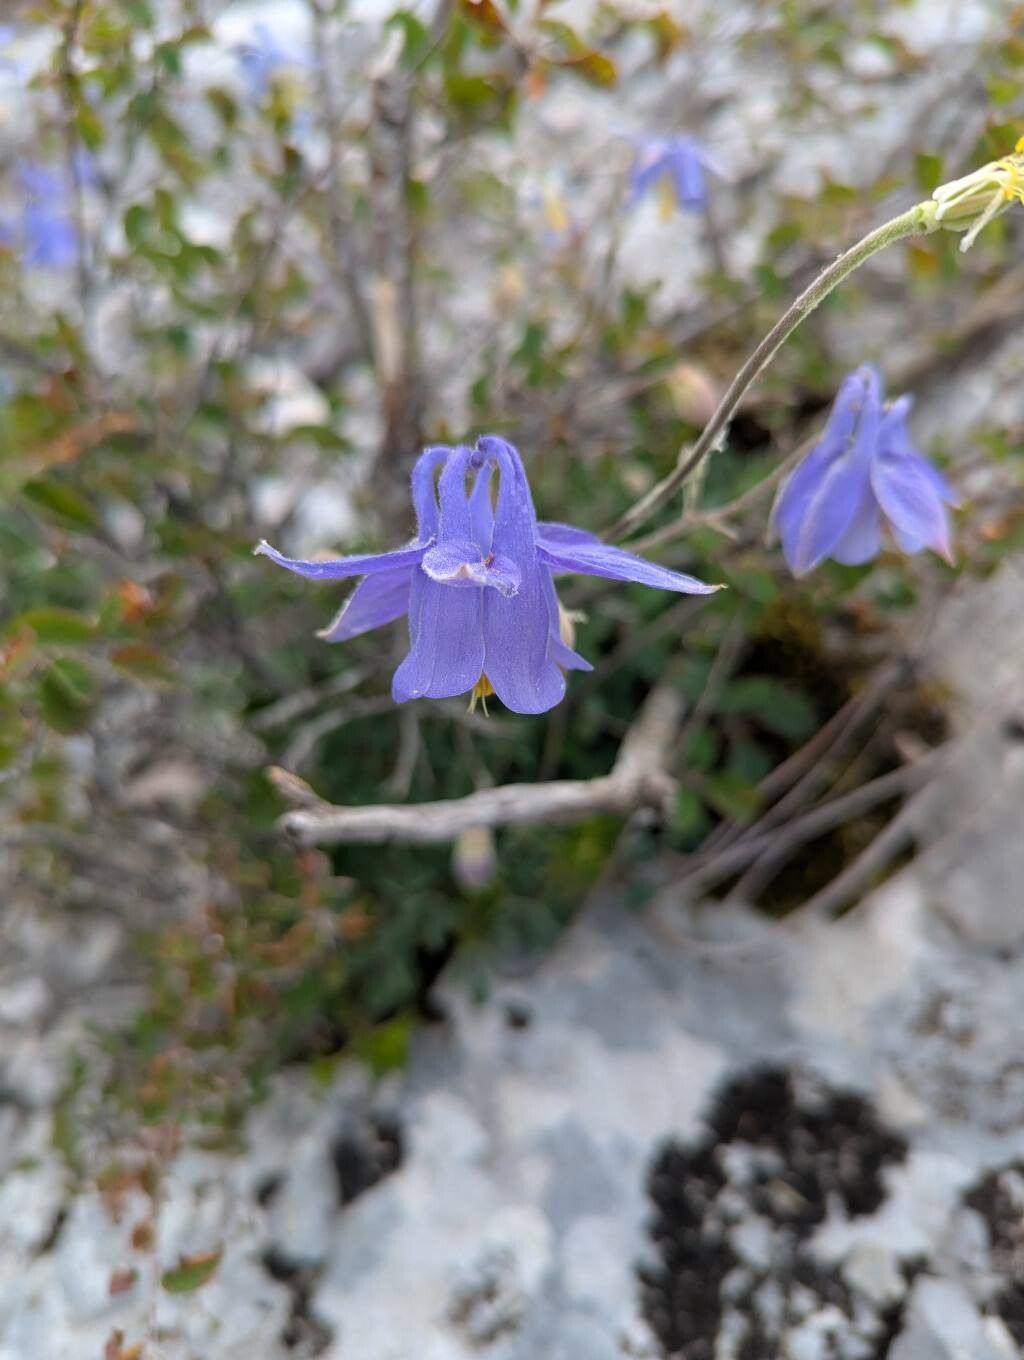
Oh, hello there! Pull up a chair, grab a mug of something warm. I’m so glad you’re interested in Aquilegia hirsutissima. There’s just something about these delicate Columbines, don’t you think? Those intricate, spidery blooms have this wild, untamed beauty that just makes my heart sing. And getting more of them to add to the garden? Well, that’s a special kind of joy.
This particular lady, Aquilegia hirsutissima, is a bit of a gem. She’s not the absolute easiest plant to propagate for a complete beginner, but with a little patience and some clear guidance, I promise you, it’s entirely achievable. And the reward of seeing your own little seedlings unfurl and grow into those gorgeous flowers is just unparalleled.
The Best Time to Start
For Aquilegia hirsutissima, I find the late spring to early summer is truly the sweet spot. This is when the plant is actively growing, building up energy after flowering. You’re looking for healthy, new growth. If you’re thinking about dividing, early spring, just as the frost is leaving the ground and before new shoots get too tall, is also a fantastic time.
Supplies You’ll Need
Gathering your tools beforehand makes the process so much smoother. Here’s what I usually have on hand:
- Sharp, clean pruning shears or a sharp knife: This is crucial for clean cuts, which help prevent disease.
- Well-draining potting mix: I like a blend of peat moss, perlite, and a bit of compost. You want something that won’t hold excess moisture.
- Small pots or seed trays: Clean ones, of course.
- Rooting hormone (optional but helpful): This can give cuttings a little boost. Look for one with a fungicide in it.
- Watering can with a fine rose attachment: Gentle watering is key.
- Labels and a marker: Trust me, you’ll thank yourself later for labeling!
- A plastic bag or propagation dome: To create a humid environment for cuttings.
Propagation Methods
There are a couple of ways we can encourage new Aquilegia hirsutissima plants. I’ll walk you through the ones I find most successful.
Method 1: Division (Easiest and Most Reliable)
This is my go-to for Columbines. It’s like giving your existing plant a haircut and getting new plants in the process!
- Prepare your existing plants: Water any established plants thoroughly a day or two before you plan to divide them. This helps them withstand the stress.
- Gently excavate: Using your trowel, carefully dig around the base of the plant. You want to lift the entire root ball out of the ground with as little disturbance as possible.
- Inspect the roots: Gently shake off excess soil to get a good look at the root system. You’ll see where the plant has naturally formed clumps or divisions.
- Divide with care: Using a clean trowel, or even your hands, gently pull the root ball apart. If it’s a bit stubborn, you can use your knife or shears to cut through tough roots, but try to keep the divisions intact with a good amount of root attached. Aim for divisions that have at least a few stems and a decent root system.
- Replant immediately: Find suitable spots in your garden or pot up your new divisions in your well-draining potting mix. Make sure the crown (where the stems emerge from the roots) is at soil level.
- Water well and mulch: Give them a good watering and add a light layer of mulch to help retain moisture.
Method 2: Stem Cuttings (A Bit More Finesse)
This method requires a bit more attention, but it’s truly rewarding when it works.
- Take your cuttings: In late spring or early summer, look for healthy, non-flowering shoots that are about 3-4 inches long. Using your sharp shears, make a clean cut just below a leaf node (where a leaf attaches to the stem).
- Prepare the cuttings: Remove the lower leaves from the cutting, leaving just a couple at the top. This reduces water loss. If the leaves are quite large, you can even cut them in half.
- Apply rooting hormone (optional): Dip the cut end of the stem into rooting hormone, if you’re using it. Tap off any excess.
- Pot them up: Fill small pots or seed trays with your well-draining potting mix. Make a small hole with a pencil or your finger.
- Insert the cuttings: Gently insert the cuttings into the holes, pushing them down so the nodes are covered by soil. Firm the soil gently around them.
- Create humidity: Water lightly. Then, cover the pots with a clear plastic bag or a propagation dome. This is key to keeping the cuttings from drying out. You can prop the bag up with a few sticks so it doesn’t touch the leaves.
- Place them in a bright spot, but out of direct sun: A warm windowsill or a lightly shaded spot outdoors is ideal.
The “Secret Sauce” (Pro Tips)
Here are a few little tricks I’ve learned over the years that can really make a difference:
- For divisions, don’t be afraid to get a little rough (but careful!): Sometimes those older clumps can be quite dense. If you can’t pull them apart, a quick jab with a spade between the crowns usually works. Just ensure each piece has some roots.
- Bottom heat for cuttings: If you’re struggling with cuttings, popping them on a heated propagator mat can dramatically speed up root formation. It mimics the warmth of spring arriving underground.
- Air circulation is your friend: Once your cuttings have rooted (you’ll see new growth!), gradually introduce them to more air by opening the plastic bag or dome a little each day. This helps prevent fungal issues.
Aftercare & Troubleshooting
Once your divisions are planted or your cuttings have rooted (give them a gentle tug – if there’s resistance, they’ve rooted!), it’s time for a little tender loving care.
- Water consistently: Keep the soil evenly moist, but never soggy. Overwatering is the quickest way to spell disaster, leading to root rot. You’ll notice wilting, yellowing leaves, and eventually, the cutting might just collapse.
- Gradual hardening off: If you started cuttings indoors or in a sheltered spot, gradually acclimatize them to outdoor conditions over a week or two before planting them in their final garden spot.
- Watch for pests: Keep an eye out for common garden pests like aphids, though Aquilegia hirsutissima is generally quite hardy.
A Little Patience Goes a Long Way
Propagating plants is a journey, and Aquilegia hirsutissima is no exception. There will be successes, and there might be a few little setbacks along the way. Don’t get discouraged! Each attempt teaches you something new. Just keep nurturing those little green shoots, and soon you’ll have an abundance of these beauties gracing your garden. Happy gardening!
Resource: