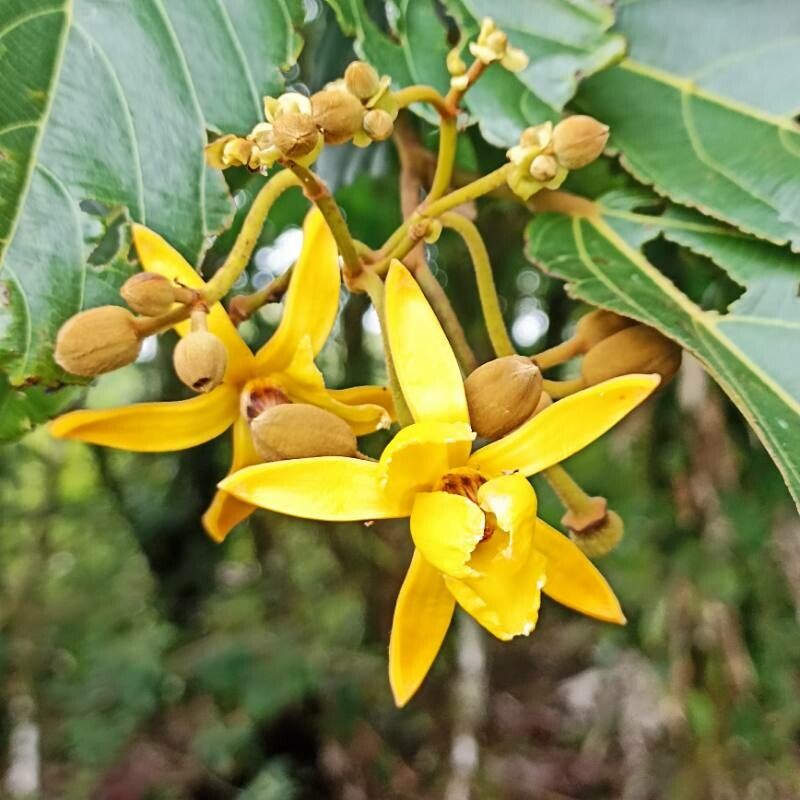
Oh, hello there! I’m so glad you popped over for a chat about Apeiba membranacea. If you’ve ever seen this beauty in bloom, you know what a treat it is. The ethereal whisper of its unique flowers, and the promise of little treasures (its fruits!) make it a plant worth knowing. And the best part? Bringing more of this magic into your garden by propagating it yourself is incredibly satisfying. Now, is it a walk in the park for a brand new gardener? I’d say it leans towards moderately easy, especially if you’re willing to pay a little attention. But don’t let that stop you – with a few pointers, you’ll be a pro in no time.
The Best Time to Start
For Apeiba membranacea, I find late spring to early summer is absolutely prime time. This is when the plant is actively growing and bursting with energy after the cool season. You’ll be taking cuttings from healthy, vigorous stems that have had a good long drink of sunshine. If you miss this window, don’t despair – you can sometimes get away with it in mid-summer, but the success rate might dip a bit.
Supplies You’ll Need
Here’s what I keep on hand for a propagation day:
- Sharp pruning shears or a clean knife: A clean cut is crucial to prevent disease.
- Rooting hormone: This is your little secret weapon for encouraging root development. I prefer one with a gentle fungicide in it.
- Potting mix: A blend of equal parts perlite and peat moss works wonders. It’s airy and retains just enough moisture. Some folks like to add a bit of orchid bark for extra aeration, and that’s a great idea too.
- Small pots or trays: These should have good drainage holes.
- Plastic bags or a clear plastic dome: To create a humid environment.
- Watering can with a fine rose attachment: For gentle watering.
- Labels and a marker: So you don’t forget what you’ve planted!
Propagation Methods
Let’s talk about the most reliable way to get new Apeiba membranacea plants from existing ones: stem cuttings.
Stem Cuttings:
- Select your stem: Look for a healthy, semi-hardwood stem. This means it’s not brand new and flimsy, but not old and woody either. You want a stem that bends a bit without snapping.
- Make the cut: Using your sharp tool, take a cutting that is about 4-6 inches long. Make the cut just below a leaf node (where a leaf attaches to the stem). This is where roots are most likely to form.
- Prepare the cutting: Gently remove the lower leaves, leaving just the top two or three. If the top leaves are very large, I like to cut them in half horizontally. This reduces water loss through transpiration.
- Dip in rooting hormone: Dip the cut end of the stem into your rooting hormone powder, coating the bottom inch or so. Tap off any excess.
- Plant your cutting: Gently push the coated end of the cutting into your prepared potting mix. Make a hole with a pencil or your finger first, so you don’t rub off the hormone. Ensure the leaf nodes you removed are buried.
- Water gently: Give the soil a light watering until it’s moist but not waterlogged.
- Create humidity: Cover the pots with a plastic bag, securing it with a rubber band, or place them under a clear plastic dome. Make sure the leaves don’t touch the plastic. Open the bag for a few minutes each day for ventilation – this helps prevent fungal issues.
- Find a good spot: Place the pots in a bright location, but out of direct, harsh sunlight. They love warmth, so a sunny windowsill is often perfect.
The “Secret Sauce” (Pro Tips)
Here are a couple of things I’ve learned over the years that make a real difference:
- Bottom heat is your friend: If you have a heat mat, placing your cuttings on it can significantly speed up root formation. They love to feel a bit of warmth from below.
- Don’t be afraid to mist: While you want good humidity, keeping the leaves slightly moist with a fine mist spray every so often can be very beneficial, especially if your humidity dome isn’t perfect.
- Patience, dear friend: Apeiba membranacea can be a bit on the slower side when it comes to rooting. Don’t despair if you don’t see progress in a week or two. Give it time; often, roots are forming beneath the surface long before you see any top growth.
Aftercare & Troubleshooting
Once you start to see tiny new leaves or feel a bit of resistance when you gently tug on the cutting, it’s a good sign roots are developing!
- Gradually acclimate: As your new plant gets established, slowly start to remove the plastic bag or dome over a week or two. This helps it get used to normal humidity levels.
- Watering: Water when the top inch of soil feels dry. It’s still important not to overwater.
- Transplanting: Once the roots have filled the pot (you might see them peeking out of the drainage holes), it’s time to transplant them into slightly larger pots with a good quality potting mix.
What if things go wrong? The most common culprit is rot. If your cutting turns mushy, black, or just looks generally unwell, it’s likely due to too much moisture and not enough airflow. If you see this happening, sadly, it’s probably best to start fresh. Make sure your soil is well-draining and you’re ventilating regularly.
A Encouraging Closing
Propagating plants is such a rewarding journey, and Apeiba membranacea is no exception. It’s a chance to connect with nature on a deeper level, to understand the life cycle, and to share the beauty you love with others. Be patient with yourself, celebrate the small victories, and enjoy the process. Happy growing!
Resource:
https://identify.plantnet.org/k-world-flora/species/Apeiba%20membranacea%20Spruce%20ex%20Benth./data