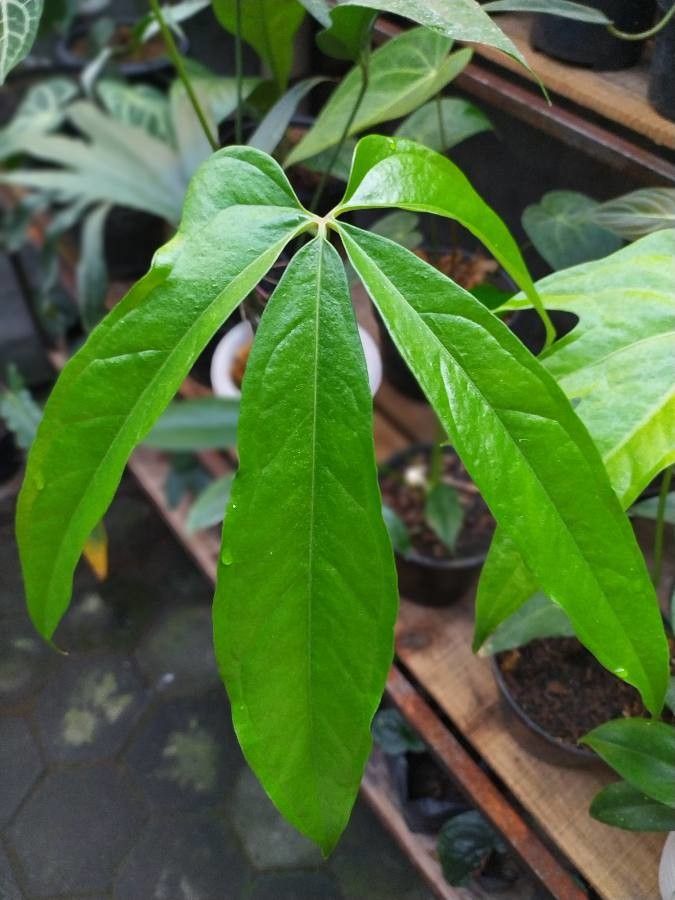
Hey there, fellow plant lovers! I’m so excited to chat with you today about one of my absolute favorites: Anthurium eminens. This magnificent plant, with its dramatic, velvety leaves, truly brings a touch of the exotic to any indoor jungle. And the best part? Getting more of these beauties for yourself is incredibly rewarding. Now, I’ll be honest, Anthurium eminens can be a bit of a diva when it comes to propagation, so it might not be the very first plant I’d recommend for a complete beginner. But don’t let that deter you! With a little patience and some know-how, you’ll be a pro in no time.
The Best Time to Start
For the highest chance of success, spring is your golden ticket. As the days get longer and warmer, your Anthurium is waking up from its winter slumber and putting on new growth. This energetic stage means it’s more receptive to propagating. Look for a healthy, mature plant that’s actively producing new stems or runners.
Supplies You’ll Need
Here’s what you’ll want to have on hand before you begin:
- A sharp, sterilized pruning shear or knife. Clean tools are crucial to prevent introducing diseases.
- Well-draining potting mix. I like to use a blend of equal parts perlite, orchid bark, and coco coir.
- Small pots or rooting containers. Clean yogurt cups with drainage holes work just fine!
- Rooting hormone (optional but recommended). A powder or gel will significantly boost your success rate.
- A spray bottle filled with clean water.
- Optional: A heat mat for providing consistent warmth.
Propagation Methods
Anthurium eminens is a bit particular, but the division method is generally the most reliable for home growers.
Division
This is my go-to for Anthurium eminens. It involves separating a mature plant into smaller divisions, each with its own roots and at least one healthy leaf or bud.
- Gently remove your Anthurium from its pot. Inspect the root ball. You’re looking for natural breaks where the rhizome (the thick, stem-like structure that grows horizontally) has divided. You might see new shoots or pups emerging from the sides.
- Using your sterilized shear or knife, carefully cut or tease apart the rhizome. Aim to create divisions that have a good amount of roots attached. Don’t worry if you lose a few delicate roots; it’s part of the process. Each new division should have at least one healthy leaf and a decent root system.
- If you’re using rooting hormone, dip the cut end of each division into it. Tap off any excess.
- Plant each division in its own small pot. Use your well-draining mix, ensuring the rhizome is just at or slightly above the soil surface. Don’t bury it too deeply!
- Water lightly. You want the soil to be moist, not soggy.
The “Secret Sauce” (Pro Tips)
Here are a few things I’ve learned over the years that really make a difference:
- Don’t overwater, ever! This is probably the biggest mistake most people make. Soggy soil is a death sentence for Anthuriums. Aim for consistently moist but not waterlogged.
- Humidity is king. These tropical beauties crave high humidity. You can achieve this by grouping your new propagations together, placing them on a pebble tray, or using a clear plastic bag or dome to create a mini-greenhouse effect. Just make sure to open it daily for ventilation to prevent mold.
- Bottom heat is a game-changer. If you can, place your pots on a gentle heat mat. This encourages root development from below, mimicking their natural tropical environment. I find this speeds things up considerably.
Aftercare & Troubleshooting
Once your divisions are potted up, place them in a bright spot with indirect light. Avoid direct sun, as it will scorch those delicate new leaves. Keep the humidity high and the soil consistently moist.
Be patient! It can take several weeks, sometimes even a couple of months, for new roots and growth to appear.
The most common issue you’ll face is root rot, usually caused by overwatering. Signs include yellowing leaves, wilting despite moist soil, or a mushy, foul-smelling rhizome. If you suspect rot, gently remove the plant from its pot, trim away any black or mushy roots with your sterilized tool, and repot into fresh, dry soil. You might also need to improve air circulation around your plant.
Yellowing leaves can also be a sign of stress from the transplanting process. As long as the rhizome looks firm and there’s new growth (even just a tiny bit!), don’t panic.
A Encouraging Closing
Propagating Anthurium eminens is a journey, and like all good gardening adventures, it requires a little patience and a lot of observation. Don’t get discouraged if your first attempt isn’t perfect. Every plant is different, and you’ll learn so much by watching and adapting. So gather your supplies, clear some space, and get ready to multiply the beauty in your home. You’ve got this! Happy propagating!
Resource:
https://identify.plantnet.org/k-world-flora/species/Anthurium%20eminens%20Schott/data