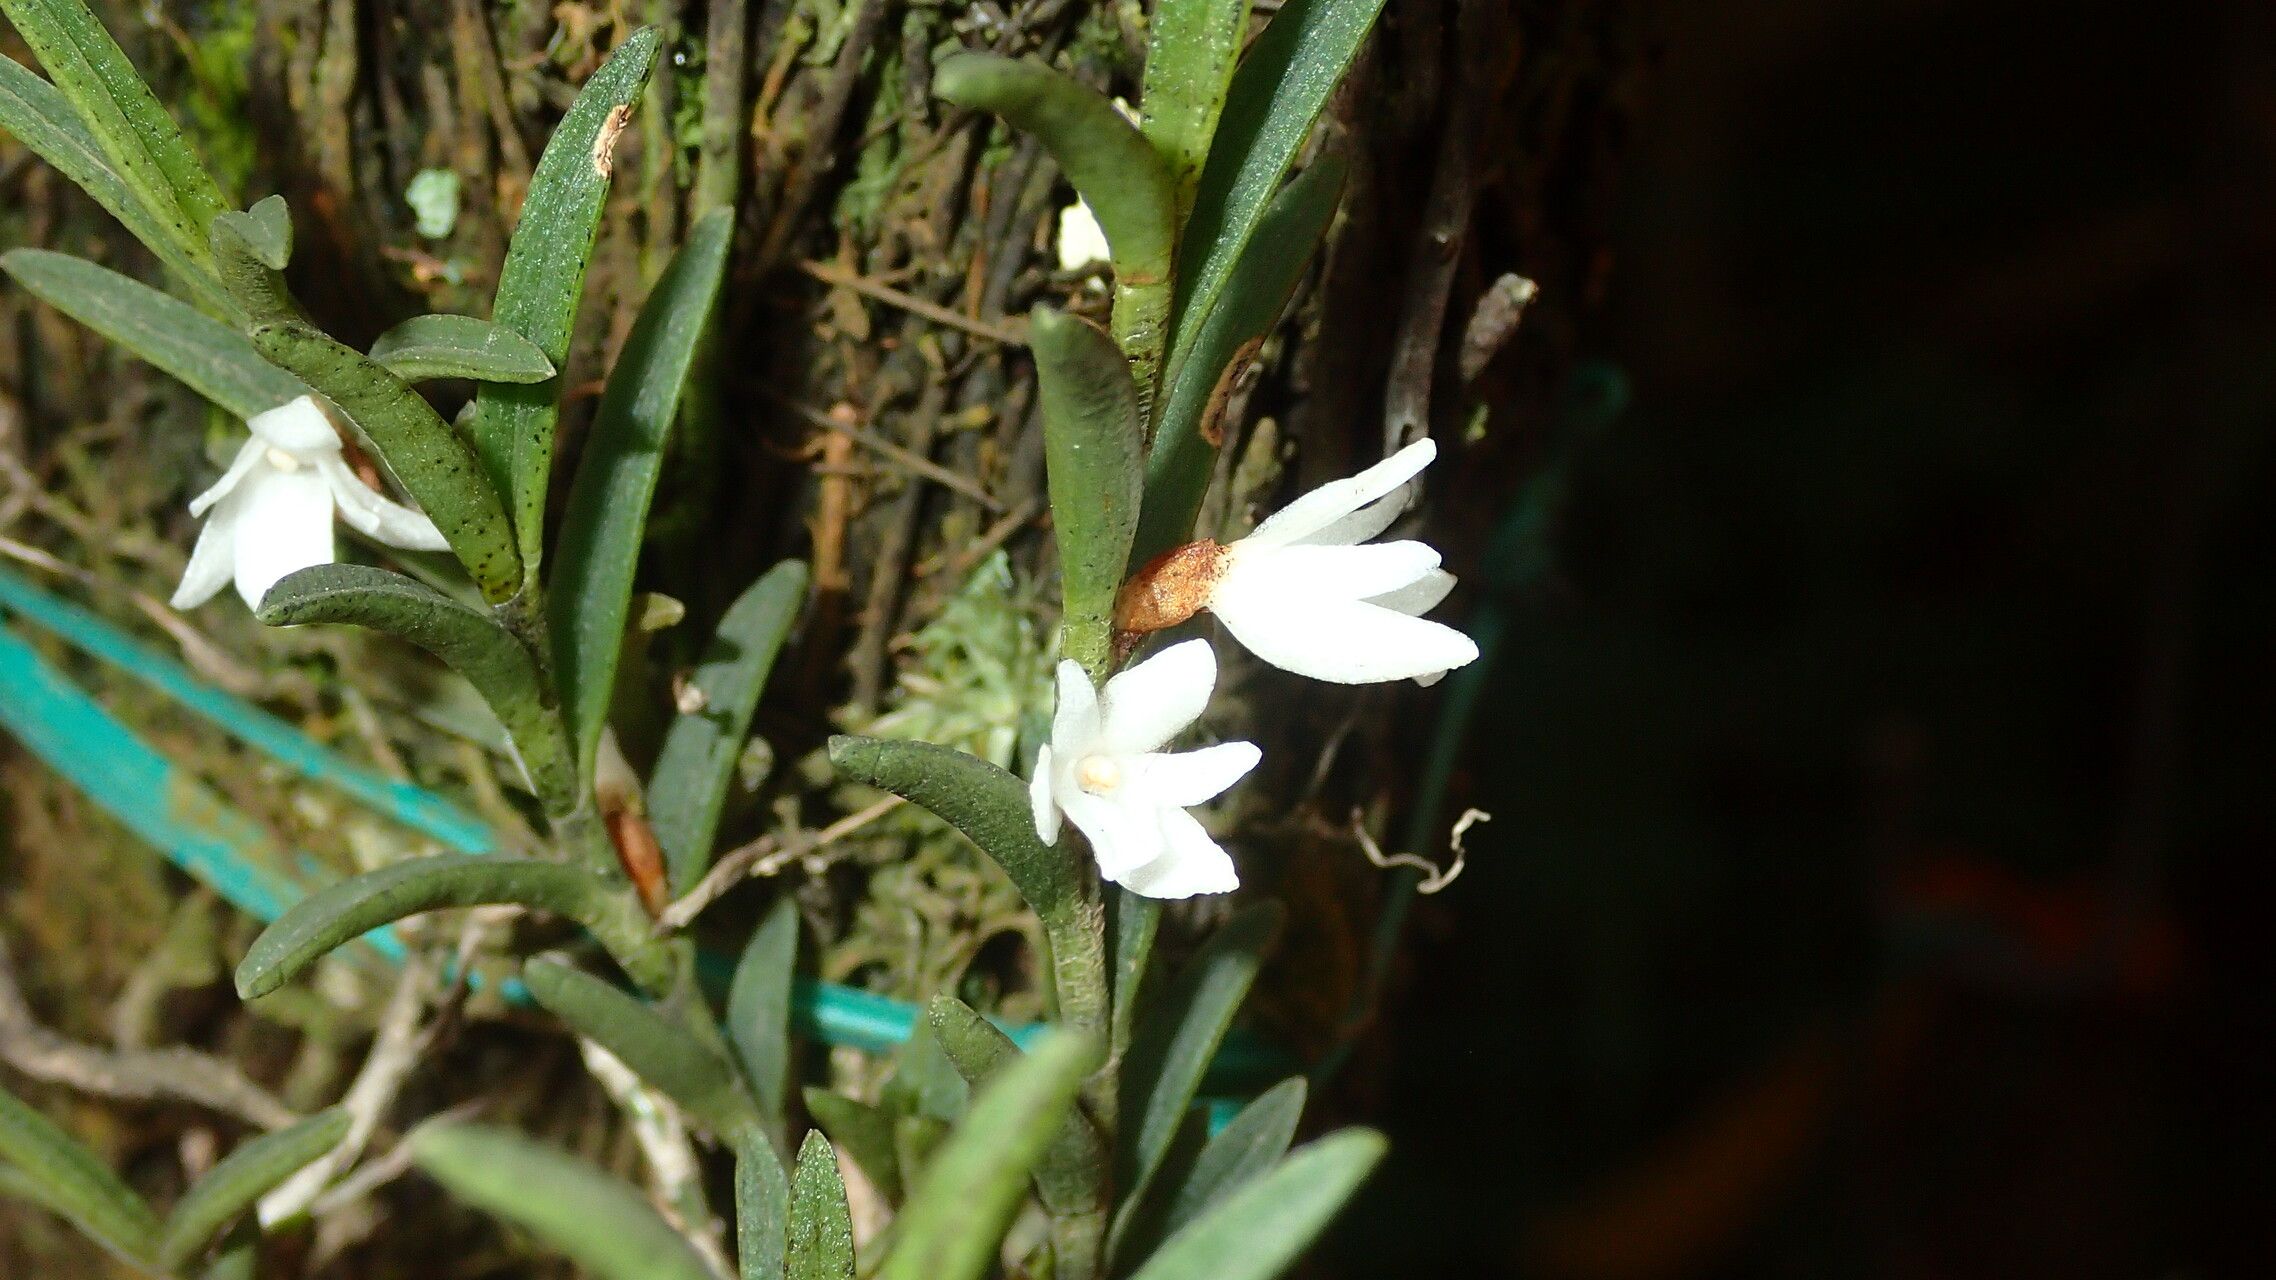
Hello, fellow plant lovers! It’s so good to chat with you today. If you’ve ever seen Angraecum humblotianum, you know it’s a real showstopper. Those incredibly fragrant, star-shaped white flowers are just breathtaking, and the lush, architectural foliage makes it a stunner even when it’s not in bloom. If you’ve been thinking about adding more of these beauties to your collection, or perhaps sharing them with friends, propagating them is a wonderfully rewarding endeavor. Now, is it easy for absolute beginners? While not as foolproof as a succulent, with a little patience and attention, Angraecum humblotianum is certainly a manageable project.
The Best Time to Start
For Angraecum humblotianum, I find the spring is your absolute best bet. Think of it as waking up from a winter’s nap. The plant is naturally inclined to put on new growth then, and the warmer temperatures and increasing light levels give your cuttings the best chance to establish themselves quickly. Aim for after the last frost, when things are really starting to heat up.
Supplies You’ll Need
Gathering your tools beforehand makes the whole process smoother. Here’s what I recommend:
- Sharp, sterile pruning shears or a razor blade: Cleanliness is key to preventing disease.
- Orchid bark mix: A good, well-draining blend is paramount. I usually go for a medium-grade mix.
- Perlite and sphagnum moss: These help with aeration and moisture retention, respectively.
- Small pots or community trays: Whatever you have that’s clean and has drainage holes.
- Rooting hormone (optional but recommended): A powder or gel can give your cuttings a helpful boost.
- Clear plastic bag or humidity dome: To maintain high humidity around your cuttings.
- Trowel or spoon: For handling your potting mix.
- Watering can with a fine rose or spray bottle: Gentle watering is essential.
Propagation Methods
Angraecum humblotianum is primarily propagated by division, but sometimes you can coax stem cuttings to root, though this is less common and more challenging.
Division (The Most Reliable Method)
This is my go-to for Angraecum humblotianum.
- Choose your plant: Select a mature orchid that has produced basal growths or offsets. These are the little baby plants that sprout from the base of the main plant.
- Gently remove from pot: Carefully take the orchid out of its pot. If the roots are tightly bound, you might need to gently loosen them or even carefully cut away the pot if it’s plastic.
- Inspect the roots: Look for where the new growth connects to the mother plant. You’re looking for a section that has its own healthy roots.
- Make the cut: Using your sterile pruning shears or razor blade, carefully cut the rhizome (the creeping stem) between the mother plant and the offset. Try to get a good portion of root with the new growth. If you’re using rooting hormone, dip the cut end of the offset into the powder or gel now.
- Pot up: Fill a clean pot with your orchid bark mix, perhaps with a little added perlite for extra drainage. Place the offset in the pot, ensuring the roots are spread out. Cover the roots with the mix, but don’t bury the crown (where the leaves emerge).
- Water sparingly: Give the new division a light watering. You want the potting mix to be moist but not soggy.
Stem Cuttings (For Experienced Growers)
This is more about experimenting and can be less successful, but if you have a mature plant with plenty of healthy stems, you can try.
- Select a healthy stem: Look for a healthy, semi-hardwood stem with at least two to three nodes (the points where leaves grow).
- Make the cut: Using your sterile razor blade, take a cutting that’s about 4-6 inches long.
- Prepare the cutting: Remove the lower leaves to expose the nodes. If you’re using rooting hormone, apply it to the cut end.
- Plant the cutting: You can try two methods here:
- In bark mix: Gently insert the cut end into a pot filled with your sterilized orchid bark mix.
- In water (with caution): You can try placing the cutting in a jar of clean water. Crucially, ensure the leaves do not touch the water. This invites rot.
- Provide humidity: Place the pot or jar inside a clear plastic bag or under a humidity dome.
The “Secret Sauce” (Pro Tips)
Here are a few things I’ve learned over the years that really seem to make a difference.
- Don’t overwater that new division! This is probably the most common mistake. Angraecum humblotianum hates soggy roots. Let the potting mix dry out slightly between waterings, especially for newly divided plants. It’s better to err on the side of too dry than too wet when they’re establishing.
- Bottom heat is your friend. If you’re trying stem cuttings, or even divisions in cooler weather, placing them on a gentle heating mat (designed for plants, not your kitchen!) can significantly speed up root development. Orchids love a bit of warmth coming from below.
- Patience with humidity. For cuttings to root, they need high humidity. That plastic bag or dome is essential, but also lightly mist the inside of the bag every couple of days if it looks dry. Just a gentle spritz!
Aftercare & Troubleshooting
Once your divisions or cuttings start showing signs of roots – you might see them peeking out of the drainage holes, or new leaf growth – it’s time to be a bit more attentive.
For divisions, continue to water as you would a mature plant, allowing the potting mix to dry out between waterings. Gradually introduce them to brighter light, but avoid direct, scorching sun. As for cuttings, when they have a decent root system (an inch or two long), you can transplant them into a small pot with orchid mix, treating them much like you would a newly divided plant.
The biggest issue to watch out for is rot. If you see mushy, black stems or leaves detaching easily with no signs of roots, it’s a sign of overwatering and too little air circulation. If you catch it early, you might be able to cut away the rotten bits, dust with cinnamon (a natural fungicide), and repot in dry mix. Unfortunately, if it’s widespread, the cutting might be a lost cause. For divisions, always ensure you have good air movement around the plant.
A Little Bit of Green Thumb Magic
Propagating Angraecum humblotianum is a journey, not a race. Celebrate the little victories – that first tiny root, the unfurling of a new leaf. Don’t be discouraged if a cutting doesn’t make it; each attempt teaches you something new. Be patient, keep your tools clean, and enjoy the delightful anticipation of watching your new orchids grow. Happy growing!
Resource:
https://identify.plantnet.org/k-world-flora/species/Angraecum%20humblotianum%20Schltr./data