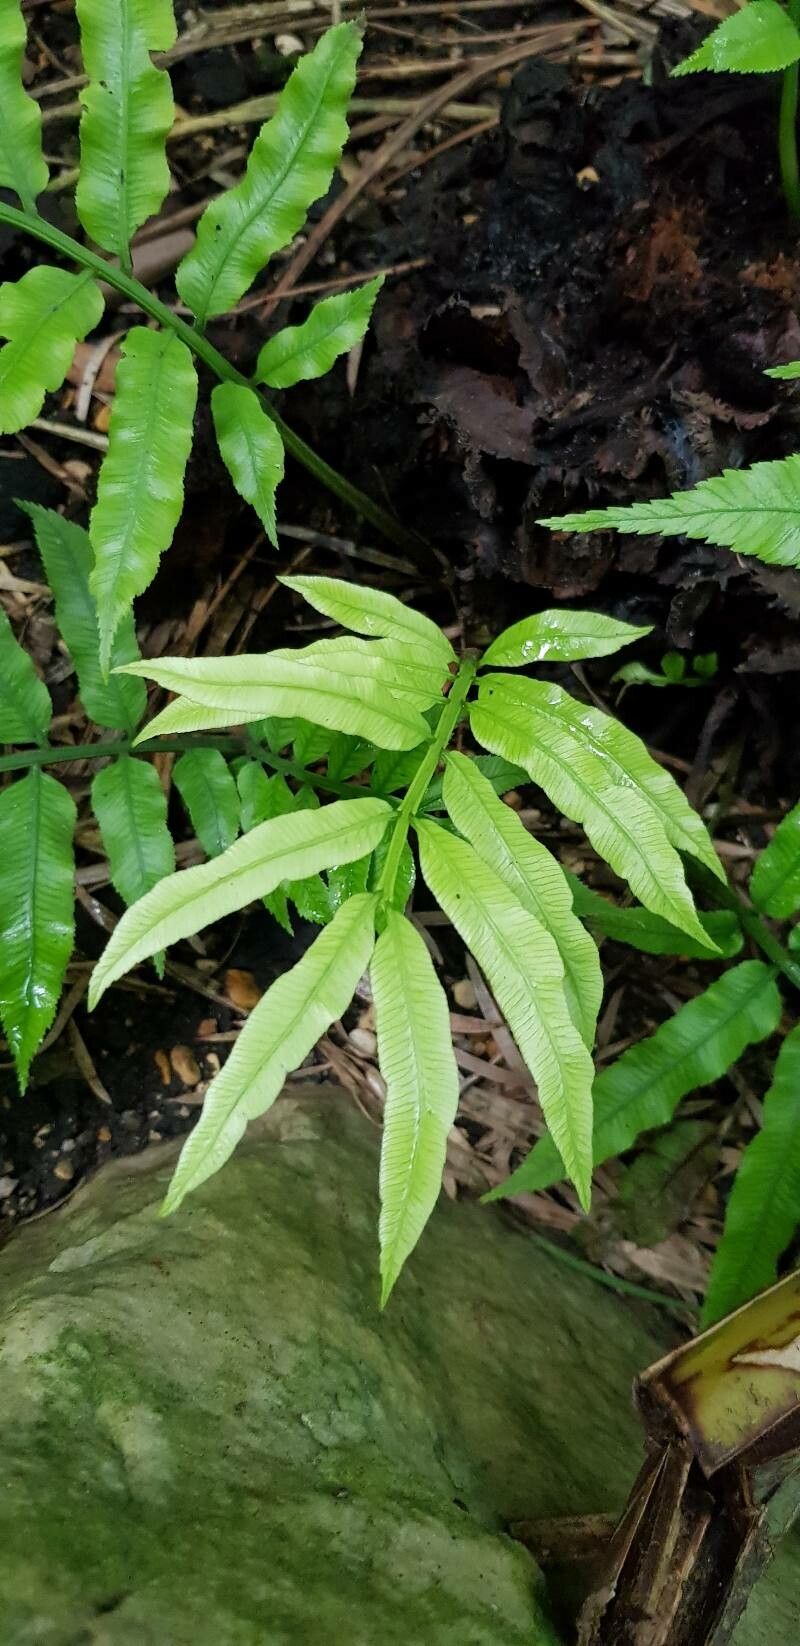
Oh, hello there! Come on in and grab a mug. It’s so lovely to have you here. Today, we’re diving into the fascinating world of propagating Angiopteris lygodiifolia. Now, if you’re not familiar, this fern is a real showstopper with its elegant, arching fronds. It has a prehistoric charm that just captivates. Growing these beauties from scratch is incredibly satisfying, like nurturing a tiny piece of the ancient world.
Is it a breeze? Well, Angiopteris lygodiifolia can be a bit of a premium plant to propagate, especially if you’re just starting out. It’s not quite as forgiving as a pothos, but with a little attention and the right approach, you’ll find success. Think of it as a rewarding challenge, a chance to really hone your plant parent skills!
The Best Time to Start
For Angiopteris lygodiifolia, the sweet spot for propagation is really during its active growing season. Think spring and early summer. This is when the plant is full of energy and ready to put out new growth, which is exactly what we want when we’re trying to start new plants. Aim to take cuttings when the fronds are developing and look vibrant and healthy. Avoid trying this when the plant seems sluggish or is going through a resting period.
Supplies You’ll Need
Gathering your tools beforehand makes all the difference. Here’s what I like to have on hand:
- Sharp, clean pruning shears or a craft knife: Cleanliness is key to prevent disease.
- Rooting hormone powder (optional, but helpful): Look for one formulated for woody plants or ferns.
- A well-draining potting mix: I usually go for a blend of peat moss, perlite, and a bit of orchid bark. This allows for good aeration and moisture retention without staying waterlogged.
- Small pots or trays: Clean pots with drainage holes are essential.
- A plastic bag or propagator lid: This creates a mini-greenhouse effect to keep humidity high.
- Water: Preferably distilled or filtered water to avoid mineral buildup.
- Labels and a permanent marker: To keep track of your babies!
Propagation Methods
There are a couple of ways to coax new Angiopteris ferns to life. We’ll focus on the most reliable:
Division
This is often the most successful method for Angiopteris, as it works with the plant’s natural growth habit.
- Gently remove the parent plant from its pot. Loosen the soil around the edges and carefully tip it out.
- Inspect the root ball. You’re looking for distinct sections where new growth is emerging from the main rhizome. You might see new fronds already poking out from these areas.
- Carefully separate the sections. Use your fingers to gently tease apart the roots and rhizomes. If the roots are really intertwined, you might need to use your clean, sharp knife to make a clean cut through the rhizome. Make sure each division has at least one healthy frond and a good portion of roots.
- Pot up each division. Plant each section in its own small pot filled with your prepared potting mix. Ensure the rhizome is just at the surface of the soil.
- Water gently until you see water draining from the bottom.
- Place the pots in a humid, warm location. Cover them with a plastic bag or propagator lid to maintain high humidity.
Rhizome Cuttings (a touch more advanced)
This is essentially taking a piece of the “stem” or rhizome.
- Identify a healthy, mature rhizome section on the parent plant. Look for a part that’s firm and shows signs of growing energy.
- Using your clean knife or shears, carefully cut a section of the rhizome that is at least 2-3 inches long and has at least one nascent frond or bud.
- If using rooting hormone, dip the cut end into the powder.
- Plant this cutting horizontally or at a slight angle in your potting mix, ensuring the bud or developing frond is just above the surface.
- Water gently and then cover with your humidity dome.
The “Secret Sauce” (Pro Tips)
Here are a few little tricks I’ve picked up over the years that really make a difference:
- Never let the fronds touch the water. This is crucial, especially if you happen to try a water propagation method (though I don’t recommend it for Angiopteris). In division or rhizome cuttings, ensure the potting mix is doing the job of keeping things moist, not the leaves sitting in puddles.
- Bottom heat is your friend. Angiopteris loves warmth, and a gentle heat mat placed under your pots can significantly speed up root development. This mimics the cozy conditions in their natural habitat.
- Patience is paramount with ferns. They don’t sprout overnight like some easier plants. Give them time. Weeks, sometimes even a couple of months, for roots to establish and new growth to reliably appear. Resist the urge to constantly dig them up to check for progress!
Aftercare & Troubleshooting
Once you see signs of new growth – emerging fiddleheads or tiny unfurling fronds – you’re on your way!
- Gradually acclimate your new fern to lower humidity by slowly opening the propagator lid or plastic bag over a week or two.
- Keep the soil consistently moist but not soggy. Water when the top inch of soil feels dry.
- Provide bright, indirect light. Avoid direct sun, which can scorch young fronds.
Now, what if things go wrong? The most common culprit is rot. Mushy, black stems or rhizomes are usually a sign of too much moisture and not enough air circulation. Prevention is key: use a well-draining mix, ensure good drainage holes, and don’t overwater. If you spot signs of rot, you may need to trim away the affected parts with your sterilized knife and repot in fresh, drier mix. Sometimes, a cutting is just a lost cause, and that’s okay. It happens to all of us!
A Encouraging Closing
So there you have it! Propagating Angiopteris lygodiifolia is a journey, and the most important thing is to enjoy the process. Be kind to yourself, celebrate the small victories (like that first tiny fiddlehead!), and don’t be discouraged if you have a few setbacks. Each plant you nurture teaches you something new. Happy propagating, and I can’t wait to hear about your fern babies!
Resource:
https://identify.plantnet.org/k-world-flora/species/Angiopteris%20lygodiifolia%20Rosenst./data