Hello there, fellow plant lover! It’s so wonderful to connect with you today. I’ve been tending to gardens for two decades now, and I still get a thrill every time I help a plant make a new start. Today, we’re going to dive into a particularly lovely plant: Angelica capitellata.
Why Propagate Angelica Capitellata?
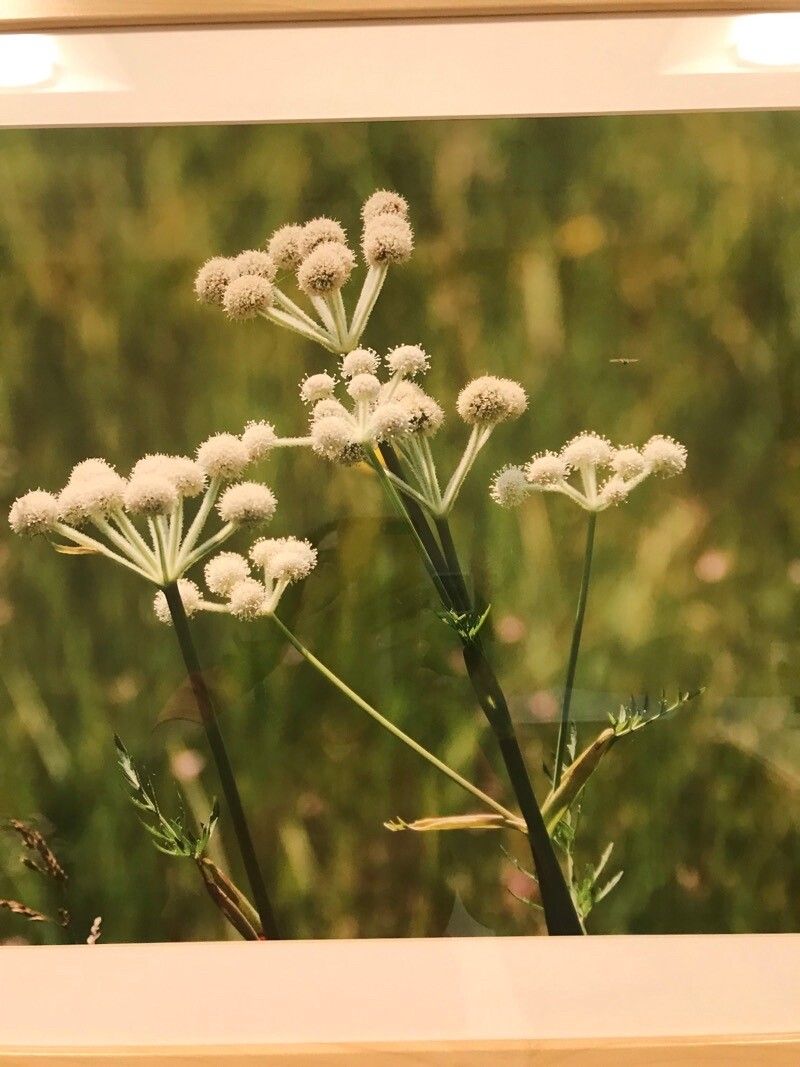
Angelica capitellata is just exquisite, isn’t it? With its tall, elegant flower stalks topped with those creamy white umbels, it brings a beautiful architectural element to any garden. Plus, it’s a magnet for beneficial insects! Growing more of these beauties yourself is incredibly rewarding. You get to share the magic with friends (or just fill your own garden!), and it’s generally a pretty straightforward plant to work with, making it a good option for beginners looking to expand their propagation skills.
The Best Time to Start
For Angelica capitellata, early spring is your golden window. Think March or April, just as the new growth is really waking up. This is when the plant has the most energy stored up to put into new roots. You can also try late summer, after the main flowering period, though spring usually offers the highest success rate.
Supplies You’ll Need
Gathering your supplies beforehand makes the whole process so much smoother. Here’s what I recommend:
- Sharp pruning shears or a clean knife: For making precise cuts.
- Potting mix: A light, well-draining mix is crucial. I often use a blend of potting soil, perlite, and a little bit of compost.
- Small pots or seed trays: With drainage holes, of course!
- Rooting hormone (optional but helpful): A powder or gel can give new cuttings a little boost.
- Plastic bags or a propagator: To create a humid environment.
- Watering can with a fine rose: For gentle watering.
- Labels: To keep track of what you’ve planted and when.
Propagation Methods
Angelica capitellata is best propagated from cuttings or by division.
Stem Cuttings
This is my go-to method for Angelica.
- Take Cuttings: In early spring, look for healthy, non-flowering shoots. Using your sharp shears, cut a stem about 4-6 inches long, just below a leaf node (where a leaf joins the stem). Remove any lower leaves, leaving just a few at the top.
- Prepare the Cutting: If you’re using rooting hormone, dip the cut end into the powder or gel.
- Plant the Cutting: Fill your small pots with your prepared potting mix. Make a pilot hole with a pencil and insert the cutting, ensuring the bottom leaf node is below the soil surface. Gently firm the soil around it.
- Create Humidity: Water the soil lightly. Then, cover the pot with a clear plastic bag or place it in a propagator. This traps moisture and creates the high humidity cuttings need.
- Provide Light and Warmth: Place the pots in a bright spot out of direct sunlight. A greenhouse or a warm windowsill is perfect.
Division
If your Angelica plant is already established and a bit larger, division is a great way to multiply it.
- Dig Up the Plant: In early spring, gently dig up the entire plant. Try to disturb the roots as little as possible.
- Separate the Roots: You’ll often see multiple crowns or shoots emerging. Use your hands or a clean spade to carefully divide the root ball into smaller sections, ensuring each section has some healthy roots and at least one shoot.
- Replant Immediately: Plant the divisions back into the garden or into pots with fresh potting mix, spacing them out appropriately. Water them in well.
The “Secret Sauce” (Pro Tips)
Here are a few tricks I’ve learned over the years that can make a real difference:
- The “Don’t Let Leaves Touch Water” Rule: This is particularly important for cuttings kept in water, but it applies to potted cuttings too. If leaves sit in stagnant water, they’re prone to rot. Trim off lower leaves so they won’t be submerged when you water.
- Bottom Heat is Your Friend: For cuttings, providing a gentle, consistent warmth from below can significantly speed up root formation. A heating mat designed for seedlings does wonders. Just make sure the heat isn’t too intense – think lukewarm bathwater temperature.
- Don’t Overwater: This is probably the most common mistake. Cuttings and divisions need consistently moist soil, but never soggy. Constantly wet conditions will lead to rot before roots can even form. Let the surface of the soil dry out slightly between waterings.
Aftercare & Troubleshooting
Once your cuttings have developed a good root system (you can gently tug on a leaf – if there’s resistance, roots are forming!) or your divisions have settled in, you can start treating them more like mature plants.
- Gradually Acclimate: If you’ve been using a propagator or plastic bag, gradually remove it over a few days to allow the new plants to adjust to lower humidity.
- Water Regularly: Water when the top inch of soil feels dry.
- Fertilize Lightly: Once you see new growth appearing, you can start using a diluted liquid fertilizer once a month during the growing season.
Now, what if things go wrong? The most common issue you’ll encounter is rot. This usually shows up as mushy, black stems or leaves. It’s almost always a sign of overwatering or poor drainage. If you see rot, it’s best to discard the affected cutting or division to prevent it from spreading. Though disheartening, it’s a learning opportunity! Take note of your watering habits and consider improving your soil’s drainage.
Keep Nurturing Your Green Thumbs
Propagating Angelica capitellata is a wonderfully rewarding experience. It takes a little patience and attention, but seeing those tiny roots emerge and knowing you’ve helped a new life spring forth is a joy unmatched. Don’t be discouraged if your first few attempts aren’t perfect. Gardening is all about learning and adapting. Keep experimenting, keep observing, and most importantly, keep enjoying the process! Happy propagating!
Resource: