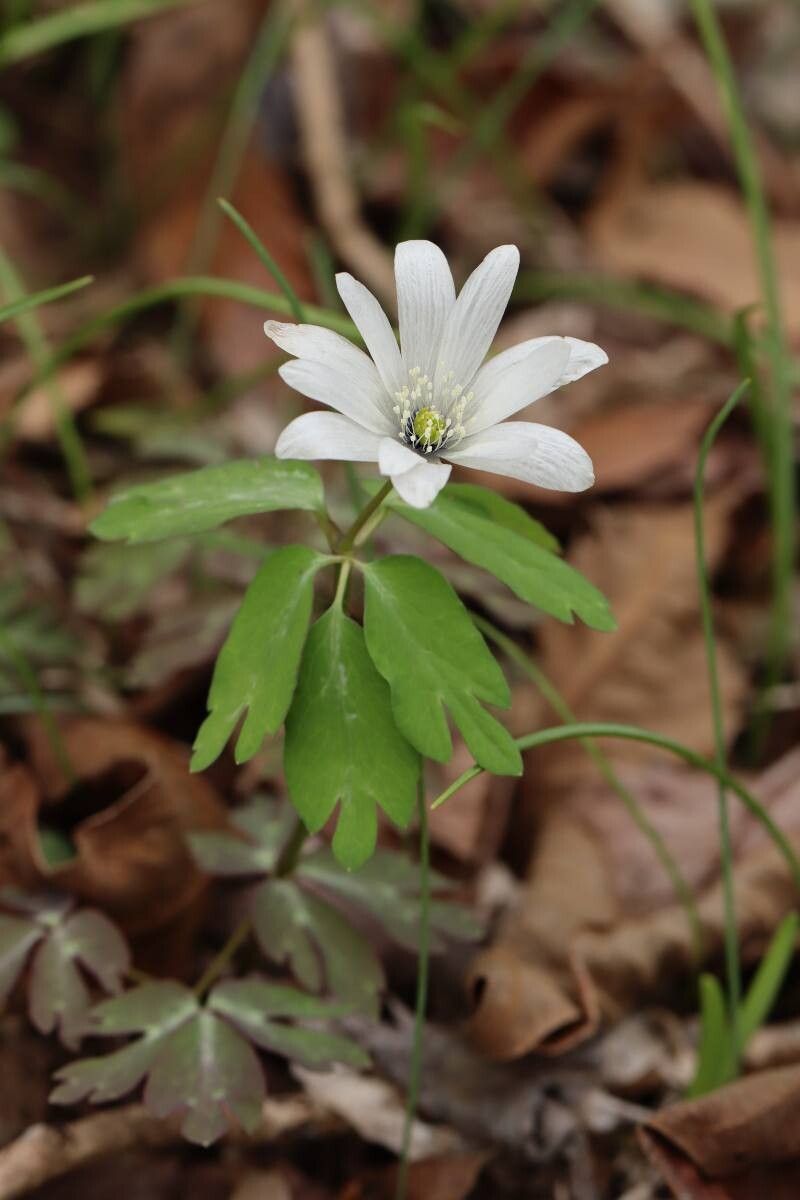
Oh, hello there! Come on in and pull up a chair. I’m so glad you’re interested in propagating Anemonoides raddeana, or as some of us fondly call them, the Japanese Anemones. If you’ve ever seen these beauties gracing a woodland garden with their delicate, often pink or white blooms, I’m sure you understand their charm. They have this lovely way of dancing in the breeze, bringing such ethereal elegance to shady spots.
It’s incredibly rewarding to watch a tiny cutting or a divided piece of rhizome transform into a whole new plant. It feels like a little bit of gardening magic, doesn’t it? And the good news for you? While some plants can be notoriously fussy, Anemonoides raddeana is actually quite forgiving. I’d say it’s a welcoming project for most gardeners, even those just dipping their toes into the world of propagation.
The Best Time to Start
For these lovely anemones, the absolute best time to get your propagation party started is in the spring. Think about when they’re putting on new growth, unfurling fresh leaves after their winter’s rest. This is when their energy levels are high, making them primed for new adventures. Alternatively, late summer or early fall, after they’ve finished flowering, can also work, but spring usually gives you the best odds for robust rooting.
Supplies You’ll Need
To set yourself up for success, here’s a little list of what I always have on hand:
- Sharp pruning shears or a clean, sharp knife: For making clean cuts that heal well.
- A good quality potting mix: Something that drains well is key. I often mix in perlite or coarse sand for extra aeration.
- Small pots or trays: With drainage holes, of course!
- Rooting hormone (optional but helpful): A rooting powder or gel can give your cuttings a helpful boost.
- A watering can with a fine rose: For gentle watering.
- Labels: So you don’t forget what you’ve planted where!
Propagation Methods
Anemonoides raddeana is most commonly propagated through division. It’s straightforward and usually yields great results.
- Digging Up the Mother Plant: In early spring, before new growth gets too vigorous, carefully dig up your established Anemonoides raddeana. Try to disturb the roots as little as possible. You can use a garden fork for this, working around the plant.
- Identifying Divisions: Once the root ball is exposed, you’ll likely see where the plant naturally divides. Look for sections that have their own established root system and at least one healthy shoot or bud.
- Separating the Divisions: Gently pull the parent plant apart with your hands. If the roots are a bit stubborn, you can use your clean knife or shears to make a clean cut to separate the divisions. Ensure each new piece has roots and shoots.
- Replanting: Pot up each division into its own pot filled with your well-draining potting mix. Water them in gently. You can also replant some divisions directly back into the garden, giving them plenty of space.
While division is the go-to, you can also try propagating from root cuttings if you’re feeling adventurous.
- Harvesting Root Cuttings: When you’re dividing the plant, take some of the thicker, fleshy roots. Cut them into 2-3 inch sections.
- Planting the Cuttings: Fill shallow trays with your potting mix. Lay the root cuttings horizontally on the surface of the soil or bury them just about half an inch deep.
- Keeping Them Happy: Keep the soil consistently moist but not waterlogged, and provide a bit of warmth, perhaps with a heat mat if you have one. Be patient; this method can take a little longer to show signs of life.
The “Secret Sauce” (Pro Tips)
Here are a couple of little tricks I’ve picked up over the years:
- Don’t Overcrowd Divisions: When you’re replanting your divisions, give them enough space. Trying to cram too many into one pot or planting them too close in the garden can lead to competition and stress, making it harder for them to establish.
- The Power of a Good Soak: After you’ve divided and replanted, give your new anemones a good, thorough watering. This helps settle the soil around the roots and reduces transplant shock. Let them soak for a bit if they seem particularly thirsty.
- A Touch of Shade is Gold: Newly divided plants, or those started from root cuttings, are a bit fragile. They appreciate a bit of dappled shade for the first few weeks. Direct, harsh sun can really stress them out.
Aftercare & Troubleshooting
Once your divisions start sending up new shoots, you’re well on your way! Continue to water them consistently, keeping the soil moist but never soggy. As they grow, you can gradually introduce them to more light, depending on the variety.
The most common issue you might encounter is rot, often due to overwatering or poorly draining soil. If you notice yellowing leaves or a mushy stem base, it’s a sign things are too wet. You might need to ease up on the watering, ensure good drainage, or even consider repotting into drier soil if it’s severe. If you see no new growth after a reasonable time, don’t despair – sometimes these things just need a bit more patience.
A Encouraging Closing
So there you have it! Propagating Anemonoides raddeana is a truly delightful way to expand your garden and share these beautiful plants. Be patient, enjoy the process of nurturing them, and before you know it, you’ll have a whole troop of these elegant anemones gracing your garden. Happy propagating!
Resource:
https://identify.plantnet.org/k-world-flora/species/Anemonoides%20raddeana%20(Regel)%20Holub/data