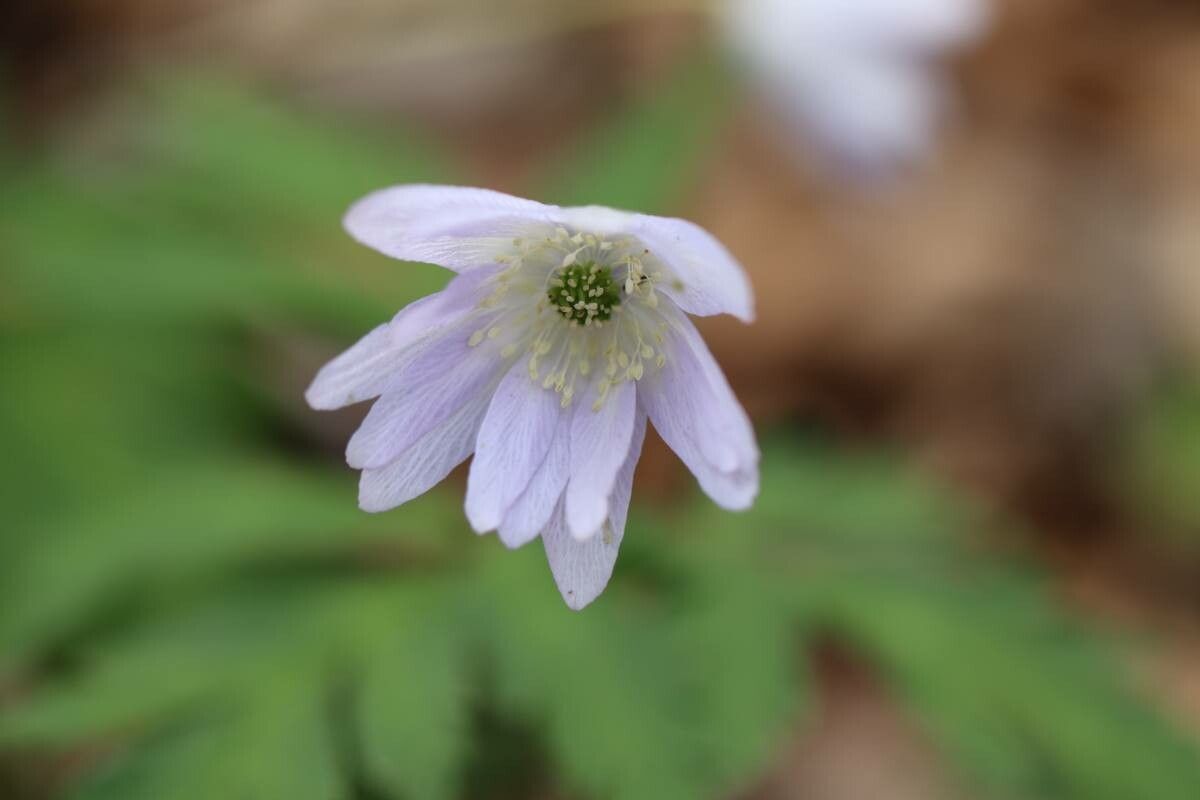
Hello there, fellow plant lovers! I’m so excited to chat with you today about a true gem in any garden: Anemonoides pseudoaltaica. Those delicate, star-shaped blooms in spring, often a lovely shade of white or soft pink, just bring such a smile to my face after a long winter. And the best part? You can easily fill your garden (or your friends’ gardens!) with more of these beauties.
Why Grow More Anemonoides pseudoaltaica?
If you’re new to the gardening world, you’ll be happy to know that propagating Anemonoides pseudoaltaica is quite beginner-friendly. It’s a very rewarding experience to witness a little piece of your plant grow into a whole new one. It’s like magic, but with roots!
The Best Time to Start
The absolute best time to get your hands dirty with propagating Anemonoides pseudoaltaica is early spring, just as the plant is waking up from dormancy. You can also have success with division in the fall as the plant begins to slow down before winter. Timing is key, and giving them a good start ensures they have the energy to establish themselves.
Supplies You’ll Need
Gathering your supplies makes the whole process go much smoother. Here’s what I usually have on hand:
- Sharp, clean pruning shears or a knife.
- A good quality seed-starting mix or a potting mix with ample perlite for drainage.
- Small pots or trays with drainage holes.
- Plant labels and a waterproof marker.
- Optional: A rooting hormone powder or gel (though often not strictly necessary for Anemonoides pseudoaltaica, it can speed things up!).
- Optional: A mist sprayer for keeping things humid.
Propagation Methods
There are a couple of ways to get new Anemonoides pseudoaltaica plants, and division is my absolute favorite for this particular beauty.
-
Division (My Top Pick!)
This method is fantastic because it tackles established clumps and is quite robust.- Gently dig up the entire clump of your Anemonoides pseudoaltaica. I like to do this in early spring or fall. Try to disturb the roots as little as possible.
- Gently break apart the root ball. You’re looking for sections that have their own roots and at least a few healthy shoots or buds. You can often do this with your hands; sometimes a gentle tug or using the tip of your trowel can help. Don’t be afraid to get in there!
- Inspect for health. Make sure each piece you select has a good root system attached.
- Pot them up. Plant each division into its own pot filled with your well-draining soil mix. Make sure the crown (where the shoots emerge from the roots) is just at or slightly below the soil surface.
- Water gently. Water thoroughly to settle the soil around the roots.
-
Rhizome Cuttings (Slightly More Advanced)
Anemonoides pseudoaltaica has rhizomes, which are like underground stems. You can propagate from these too!- During your division work, carefully examine the rhizomes. Look for plump, healthy sections.
- Using your sharp shears, cut sections of the rhizome that are at least 2-3 inches long and have at least one visible bud or eye. You can even cut a rhizome with two buds into two pieces.
- Plant the cuttings horizontally or at a slight angle in your seed-starting mix, burying them about an inch deep. Ensure the buds are pointing upwards.
- Water and keep moist.
The “Secret Sauce” (Pro Tips)
Here are a few little tricks I’ve picked up over the years that can really boost your success:
- Don’t overwater after division. While you want the soil to be moist, Anemonoides pseudoaltaica roots can rot if they sit in soggy conditions. Think “damp, not drowning.” I like to let the soil surface dry out just a bit between waterings.
- Mulch is your friend. Once your divided plants are in the ground or established in their pots, a light layer of mulch can help retain moisture and suppress weeds, giving your new plants a fighting chance.
- Be patient with rhizome cuttings. Sometimes these take a little longer to show signs of life. Don’t give up too soon! Keep the soil consistently, but not soaking, moist.
Aftercare & Troubleshooting
Once your divisions or cuttings are potted, give them a good drink and place them in a spot with bright, indirect light. Avoid direct sun, especially for young plants.
Keep an eye out for rot. This is the most common culprit for failure. You’ll see yellowing leaves, a mushy stem base, or the plant just refusing to perk up. If you suspect rot, gently remove the affected plant, trim away any rotted parts with your clean shears, and repot in fresh, dry soil. Sometimes, giving them a bit more airflow can also help.
As they start to grow, you’ll see new shoots emerging. Once they have a few sets of leaves and seem happy, you can start to treat them like your mature plants!
A Little Sunshine and a Lot of Patience
Propagating Anemonoides pseudoaltaica really is a delightful part of gardening. It’s a chance to connect with your plants on a deeper level and to share their beauty. Don’t be discouraged if your first attempt isn’t perfect. Gardening is all about learning and experimenting, and I’m confident you’ll have wonderful results. Happy growing!
Resource: