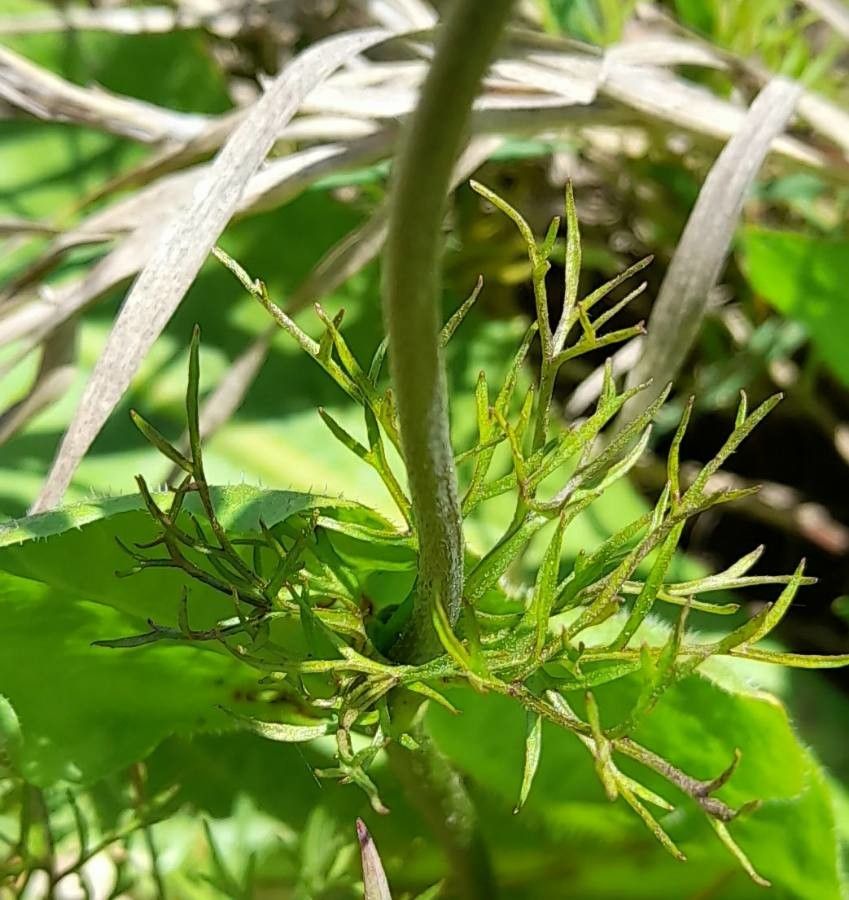
Hello there, fellow plant lovers!
Let’s talk about a bloom that really captures my heart: Anemone decapetala. These little beauties, with their delicate petals and pops of vibrant color, are just delightful. They bloom with such enthusiasm, and there’s a special kind of magic in seeing something you’ve coaxed into life flourish in your garden. Propagating them is a wonderfully rewarding endeavor, a chance to expand your floral kingdom without breaking the bank. Now, for the good news: for the most part, Anemone decapetala is quite amenable to propagation, making it a fantastic project for those just dipping their toes into the world of plant multiplication.
The Best Time to Start
The sweet spot for propagating Anemone decapetala is typically in late spring or early summer, right after the plant has finished its main flowering period. This is when the plant has plenty of energy stored up, making it much more receptive to producing new growth and roots. You want to work with healthy, vigorous specimens – no struggling plants for this adventure!
Supplies You’ll Need
Gathering your supplies beforehand makes the whole process much smoother. Here’s what I usually have on hand:
- Sharp pruning shears or a clean knife: For making clean cuts.
- Well-draining potting mix: A blend of peat moss, perlite, and a bit of compost works wonders. You can also find specialized seed-starting or cactus/succulent mixes that offer excellent aeration.
- Small pots or seedling trays: With drainage holes, of course!
- Rooting hormone (optional but recommended): This can give your propagated pieces a nice boost.
- A watering can with a fine rose: For gentle watering.
- A plastic bag or clear dome: To create a humid environment, especially for cuttings.
- Labels and a permanent marker: So you don’t forget what you planted where!
Propagation Methods
Anemone decapetala is most effectively propagated through division. This is where we’ll focus our efforts.
Division:
This is the most straightforward and successful method for Anemone decapetala. Think of it as carefully splitting up a happy family of roots.
- Dig Up Gently: In late spring or early summer, after flowering, carefully dig up the entire Anemone decapetala clump. Use a garden fork or trowel to loosen the soil around the plant and lift it out gently to avoid damaging the roots too much.
- Inspect and Separate: Gently shake off excess soil. You’ll see the main plant with its root system. Look for natural divisions – points where the roots and crown are easily separable. You might see multiple shoots emerging from one larger root structure.
- Make the Cut: Using your clean pruning shears or knife, separate these natural divisions. Each division should have at least one healthy root and a shoot or bud. If a division looks a bit dry or fragile, don’t force it. Sometimes a piece can be nurtured back if the main clump isn’t cooperative.
- Potting Up: Pot each division into its own small pot filled with your well-draining potting mix. Ensure the crown of the plant (where the leaves emerge from the roots) is just at the soil surface.
- Water and Settle: Water the newly potted divisions gently. The goal is to settle the soil around the roots, not to drench them.
The “Secret Sauce” (Pro Tips)
Here are a couple of tricks I’ve picked up over the years that can really make a difference:
- Don’t be afraid of a little rot: It sounds counterintuitive, but if you see a tiny bit of rot on an old, woody root when dividing, it’s often best to trim it away with a clean cut and let the wound callus slightly before replanting. A clean cut is less likely to harbor disease than a ragged tear.
- Think like a dormant bulb: Even though we’re dividing, treat these new starts with a bit of the patience you’d give a new bulb. They need time to establish. Avoid fertilizing too early. Let them put their energy into growing roots first. A light feeding can come once you see good top growth.
Aftercare & Troubleshooting
Once your divisions are in their pots, keep them in a shady, protected spot for the first few weeks. This helps them adjust to not being part of the larger parent plant. Water them just enough to keep the soil consistently moist but not soggy. You should start to see new leaf growth within a few weeks.
The most common sign of trouble is wilting that doesn’t improve after watering, or an unpleasant, mushy appearance at the base – that’s rot. If you see signs of rot, try to gently remove the affected part. If the whole division seems compromised, it might be best to compost it and learn from the experience. Don’t be discouraged by a few failures; it’s all part of the gardening journey!
A Encouraging Closing
Remember, gardening is a dance between patience and observation. Be gentle with your new Anemone decapetala starts, give them time to settle in, and celebrate every tiny new leaf. There’s immense satisfaction in nurturing these plants from divisions, and soon you’ll have a whole garden bursting with their cheerful blooms. Happy propagating!
Resource:
https://identify.plantnet.org/k-world-flora/species/Anemone%20decapetala%20Ard./data