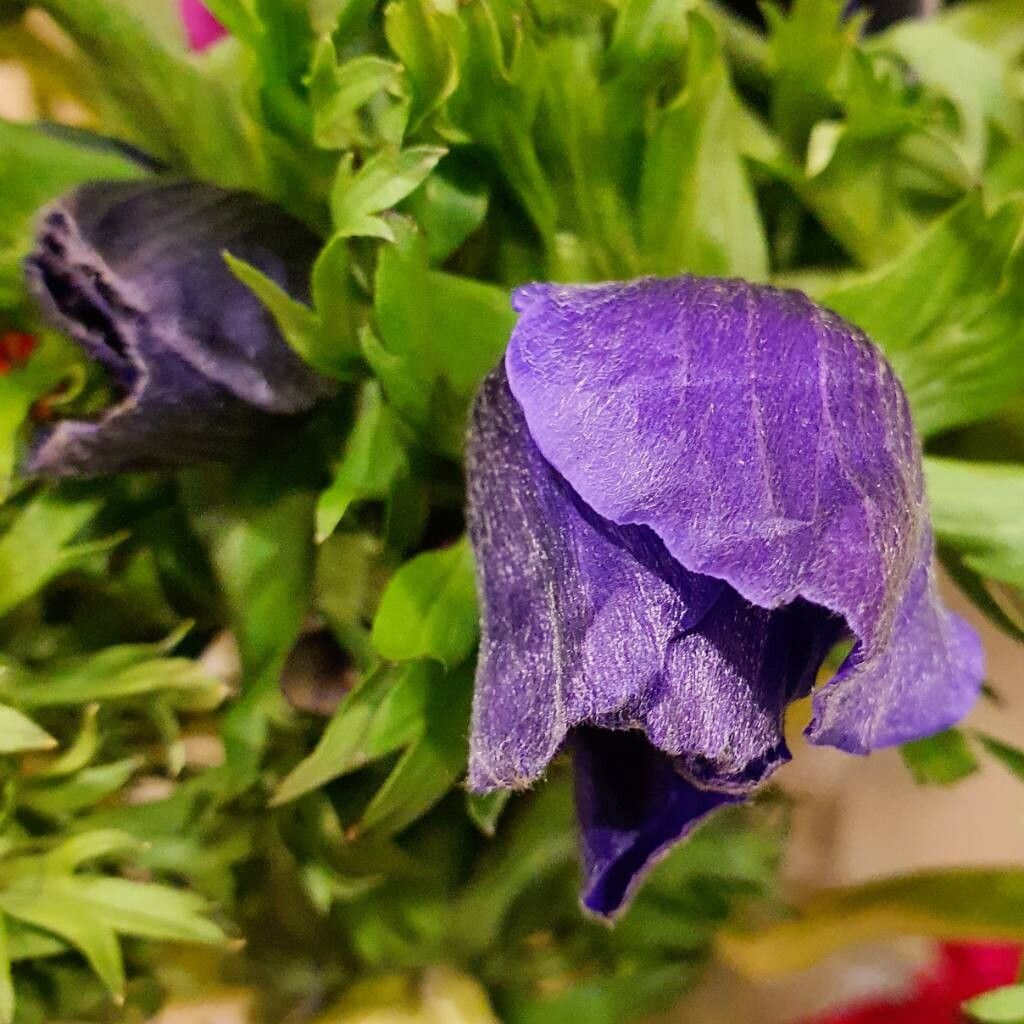
Oh, Anemone coronaria! Those vibrant, papery petals in shades of poppy-red, brilliant blue, and deep purple always steal my heart. They bring such a joyful splash of color to the garden, especially in those in-between seasons. If you’ve ever admired them and thought, “I wish I had more of those!” – you’re in luck! Propagating these beauties is a wonderfully rewarding way to fill your garden beds without buying new plants.
Now, I wouldn’t call them the easiest plant for absolute beginners, but with a little attention and understanding, you’ll find them quite manageable. The key is knowing when to give them a nudge.
The Best Time to Start
For Anemone coronaria, the sweet spot for propagation is generally late summer or early autumn. This is when the parent plants are beginning to naturalize after their blooming season and before the cooler weather really sets in. It gives the new propagations a good chance to establish before winter. If you’re dividing rhizomes, doing it during their dormancy is also a good bet.
Supplies You’ll Need
Before we get our hands dirty, let’s gather our tools:
- Sharp pruning shears or a clean knife: For making clean cuts.
- Rooting hormone (optional but recommended): Helps speed up root development.
- A well-draining potting mix: A good blend of peat moss, perlite, and compost works wonders. Avoid heavy, compacted soils.
- Small pots or seed trays: Clean containers for your new cuttings or divisions.
- A watering can with a fine rose: For gentle watering.
- Labels and a marker: To keep track of what you’ve planted and when.
- A warm, bright spot: For your cuttings to root.
Propagation Methods
Anemone coronaria can be propagated primarily through division and, though a bit trickier, stem cuttings.
Division
This is by far the most common and successful method for home gardeners. Anemone coronaria grow from what look like little brown nuggets – technically corms. These corms often multiply underground.
- Wait for Dormancy: The best time to divide is when the plant is dormant, usually in late summer to early autumn after the foliage has died back.
- Gently Excavate: Carefully dig around the parent plant with a trowel or garden fork. You want to lift the entire clump, being careful not to damage the corms.
- Separate the Corms: Gently brush away excess soil. You’ll see the main corm, and often smaller offsets attached to it. Gently break or cut apart any healthy-looking offsets from the parent corm. Make sure each piece has at least one “eye” or bud.
- Plant Them Up: Pot your separated corms individually in your well-draining potting mix, planting them about 2-3 inches deep. The end with the eye should face upwards.
- Water and Wait: Water them lightly. Place them in a warm, bright location and keep the soil consistently moist but not waterlogged.
Stem Cuttings (A Bit More Advanced)
While less common for home propagation, you can try taking stem cuttings from actively growing plants in spring or early summer.
- Select a Healthy Shoot: Look for a vigorous, non-flowering shoot about 3-4 inches long.
- Make the Cut: Using your sharpest tool, make a clean cut just below a leaf node.
- Prepare the Cutting: Remove the lower leaves from the cutting, leaving only a few at the top. If the cutting is very long, you can snip off the very tip of the top leaves to reduce water loss.
- Apply Rooting Hormone: Dip the cut end into rooting hormone, tapping off any excess.
- Potting Mix: Fill small pots with your well-draining mix and poke a hole in the center. Insert the cutting, firming the soil around its base.
- Water and Cover: Water gently. You can then cover the pot with a clear plastic bag or place it in a propagator to maintain high humidity.
- Placement: Place the pot in a warm, bright spot, out of direct sunlight.
The “Secret Sauce” (Pro Tips)
Here are a couple of things I’ve learned over the years that really make a difference:
- For stem cuttings, don’t let the leaves touch the water if you’re trying a water propagation method (though I usually stick to soil!). Any part of the cutting submerged that isn’t a root will just rot. Ensure good air circulation around your cuttings.
- When dividing, if you have any doubt about a small offset being viable, err on the side of caution. It’s better to lose a tiny piece than risk contaminating a healthy division. And I often like to place my newly potted divisions on a heating mat if I have one; the gentle bottom warmth really encourages root formation, especially for those stem cuttings.
Aftercare & Troubleshooting
Once roots have begun to form (you might see new growth appearing on your divisions, or roots peeking out of the drainage holes of your cuttings), you can start treating them more like mature plants. They’ll need regular watering, but always allow the top inch of soil to dry out between waterings. Don’t overdo it!
The most common issue you’ll encounter is rot. This is usually a sign of overwatering or soil that doesn’t drain well. If you see your cutting becomes mushy or your division looks slimy and smells off, it’s likely succumbed to rot. Unfortunately, there’s not much you can do once rot sets in. Discard the affected plant and start again, ensuring better drainage and a lighter watering schedule next time.
A Little Patience Goes a Long Way
Don’t get discouraged if not every attempt is a roaring success. Gardening is a journey of learning and, honestly, a little bit of luck! Be patient with your new Anemone. Keep them happy, and I promise, you’ll be rewarded with even more of those gorgeous blooms to enjoy. Happy propagating!
Resource:
https://identify.plantnet.org/k-world-flora/species/Anemone%20coronaria%20L./data