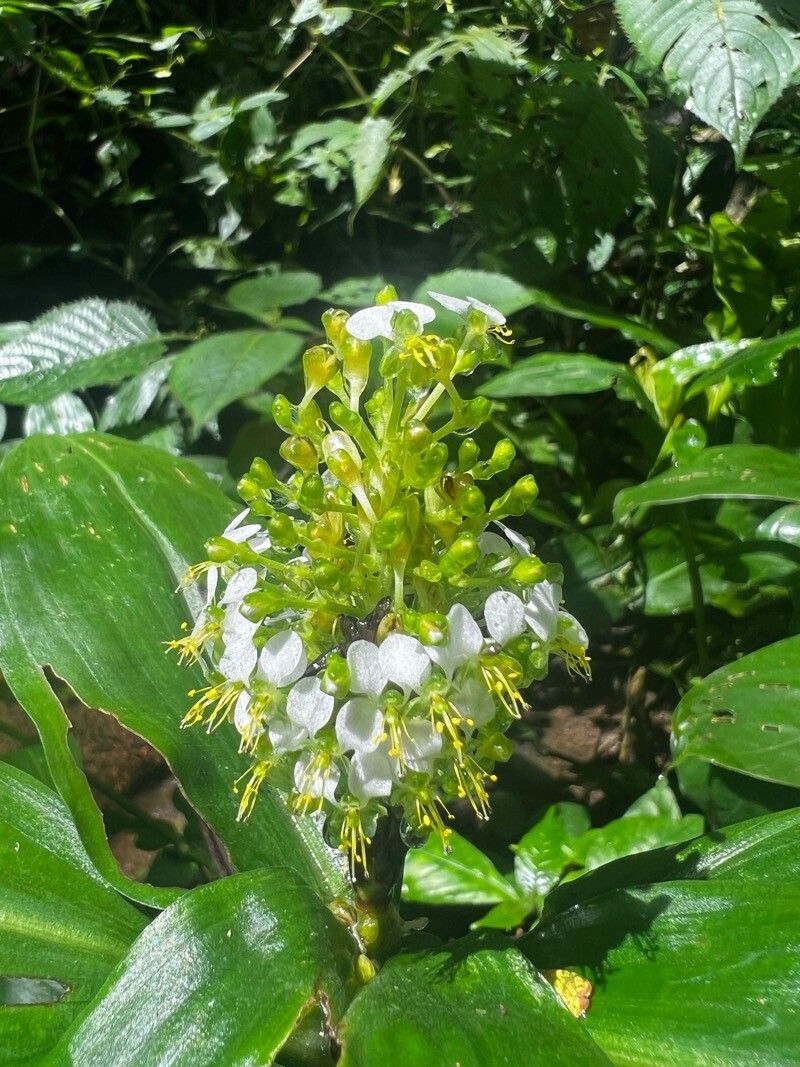
Oh, Aneilema beniniense! If you’re looking for a plant that adds a touch of lush, tropical charm to your home, you’ve found a beauty. Its velvety, silvery leaves with hints of purple are just stunning, and watching a new one unfurl from a tiny cutting is pure garden joy. I’ve been coaxing this plant to grow for years, and I’m happy to say, propagating it is wonderfully rewarding, and surprisingly accessible for beginners. It’s a plant that truly wants to share itself with you!
The Best Time to Start
For the highest success rate with Aneilema beniniense, aim for late spring to early summer. This is when the plant is in its most vigorous growth phase, meaning it has plenty of energy to put into rooting new cuttings. You can also have success in early fall, but the growth will be slower as days shorten. Basically, if your plant is actively putting out new shoots, it’s a good time to try propagating.
Supplies You’ll Need
Gathering your supplies beforehand makes the whole process much smoother. Here’s what I usually have on hand:
- Sharp, clean pruning shears or scissors: A clean cut is crucial to prevent disease.
- Small pots or containers: About 3-4 inches in diameter work well for starting cuttings.
- Well-draining potting mix: I love a blend of peat moss, perlite, and a bit of compost. You can also find pre-made houseplant mixes that work.
- Rooting hormone (optional but helpful): A powder or gel can give your cuttings a little boost.
- Plastic bags or a propagation dome: To create a humid environment for your cuttings.
- Water: For water propagation, of course!
- A clear glass or jar: For water propagation, so you can see the roots develop.
Propagation Methods
Aneilema beniniense is a gem because it’s quite adaptable when it comes to propagation. Here are my two favorite methods:
Stem Cuttings
This is my go-to for creating lots of new plants.
- Select a healthy stem: Look for a piece of stem that is at least 4-6 inches long and has several nodes (the little bumps where leaves grow from). Avoid overly woody or very soft, new growth.
- Make the cut: Using your clean shears, make a cut just below a node. This is where the new roots will most likely emerge. Remove any lower leaves that would be submerged in soil or water.
- Apply rooting hormone (optional): Dip the cut end into your rooting hormone powder or gel. Tap off any excess.
- Pot it up: Fill your small pot with your well-draining potting mix. Make a small hole in the center with your finger or a pencil.
- Insert the cutting: Gently place the cut end of the stem into the hole and firm the soil around it. Water thoroughly.
- Create humidity: Cover the pot loosely with a clear plastic bag. You can use a couple of stakes to keep the bag from touching the leaves. Alternatively, a propagation dome works wonderfully.
- Find a bright spot: Place the pot in a bright location out of direct sunlight.
- Keep it moist: Water when the top inch of soil feels dry. The humidity from the bag will help keep the leaves from wilting.
Water Propagation
This method is so satisfying because you can watch the roots grow!
- Take a cutting: Follow steps 1 and 2 for stem cuttings, ensuring you have at least one node. Remove any leaves that will sit below the water line.
- Place in water: Put the cutting in a clear glass or jar filled with fresh water. Make sure at least one node is submerged.
- Find a bright spot: Place the jar in a bright location out of direct sunlight.
- Change the water regularly: Change the water every 2-3 days to keep it fresh and prevent rot.
- Watch for roots: You should start to see tiny white roots emerging from the node within a few weeks.
- Pot up once rooted: Once the roots are about an inch long, you can pot them into your well-draining potting mix, just like you would a stem cutting.
The “Secret Sauce” (Pro Tips)
Here are a few little tricks I’ve learned over the years that really make a difference:
- Don’t let the leaves touch the water: When water propagating, it’s crucial that no leaves are submerged. If they are, they’ll rot quickly, and it can take down your whole cutting. Just trim them off before placing it in the jar.
- Bottom heat is your friend: If you have a heat mat designed for seedlings, popping your pots on it can significantly speed up root development. It just gives those nascent roots a gentle nudge to get growing.
- Be patient with the “pull test”: After a few weeks, you can gently tug on a cutting. If you feel any resistance, it means roots have formed! If it pulls out easily, give it more time.
Aftercare & Troubleshooting
Once you see those first signs of roots – whether it’s new leaf growth emerging or a good set of roots in water – it’s time for a transition.
For stem cuttings, continue to keep the soil consistently moist but not soggy. Gradually remove the plastic bag or propagation dome over a few days to help the new plant acclimate to normal humidity. Once it’s established and growing well, you can treat it like a mature Aneilema.
For water-propagated cuttings, carefully pot them into your chosen soil mix. Keep the soil lightly moist for the first week or two. Don’t overwater!
The most common issue you might face is rot. This usually happens from too much moisture and not enough air circulation. If you see your cutting turning black and mushy, it’s best to discard it and start again with fresh materials and a slightly drier approach. Another sign of failure is if the cutting simply wilts and never recovers, which can happen if the environment is too dry or it hasn’t rooted.
A Encouraging Closing
Propagating Aneilema beniniense is such a satisfying way to expand your collection or share these beautiful plants with friends. Don’t be discouraged if your first attempt isn’t perfect; gardening is all about learning! The magic of watching a tiny cutting transform into a lush new plant is something truly special. Be patient, enjoy the process, and happy propagating!
Resource:
https://identify.plantnet.org/k-world-flora/species/Aneilema%20beniniense%20(P.Beauv.)%20Kunth/data