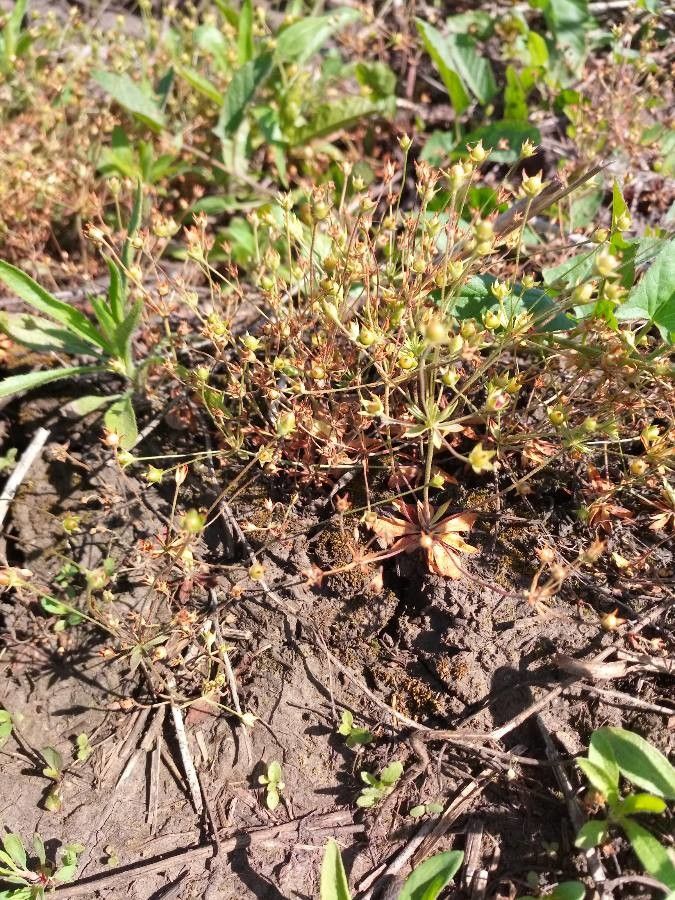
Oh, hello there! Come on in, grab a mug. Today, we’re going to talk about a truly delightful little gem for the rock garden or any spot needing a splash of delicate charm: Androsace occidentalis. These tiny alpine beauties, often called “rock jasmine,” offer an explosion of delicate, starry flowers in shades of pink and white. Propagating them can feel a bit like unlocking a sweet little garden secret, and it’s so rewarding to see those tiny new plants thrive. Now, I won’t sugarcoat it – Androsace occidentalis can be a tad on the fussy side for absolute beginners, but with a little patience and these tips, I’m confident you’ll have success.
The Best Time to Start
For the highest success, I find late spring to early summer is your sweet spot for propagating Androsace. This is when the plants are actively growing and have good energy reserves. You want to catch them after they’ve finished their main bloom but are still putting on healthy new growth. Trying to do it too early, when things are still waking up, or too late in the heat of summer, can be a bit more challenging.
Supplies You’ll Need
Here’s what you’ll want to have on hand:
- Well-draining potting mix: A mix specifically for cacti and succulents, or a DIY blend of potting soil, perlite, and sharp sand works wonderfully.
- Small pots or trays: Clean containers are key! Tiny terracotta pots are lovely for this.
- Sharp, clean pruning shears or a craft knife: For taking clean cuts. Sterilize them with rubbing alcohol.
- Rooting hormone (optional but helpful): A powder or gel can give your cuttings a good start.
- Spray bottle: For gentle misting.
- Watering can with a fine rose: For controlled watering.
- Plastic bag or propagation dome: To create a humid environment.
- Labels: Don’t forget to label your efforts!
Propagation Methods
While you might find other methods suggested online, I’ve found stem cuttings to be the most reliable for Androsace occidentalis.
- Select Your Cuttings: Look for healthy, non-flowering shoots that are about 2-3 inches long. These are typically the newer growth from the tips of established plants.
- Make the Cut: Using your sterilized shears or knife, make a clean cut just below a leaf node. A leaf node is where a leaf or branch joins the main stem. This is where the magic happens for root formation.
- Prepare the Cuttings: Gently remove the lower leaves from the cutting, leaving only the top few sets of leaves. If the leaves are still quite large, you can trim them in half to reduce water loss.
- Dip in Rooting Hormone (Optional): If you’re using rooting hormone, lightly dip the cut end into the powder or gel, tapping off any excess.
- Plant Your Cuttings: Moisten your potting mix slightly. Make small holes in the mix with a pencil or your finger, and then gently insert the cut end of each stem. Firm the soil lightly around the base of the cutting to ensure good contact.
- Create a Humid Environment: Water the potting mix gently to settle it around the cuttings. Then, cover the pots or tray with a clear plastic bag or a propagation dome. This will trap humidity, which is crucial for cuttings to root.
The “Secret Sauce” (Pro Tips)
Here are a couple of things I’ve learned over the years that really make a difference:
- Avoid letting the leaves touch the water in the pot: When you water, make sure the water level stays below the leaves of your cuttings. Excess moisture on the foliage can encourage rot, and we definitely don’t want that!
- Bottom warmth is a game-changer: While not strictly necessary, placing your pots on a gentle heat mat can significantly speed up root development. It mimics the warmth of spring soil and encourages those roots to form more vigorously. Just make sure it’s a low setting so you don’t cook them!
Aftercare & Troubleshooting
Once your cuttings are planted, find them a bright spot with indirect light. Avoid direct sun, which can scorch those tender new shoots. Mist the leaves lightly every few days to maintain humidity, and check the soil moisture regularly. Aim to keep the soil consistently moist but not soggy.
You’ll know your cuttings are rooting when you gently tug on them and feel a bit of resistance. This can take anywhere from 3 to 8 weeks, so patience is truly key here.
The most common issue you might encounter is rot. If you see cuttings turning black or mushy, it’s usually a sign of too much moisture and not enough airflow. Ensure your soil is draining well and consider removing the plastic cover for a few hours each day to let things dry out a bit.
A Encouraging Closing
Propagation can sometimes feel like an experiment, and that’s part of the fun! Don’t be discouraged if not every cutting takes. Each attempt is a learning experience. Celebrate the ones that do root and remember the joy of multiplying your beloved plants. Happy gardening, and enjoy watching your new Androsace babies grow!
Resource:
https://identify.plantnet.org/k-world-flora/species/Androsace%20occidentalis%20Pursh/data