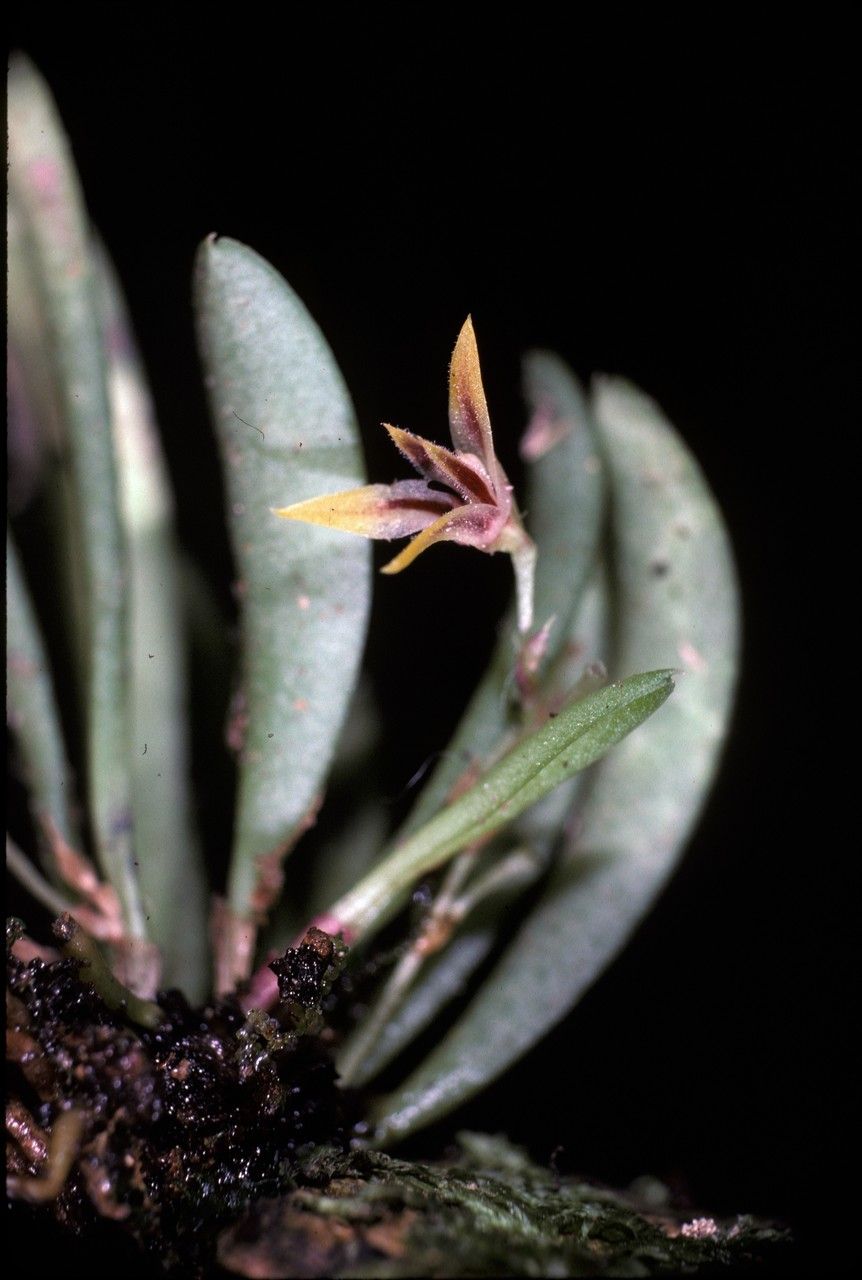
Oh, hello there! Come on in, pull up a chair. I’ve got a fresh pot brewing. Today, we’re talking about a little gem that’s been stealing my heart: Anathallis brevipes. If you’re looking for a miniature orchid that’s just bursting with charm, you’ve found your plant. Their tiny, delicate blooms are like jewels scattered on whisper-thin stems, and let me tell you, propagating them is a joy. It’s not the absolute easiest orchid out there for a completely brand-new beginner, but with a little guidance and a lot of patience, you’ll be well on your way. It’s incredibly rewarding to watch a tiny piece of a plant unfurl into a whole new life.
The Best Time to Start
When it comes to Anathallis brevipes, the sweet spot for propagation is during its active growing season. For most of us, this means late spring through early summer. You’ll see new growths appearing, and the plant is just buzzing with energy. This is when it has the most vigor to invest in making those new roots. Trying to propagate when the plant is resting just won’t yield the same results.
Supplies You’ll Need
Here’s what you’ll want to have on hand before you dive in:
- Sharp, sterile pruning shears or a clean razor blade: The cleaner the cut, the better.
- A good orchid potting mix: I like a mix that’s airy and drains really well. A blend of fine bark, perlite, and a touch of sphagnum moss is usually perfect. You can also find pre-made mixes specifically for miniatures or epiphyte orchids.
- Small pots or containers: Terracotta pots are fantastic because they breathe. Small ones are best for these little guys.
- Rooting hormone (optional but helpful): A powdered or gel form can give your cuttings a nice little boost.
- Spray bottle: For misting.
- Labeling stakes: Trust me, you’ll thank yourself later!
Propagation Methods
The most reliable way to multiply your Anathallis brevipes is through division. These orchids tend to grow in clumps, and separating them is quite straightforward.
- Gentle Removal: Carefully take your Anathallis brevipes out of its pot. Examine the root ball. You’re looking for natural breaks in the growth or where sections are clearly separated by old pseudobulbs.
- Locate Division Points: Gently tease apart the roots. You want to divide the plant into sections, each with at least two to three healthy pseudobulbs and a good portion of viable roots. Don’t be afraid to be a little firm, but avoid yanking or tearing.
- Sterilize Your Tool: Make sure your pruning shears or razor blade are clean. If I’m making a cut through tougher, older growth, I’ll even pop it in a flame for a second (letting it cool, of course!) or wipe it down with rubbing alcohol.
- The Cut: If the roots are really tangled and preventing a clean separation, you might need to make a cut. Again, use your sterile tool and make a clean slice between the desirable sections.
- Potting Up: Pot each new division into its own small pot filled with your well-draining orchid mix. Make sure the pseudobulbs are at or just above the surface of the mix. Firm the mix gently around the roots.
The “Secret Sauce” (Pro Tips)
Here are a couple of things I’ve learned over the years that really seem to make a difference:
- Don’t Overwater, Ever! This is the golden rule for most orchids, and Anathallis brevipes is no exception. After potting your divisions, wait a few days before watering. This allows any tiny wounds on the roots to callus over, preventing rot. When you do water, let the potting mix almost dry out completely between waterings.
- Humidity is King (But with Airflow!): These little beauties adore humidity, but they also hate stagnant air. Place your newly potted divisions in a spot where they get bright, indirect light and good airflow. You can increase humidity by grouping them with other plants or placing their pots on a pebble tray filled with water (just make sure the bottom of the pot isn’t sitting in the water).
Aftercare & Troubleshooting
Once your divisions are potted, give them a gentle watering. Keep them in bright, indirect light and maintain that good airflow. You’re looking for signs of new growth – a new leaf or a developing root tip is a wonderful sign!
The biggest challenge you’ll likely face is rot. If you see mushy, black roots or the pseudobulbs start to shrivel and turn black, that’s a bad sign. It’s usually due to overwatering or poor drainage. If you catch it early, you might be able to save the division by removing the rotted parts, repotting into fresh, dry mix, and letting it dry out for an extended period. Don’t be discouraged if you lose one; it happens to all of us!
A Warm Closing
Propagating Anathallis brevipes is a journey, and like any good journey, it’s about the learning and the enjoyment along the way. Be patient with your new divisions. It might take a few weeks, or even a couple of months, to see significant new growth. But when you do, I promise, you’ll feel that special thrill that only comes from coaxing life from a little piece of your beloved plant. Happy growing!
Resource: