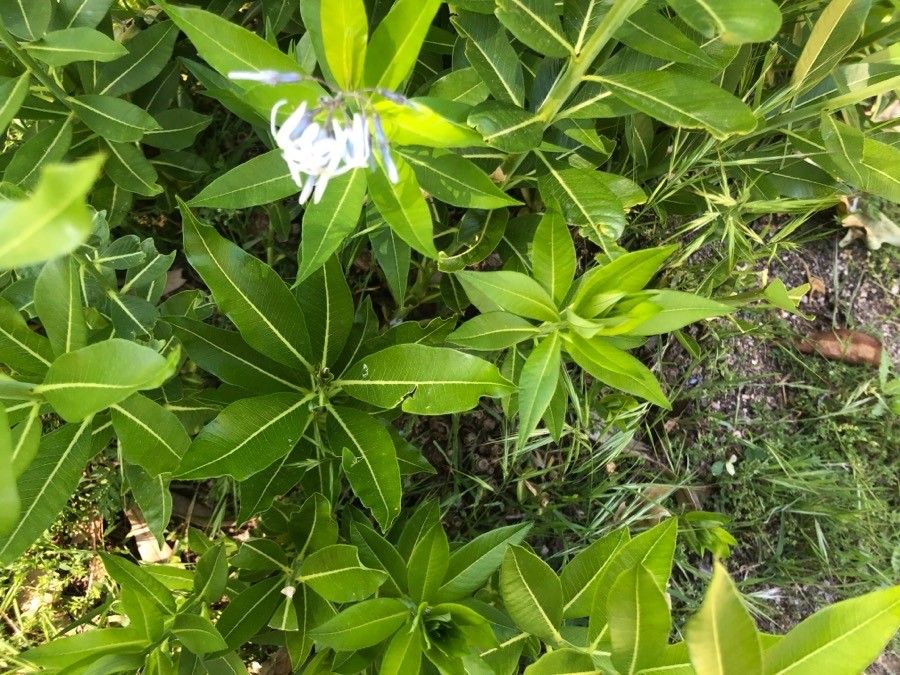
Oh, hello there! Come on in, let’s chat about Amsonia orientalis. I’ve been growing this beauty for years, and honestly, it’s just one of those plants that brings such a smile to my face. With its lovely star-shaped blue flowers in spring and gorgeous golden fall color, it’s a real stunner in any garden. And the best part? It’s wonderfully rewarding to propagate! If you’re new to plant propagation, Amsonia orientalis is a fantastic plant to start with. It’s quite forgiving, which is always a plus, right?
The Best Time to Start
For the highest success rate with Amsonia orientalis, I find the late spring or early summer to be the sweet spot. This is when the plant is actively growing, and those new shoots have plenty of energy to put into rooting. You want to be looking for stems that are firm but not woody – a bit of flexibility is key.
Supplies You’ll Need
Gathering your tools beforehand makes the whole process so much smoother. Here’s what I usually have on hand:
- Sharp bypass pruners or a clean knife: For making nice, clean cuts.
- Rooting hormone (optional but recommended): A powder or gel helps boost your success.
- Potting mix: A well-draining mix is crucial. I like a blend of equal parts peat moss or coco coir and perlite or coarse sand. You can also buy a good quality starter mix.
- Small pots or trays: Make sure they have drainage holes!
- Plastic bags or a propagation dome: To create a humid environment.
- Watering can or spray bottle: For gentle watering.
- Labels and a marker: So you don’t forget what you planted where!
Propagation Methods
Amsonia orientalis is pretty happy with a couple of methods. Let’s dive into the most reliable ones.
Stem Cuttings
This is my go-to for Amsonia orientalis.
- Take your cuttings: In late spring or early summer, select healthy, young stems that are about 4-6 inches long. Make a clean cut just below a leaf node (where a leaf attaches to the stem).
- Prepare the cuttings: Gently remove the lower leaves from your cuttings, leaving just a couple of leaves at the very top. This prevents the leaves from rotting when they’re buried. You can dip the cut end into rooting hormone, tapping off any excess.
- Plant your cuttings: Fill your small pots with your prepared potting mix. Make a small hole in the center of the soil with your finger or a pencil. Gently insert the cut end of the stem into the hole, ensuring it’s making good contact with the soil. Firm the soil around the stem.
- Create humidity: Water the soil gently. Then, cover the pot with a clear plastic bag or place it inside a propagation dome. This creates a humid microclimate that’s essential for rooting. Anchor the bag so it doesn’t touch the leaves too much.
- Provide good conditions: Place the pots in a bright spot, but out of direct sunlight. Keep the soil consistently moist, but not soggy.
Division (When transplanting mature plants)
If you’re dividing an existing Amsonia plant, this is a natural way to get more!
- Dig up the plant: It’s best done in early spring as new growth emerges or in fall after the foliage has died back. Carefully dig around the root ball and lift the plant.
- Separate the divisions: Gently shake off excess soil. You can often pull the plant apart with your hands if the root ball is loose. For tougher clumps, use a clean, sharp spade or knife to cut through the roots and crowns. Aim for divisions that have at least a few leafy shoots and a good amount of root.
- Replant immediately: Plant the divisions in their new locations or in pots with fresh, well-draining soil, watering them in well.
The “Secret Sauce” (Pro Tips)
You know, there are a few little things I’ve learned over the years that can make a big difference.
- Don’t be afraid to take slightly more cuttings than you think you’ll need. Not every cutting will be a success, and that’s perfectly normal!
- If you’re using a plastic bag, make sure the leaves absolutely do not touch the inside of the bag. Condensation will form and drip onto the leaves, which can lead to rot. Poke a few holes in the bag if you’re concerned.
- While Amsonia orientalis is pretty good about rooting without it, a gentle bottom heat is like an express ticket to happy roots. If you have a heat mat designed for seedlings, placing your pots on it can speed things up considerably. Just be sure the heat isn’t too intense.
Aftercare & Troubleshooting
Once you start seeing new growth peeking out from the top of your cuttings, that’s a great sign! It usually means roots have formed. You can gently tug on a cutting – if there’s resistance, it’s rooted.
- Acclimatize: Gradually introduce your new plants to less humid conditions. Begin by opening the plastic bag for a few hours each day, then remove it entirely.
- Potting Up: Once the roots are well-established and filling the pot, you can carefully transplant your new Amsonias into slightly larger pots or directly into their garden spots.
- Signs of Trouble: The most common issue you’ll encounter is rot. If your cuttings turn black and mushy, or if the soil stays waterlogged for too long, that’s rot setting in. This is usually a sign of too much moisture and not enough airflow. Make sure your soil drains well and remove any rotted material immediately. If entire batches fail, don’t get discouraged! Re-evaluate your moisture levels and perhaps your cuttings’ age.
A Little Patience Goes a Long Way
See? Amsonia orientalis is a truly lovely plant, and propagating it is a wonderful way to fill your garden with more of its charm. Be patient with the process, enjoy the learning curve, and celebrate every little success. Happy gardening!
Resource:
https://identify.plantnet.org/k-world-flora/species/Amsonia%20orientalis%20Decne./data