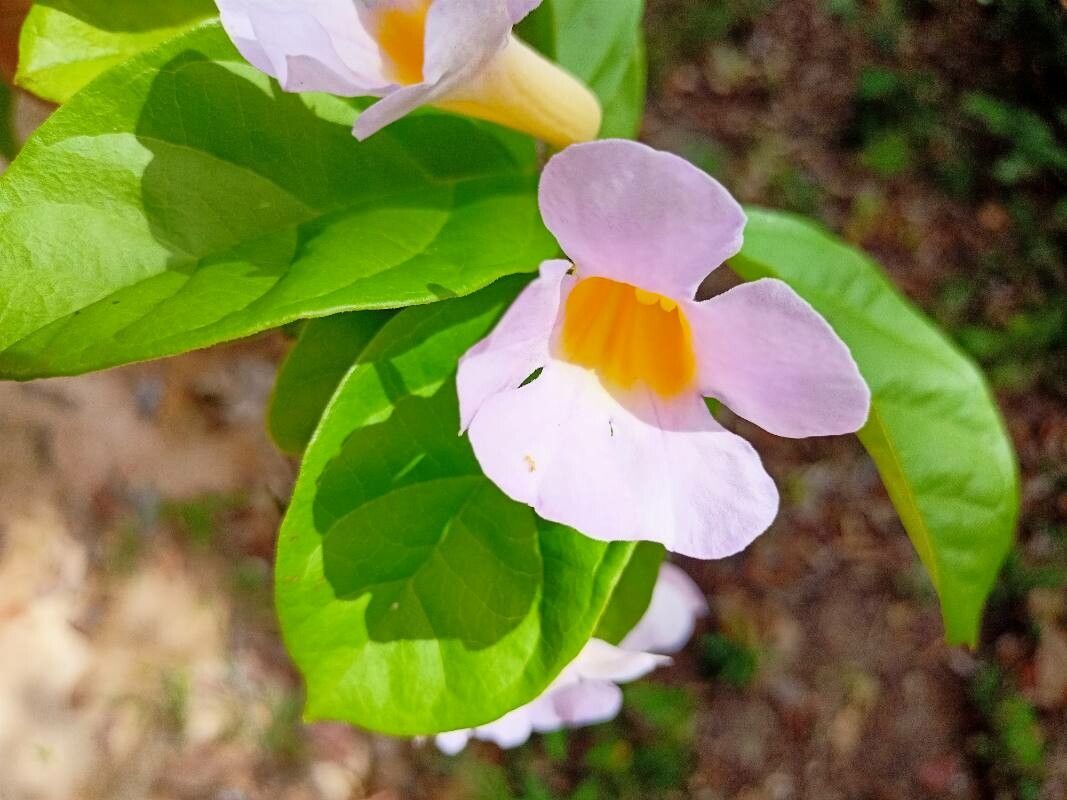
Hello fellow plant lovers! Today, we’re diving into a truly spectacular plant – the Amphilophium frutescens, often known as the Orange Trumpet Vine or, more simply, Orange Bush Honeysuckle. If you’ve ever seen this beauty in bloom, you know what I mean. Its vibrant, fiery orange trumpet-shaped flowers are an absolute showstopper, attracting hummingbirds and butterflies in droves. This plant brings such a burst of sunshine to any garden.
The best part? Propagating your own Orange Trumpet Vine is incredibly rewarding. It’s a fantastic way to share its beauty with friends, fill in larger garden spaces, or simply enjoy the satisfaction of growing something from scratch. For those of you just starting your plant journey, good news! Amphilophium frutescens is generally quite easy to propagate, making it a wonderful choice for beginners. You’ll be amazed at how readily it takes root.
The Best Time to Start
When it comes to getting the most bang for your buck with propagation, timing is everything. For Amphilophium frutescens, the late spring to early summer is your golden window. This is when the plant is actively growing and has plenty of energy to put into developing new roots. Look for stems that are firm and somewhat woody, but not yet completely mature and tough. You want that sweet spot – think of it as “semi-hardwood” cuttings.
Supplies You’ll Need
Before we get our hands dirty, let’s gather our tools:
- Sharp Pruning Shears or a Knife: Clean cuts are crucial for preventing disease and making it easier for the plant to heal.
- Rooting Hormone: While not strictly essential for this plant, it can give your cuttings a significant boost. A powder or gel works well.
- Potting Mix: A lightweight, well-draining mix is key. I like a blend of peat moss or coco coir, perlite, and a little bit of sand. You want it airy!
- Small Pots or Trays: Clean pots with drainage holes are a must.
- Plastic Bags or a Clear Dome: To create a humid environment for your cuttings.
- Watering Can or Spray Bottle: For gentle watering.
- Labels: To keep track of what you’ve planted (trust me, you’ll thank me later!).
Propagation Methods
Let’s get propagating! Stem cuttings are my go-to for Amphilophium frutescens.
Stem Cuttings: The Most Reliable Method
- Take Your Cuttings: In late spring or early summer, select healthy stems from your parent plant. You’re looking for pieces about 6 to 8 inches long. Make your cuts just below a leaf node (where a leaf attaches to the stem). Remove the leaves from the bottom two-thirds of the cutting. This prevents them from rotting when buried in the soil and encourages root development.
- Apply Rooting Hormone (Optional but Recommended): Dip the cut end of each stem into your rooting hormone, tapping off any excess.
- Plant Your Cuttings: Fill your pots or trays with your prepared potting mix. Make a small hole in the center of each pot with your finger or a pencil. Insert the cut end of your stem cutting into the hole, ensuring at least two leaf nodes are below the soil surface. Gently firm the soil around the base of the cutting.
- Water Gently: Water the soil thoroughly until it’s evenly moist but not waterlogged.
- Create Humidity: Cover the pots with a clear plastic bag, securing it with a rubber band, or place them under a clear dome. Make sure the leaves are not touching the plastic.
- Place in Bright, Indirect Light: Find a warm spot that receives plenty of bright, indirect sunlight. Avoid direct sun, which can scorch the tender cuttings.
Water Propagation (Less Common but Possible)
You can also try rooting stem cuttings in water. Take cuttings as described above, remove most of the leaves, and place them in a jar of water. Ensure no leaves are submerged – they will rot quickly. Change the water every few days. Once you see substantial root formation (about an inch or more), you can carefully transplant them into your potting mix. This method is a bit more visual but can be trickier to transition to soil for some plants.
The “Secret Sauce” (Pro Tips)
Here are a few things I’ve learned over the years that can make a big difference:
- Cleanliness is King: Always use clean tools and pots. This significantly reduces the risk of fungal diseases that can kill your precious cuttings. A quick soak in a diluted bleach solution (1 part bleach to 9 parts water) can work wonders for pots.
- Bottom Heat is Your Friend: Amphilophium frutescens roots much faster when its base is warm. I often place my pots on a seedling heat mat. This simple step can dramatically speed up root development. If you don’t have a heat mat, find a warm spot in your house, like near a sunny window where the sill gets warm.
- Don’t Rush the Sacrifice: When you’re taking cuttings, be ruthless, but also be mindful. If a cutting looks a bit sad or isn’t taking, it’s often better to toss it and focus your energy on the ones showing promise. Sometimes, you just have to accept that not every single one will succeed, and that’s perfectly okay.
Aftercare & Troubleshooting
Once you see new growth appearing at the tip of your cutting, that’s a good sign roots are forming! You can gently test this by giving the cutting a very light tug. If there’s resistance, roots are likely developing.
Continue to keep the soil consistently moist but not soggy. As the new plant gets stronger, you can gradually acclimate it to less humidity by opening the plastic bag a little each day before removing it entirely. Once your cuttings are well-established and have a robust root system, you can transplant them into slightly larger pots.
The most common problem you might encounter is rot. This usually happens if the soil is too wet and there isn’t enough air circulation. If you notice your cutting looking mushy or black at the base, unfortunately, it’s likely a goner. Prevention is key here: ensure good drainage and don’t overwater. If you spot a bit of wilting but no rot, it might just need more time or a bit more humidity.
A Green-Thumbed Closing
Propagating Amphilophium frutescens is such a rewarding journey. It’s about patience, observation, and a little bit of horticultural magic. Don’t be discouraged if your first few attempts aren’t perfect. Every gardener has their learning curve! Enjoy the process of nurturing these new plants, and soon you’ll be rewarded with your very own bursts of orangey sunshine. Happy planting!
Resource: