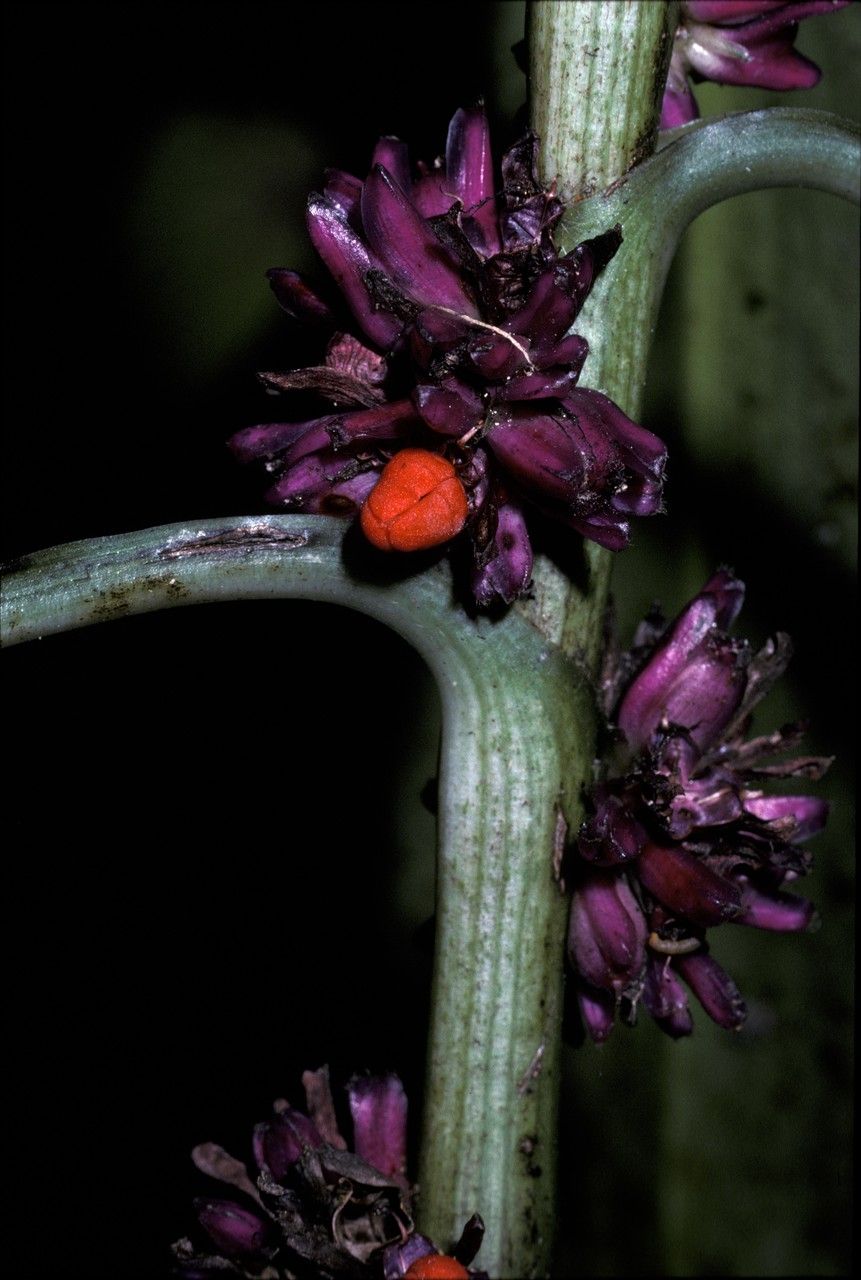
Hello fellow plant enthusiasts! Today, I want to talk about a truly special plant that brings a unique charm to any space: Aumischotolype mollissima. Its velvety, architectural leaves are a feast for the eyes, and there’s something incredibly satisfying about nurturing a new life from a tiny piece of the parent plant. If you’ve ever admired its lush foliage and thought, “I wish I had more of that!” – you’re in the right place. Propagating Aumischotolype mollissima is a wonderful way to expand your collection, and I’m here to guide you through it. Honestly, it’s a fairly forgiving plant, making it a great option for those just dipping their toes into propagation.
The Best Time to Start
When it comes to coaxing new life from your existing plants, timing is everything. For Aumischotolype mollissima, the spring and early summer months are your golden ticket. This is when the plant is in its most active growth phase, meaning it has plenty of energy to put into developing strong roots. Waiting until after the plant has had a chance to “wake up” from its winter rest will give you the best chance of success. You’re looking for healthy, vigorous stems that are showing good new growth.
Supplies You’ll Need
Gathering your tools before you begin makes the whole process smoother. Here’s what you’ll want to have on hand:
- Clean, sharp pruning shears or a knife: Essential for making clean cuts to prevent disease.
- Rooting hormone (optional but helpful): While not strictly necessary for this plant, it can give cuttings a helpful boost. I like to use a powder form.
- Well-draining potting mix: A crucial element! I usually mix equal parts peat moss or coco coir with perlite or coarse sand. You can also find pre-made succulent or cactus mixes that work well.
- Small pots or propagation trays: These should have drainage holes.
- Plastic bags or a clear dome: To create a humid environment for your cuttings.
- Watering can or spray bottle: For gentle watering.
- Labels and a permanent marker: You’ll thank yourself later for labeling your cuttings!
Propagation Methods
Aumischotolype mollissima is delightfully versatile, and I find the easiest and most successful methods involve stem cuttings and division.
Stem Cuttings
This is my go-to for increasing my haul of these beauties.
- Select your stems: Look for healthy, mature stems that have at least two to three leaf nodes. A node is where a leaf attaches to the stem. You want to make your cuts just below a node.
- Make the cut: Using your clean shears or knife, make a clean cut just below a leaf node. This is where the magic happens – roots will emerge from these nodes.
- Prepare the cutting: Gently remove any lower leaves from the stem, leaving at least one or two at the top. This prevents them from rotting when buried in the soil.
- Apply rooting hormone (optional): If you’re using rooting hormone, dip the cut end of the stem into the powder, tapping off any excess.
- Plant the cutting: Fill your small pots or trays with your well-draining potting mix. Gently insert the cut end of the stem into the soil, ensuring at least one node is buried.
- Water lightly: Give the soil a gentle watering. You want it moist, but not soggy.
- Create humidity: Cover the pot with a clear plastic bag, securing it around the rim with a rubber band, or place it under a clear dome. This will trap moisture and create the humid environment your cuttings need. Place the pot in a bright spot, but away from direct, scorching sunlight.
Division
If your plant has become quite full and bushy, dividing its root ball is a straightforward way to get more plants.
- Remove from pot: Gently unpot your Aumischotolype mollissima.
- Inspect the roots: You’ll often see distinct clumps forming at the base.
- Separate the divisions: Using your hands or a clean knife, gently separate the plant into smaller sections, ensuring each section has plenty of roots and at least one shoot or leaf.
- Pot the divisions: Pot each division into its own small pot filled with your well-draining potting mix.
- Water and place: Water them in well and place them in a bright spot, out of direct sun.
The “Secret Sauce” (Pro Tips)
After years of hands-on experience, I’ve picked up a few tricks that make a real difference.
- My absolutely favorite tip for stem cuttings? Never let the leaves touch the water or damp soil surface for extended periods. This is a surefire recipe for rot. Always trim those lowest leaves to prevent this.
- When using rooting hormone, don’t be tempted to overdo it. Just a light dusting on the cutting end is plenty. Too much can actually inhibit rooting.
- For those stubborn cuttings, wiggling a bit of bottom heat can seriously speed things up. A seedling heat mat placed under your propagation tray or pots can encourage root development wonderfully. Just make sure the heat isn’t too intense.
Aftercare & Troubleshooting
Once your cuttings have rooted (you’ll know when you see new growth or gently tug on the stem and feel resistance), it’s time to treat them like young plants. Gradually acclimate them to lower humidity by slowly opening the plastic bag or removing the dome over a few days. Continue to water them when the top inch of soil feels dry.
The most common issue you’ll encounter is rot. If you notice your cutting turning mushy or black, it’s usually a sign of too much moisture and not enough air circulation. Unfortunately, a rotted cutting is usually a goner, so it’s best to discard it and learn for next time. Make sure your soil is draining well – this is your best defense against rot. If you see wilting, it could be underwatering or simply the plant adjusting, but always check the soil moisture before panicking.
A Encouraging Closing
Propagating plants is a journey of patience and observation, and watching new life emerge from your efforts is incredibly rewarding. Don’t be discouraged if not every cutting takes; nature has its own rhythms. Keep experimenting, keep learning, and most importantly, enjoy the process of growing your own Aumischotolype mollissima family. Happy gardening!
Resource: