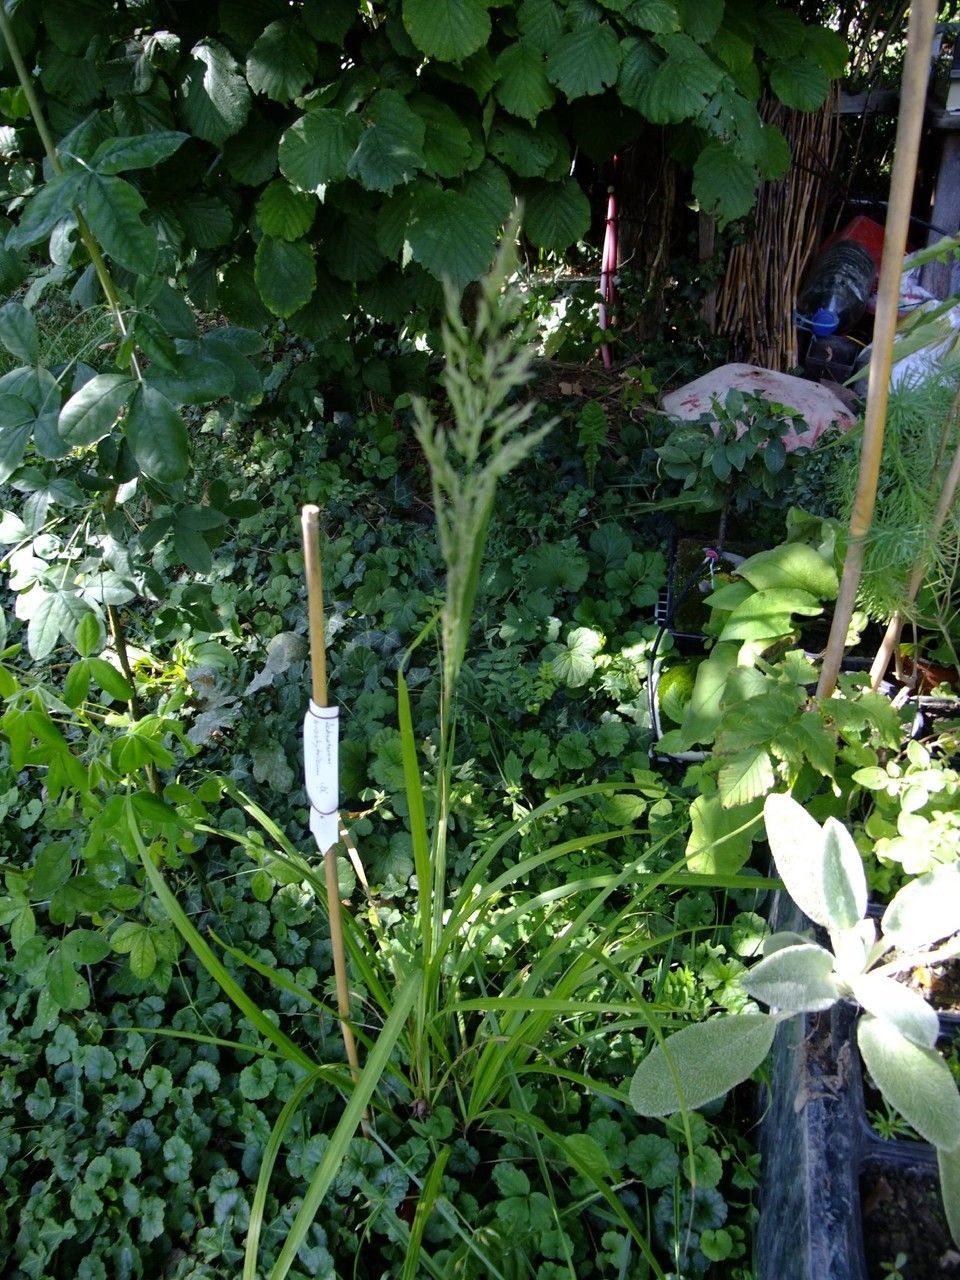
Hello there, fellow plant lovers! It’s so good to have you join me today. We’re going to talk about a truly special grass, the Amelichloa brachychaeta, also known as the Chilean Quake grass. If you’ve ever seen its graceful, arching plumes dancing in the breeze, you know exactly why I’m so fond of it. It’s got this almost ethereal quality, adding movement and texture to any garden. And the best part? Bringing more of these beauties into your life through propagation is incredibly rewarding. Now, for beginners, I’d say Amelichloa is moderately easy. It’s not as foolproof as, say, a spider plant, but with a little care and attention, you’ll be well on your way to success.
The Best Time to Start
When it comes to coaxing new life from your Amelichloa, timing is everything. The absolute sweet spot is late spring to early summer. This is when the plant is in its active growing phase. You’ll be able to gather healthy, vigorous material. Starting too early in spring can mean the shoots aren’t quite ready, and propagating in the heat of summer can put too much stress on delicate new cuttings.
Supplies You’ll Need
Before we dive in, let’s get our toolkit ready! Having everything on hand makes the process much smoother.
- Sharp Pruning Shears or a Clean Knife: For making clean cuts.
- A Well-Draining Potting Mix: I personally love a blend of coarse sand, perlite, and good quality potting soil – something like a 1:1:1 ratio works wonders. You can also buy specially formulated cactus and succulent mixes, which are often a good starting point.
- Small Pots or Trays: Clean, with drainage holes, of course!
- Rooting Hormone (Optional but Recommended): For that extra boost. Look for one formulated for stem cuttings.
- A Spray Bottle Filled with Water: For misting.
- Clear Plastic Bags or Domes: To create a humid environment.
- Labels and a Marker: To keep track of what you’ve planted.
- A Dibber or Pencil: For making planting holes.
Propagation Methods
Amelichloa brachychaeta is most commonly and successfully propagated through division. It’s a straightforward process that usually yields great results.
Division: A Step-by-Step Guide
- Prepare Your Parent Plant: Water your Amelichloa thoroughly a day or two before you plan to divide it. This helps the plant recover from the stress of transplanting and makes the roots easier to work with.
- Gently Excavate: Carefully dig up the entire plant from its pot or the ground. You want to disturb the root ball as little as possible.
- Inspect and Separate: Gently shake off excess soil to expose the root system. You’ll notice that established plants often form clumps with multiple shoots emerging from the base.
- The Division: Using your hands or a clean sharp knife or spade, carefully separate the clumps. You’re looking for sections that have both healthy roots and at least one or two shoots. Be patient! Sometimes you can gently pull them apart; other times, a clean cut is necessary.
- Prepare New Pots: Fill your clean pots with your prepared well-draining potting mix.
- Plant the Divisions: Make a hole in the soil with your dibber or finger, large enough to accommodate the roots of your division. Place the division in the hole, ensuring the crown (where the roots meet the shoots) is at or just slightly below soil level. Gently firm the soil around the roots.
- Water In: Water each pot thoroughly after planting to settle the soil.
The “Secret Sauce” (Pro Tips)
Here are a few little tricks I’ve learned over the years that can make all the difference:
- Don’t Over-Water New Divisions: It might seem counterintuitive, but waterlogged soil is the quickest way to rot off those precious new roots. Water well right after planting, and then water sparingly, only when the top inch or so of soil feels dry.
- Mimic Nature with Humidity: While we don’t want soggy soil, those new divisions do love a bit of humidity as they establish. Tent the pots with clear plastic bags or use a propagator lid. This traps moisture, preventing the leaves from drying out before the roots can take up water. Make sure there are a few small holes in the bag or open the lid for a short period daily to allow for air exchange and prevent fungal issues.
- Patience is Key and Bottom Heat Helps: Don’t be disheartened if you don’t see immediate growth. It can take several weeks for divisions to establish. If you have a heat mat, placing your pots on a gentle heat mat (around 70-75°F or 21-24°C) can significantly speed up root development. It’s like giving them a warm hug to encourage them to get going!
Aftercare & Troubleshooting
Once your Amelichloa divisions start showing signs of new growth – tiny new shoots emerging or a slight stiffness to the leaves – you’re on the right track! Gradually acclimate them to less humid conditions by opening the plastic tents more and more over a week or two. Continue to water consistently but avoid soggy soil.
The most common pitfall with propagating any plant is rot. If you notice your division turning yellow, becoming mushy, or developing dark spots, it’s likely due to overwatering or poor drainage. Unfortunately, if rot has set in, it’s often difficult to bring the cutting back. That’s why starting with healthy material and using a well-draining mix is so crucial.
Keep Growing!
And there you have it! Propagating Amelichloa brachychaeta is a wonderful way to expand your collection and share these gorgeous grasses with friends. Don’t be discouraged if your first attempt isn’t perfect. Gardening is a journey of learning and discovery. Be patient, observe your new plants, and enjoy the magical process of bringing more beauty into your world. Happy propagating!
Resource: