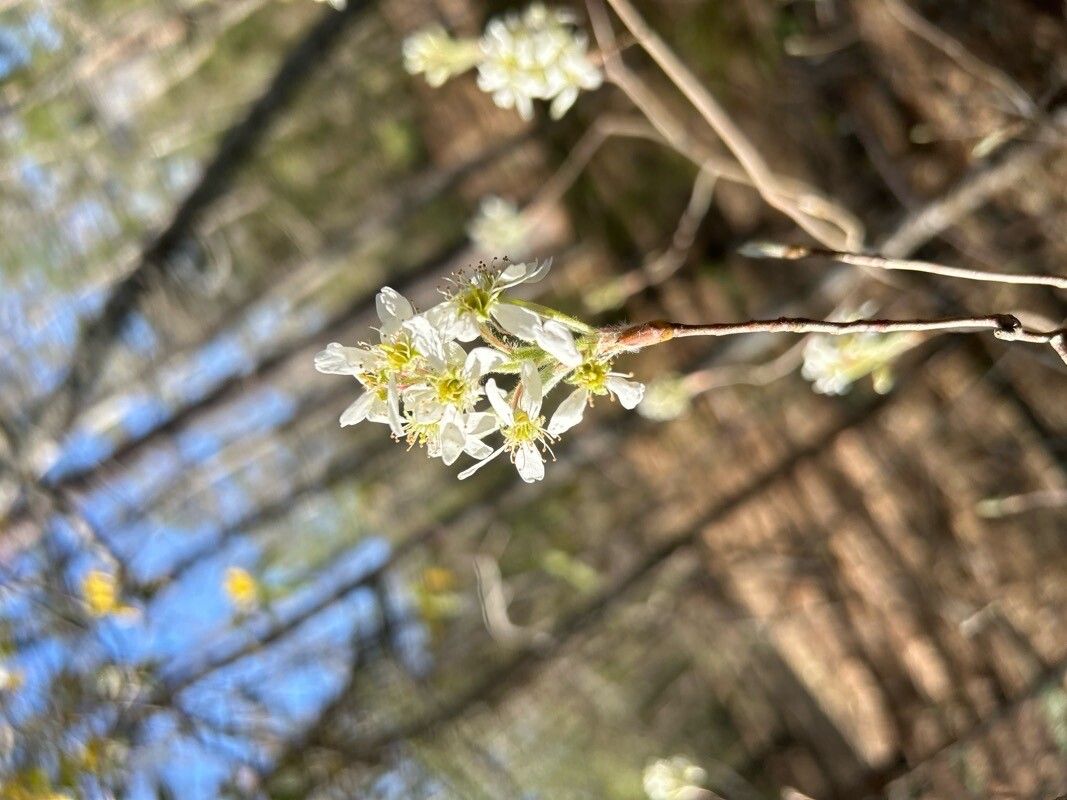
Hello, fellow garden enthusiasts! I’m so delighted you’re considering bringing more Amelanchier obovalis, or the Eastern Serviceberry, into your world. This plant is a true gem. It graces us with delicate white flowers in spring, followed by delicious, edible berries in early summer that birds absolutely adore. And the fall color? Simply breathtaking, a vibrant tapestry of reds and oranges. Propagating these beauties is far more rewarding than just buying another plant. You get to witness that spark of new life begin under your own touch. And don’t worry, while it takes a little care, I’d say it’s a wonderfully achievable project, even for those new to the propagation game.
The Best Time to Start
For Amelanchier, late spring to early summer is your sweet spot. This is when the plant is actively growing, and new shoots are tender and full of vigueur. I’ve had success with slightly later cuttings too, but aiming for that period right after flowering, when the stems are still flexible and juicy, usually yields the best results. We’re looking for those semi-hardwood cuttings.
Supplies You’ll Need
Gathering your tools beforehand makes the whole process smoother. Here’s what I always have on hand:
- Sharp pruning shears or a clean, sharp knife: For making clean cuts that heal faster.
- Rooting hormone: This really gives your cuttings an edge. I prefer a powdered form for easiest application.
- A good potting mix: A custom blend works best for me. I mix equal parts peat moss (or coco coir for a more sustainable option), perlite, and sterile seed-starting mix. This ensures good drainage and aeration, which is crucial.
- Small pots or propagation trays: With drainage holes, of course!
- A plastic bag or propagation dome: To create a humid microclimate.
- Labels and a marker: To keep track of what you’ve planted and when.
- Optional: A heat mat: If your space is on the cooler side.
Propagation Methods
Amelanchier is most commonly and successfully propagated from stem cuttings. Let’s dive in!
Stem Cuttings:
- Take Your Cuttings: On a cool, cloudy morning, select healthy, vigorous stems from your mature Amelanchier. Look for stems that are about pencil-thick and have started to firm up but are still bendy – this is what we call semi-hardwood. You want cuttings that are 6 to 8 inches long. Make your cut just below a leaf node (where a leaf attaches to the stem).
- Prepare the Cuttings: Gently remove the leaves from the bottom half of each cutting. If the remaining leaves are very large, you can cut them in half horizontally to reduce water loss. This is a critical step!
- Apply Rooting Hormone: Dip the cut end of each prepared cutting into your rooting hormone, tapping off any excess.
- Plant Your Cuttings: Fill your small pots or trays with your prepared potting mix. Make a small hole in the center of each pot with a pencil or finger, then insert the rooting-hormone-dipped end of your cutting into the hole. Firm the soil gently around it.
- Create a Humid Environment: Water the soil thoroughly until water drains from the bottom. Then, cover the pots with a plastic bag or a propagation dome. This traps moisture and keeps humidity high, which is essential for root development.
- Provide the Right Conditions: Place the pots in a spot with bright, indirect light. Avoid direct sunlight, as this can scorch the young cuttings. If you have a heat mat, place the pots on it. This provides gentle warmth from below, which really speeds up root formation.
The “Secret Sauce” (Pro Tips)
Here are a few tricks I’ve learned over the years that really boost success:
- Don’t let the leaves touch the water. This sounds simple, but it’s so important, especially if you’re trying propagation in water (though I find cuttings are more reliable for Amelanchier). If leaves sit in water, they tend to rot, which can drag your whole cutting down.
- Bottom heat can be a game-changer. Even a little consistent warmth at the base of your cuttings encourages roots to form much faster. My old greenhouse has a dedicated bench with heating cables, and the difference is remarkable. If you don’t have a heat mat, try placing your pots on top of your refrigerator – it often gives off a gentle warmth.
- A dilute liquid fertilizer later on. Once you see signs of new growth, you can start feeding your cuttings with a very dilute (quarter strength) liquid fertilizer every couple of weeks. This gives them the nutrients they need to establish a strong root system.
Aftercare & Troubleshooting
Be patient! It can take anywhere from 4 to 12 weeks for cuttings to develop a good root system. You’ll know they’re ready when you gently tug on a cutting and feel resistance, or if you carefully peek at the drainage holes and see roots emerging.
Once roots have formed, gradually acclimate your new plants to lower humidity by opening the plastic bag or dome a little each day over a week. Then, you can transplant them into individual pots with a slightly richer potting mix. Keep them well-watered but not soggy.
The most common problem you might encounter is rot. This usually happens if the soil is too wet and lacks aeration, or if the humidity is too high without enough air circulation. If you see a cutting turning black and mushy, it’s unfortunately time to discard it. Prevention is key here: ensure good drainage and don’t overwater.
A Little Patience, A Whole Lot of Joy
Propagating Amelanchier is a beautiful journey. It’s about nurturing potential, and there’s a deep satisfaction in seeing those tiny roots emerge from what was once just a stem. Don’t be discouraged if not every cutting takes. Gardening is a learning process, and each attempt teaches you something new. So, roll up your sleeves, gather your supplies, and enjoy the magic of creating new life. Happy gardening!
Resource:
https://identify.plantnet.org/k-world-flora/species/Amelanchier%20obovalis%20(Michx.)%20Ashe/data