Happy Little Amelanchiers: Your Guide to Growing More of These Beauties!
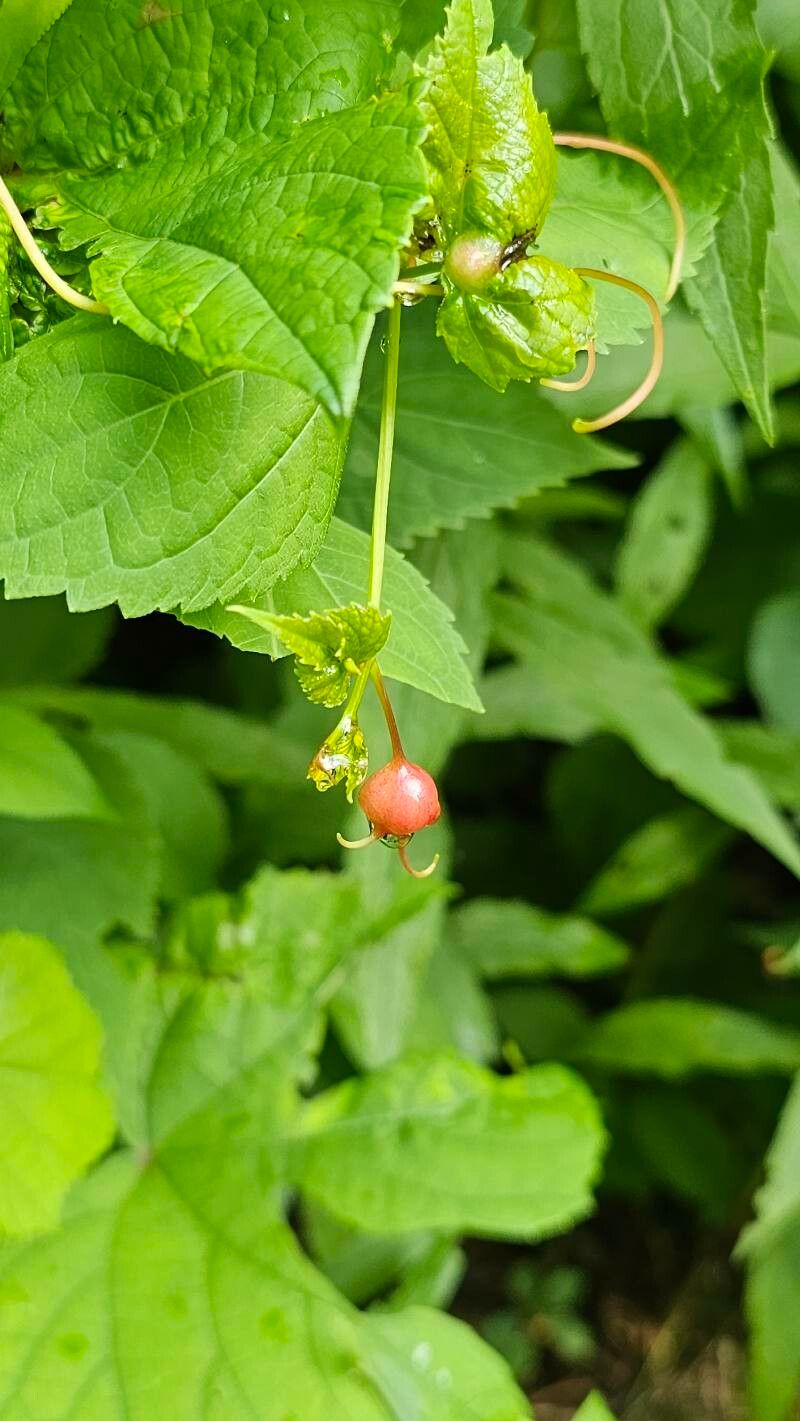
Oh, Amelanchier – those gorgeous shrubs that grace us with delicate spring blossoms and then, oh my goodness, those sweet, edible berries in summer! Also known as Serviceberry or Juneberry, they bring such joy to the garden. Their multi-seasonal charm makes them a favorite for many, and I, for one, have spent years admiring them.
And you know what’s even better than admiring them? Growing more of them yourself! Propagating Amelanchier is a truly rewarding experience. It’s like magic, watching a tiny piece of your beloved plant transform into a whole new one. If you’re new to gardening, don’t be shy – Amelanchier is generally quite forgiving, making it a wonderful plant to try propagating.
The Perfect Moment to Get Started
For Amelanchier, late spring to early summer is my absolute favorite time to begin propagating. Think of it as when the plant is really waking up and full of youthful energy. The new growth is vigorous, and these tender stems are more receptive to rooting. You can also have some success with semi-hardwood cuttings later in the summer, but that spring window is usually the sweet spot for the most straightforward results.
Gathering Your Garden Treasures: Supplies You’ll Need
Before we dive in, let’s make sure we have everything on hand. A little preparation goes a long way!
- Sharp Pruning Shears or a Knife: Cleanliness is key to prevent disease.
- Rooting Hormone: This is a lifesaver! It gives your cuttings that extra boost to form roots. Look for a powder or gel.
- Small Pots or Seedling Trays: Something to house your precious new plants.
- A Well-Draining Potting Mix: I love a mix of peat moss, perlite, and a little bit of compost. It needs to hold moisture but not get waterlogged.
- Watering Can or Spray Bottle: For gentle hydration.
- Plastic Bags or a Propagator: To create a humid environment.
- Labels: Because you’ll want to remember what you planted where!
Growing New Life: Propagation Methods
Amelanchier is pretty adaptable, but two methods usually yield the best results with ease.
Method 1: Taking Stem Cuttings
This is my go-to for starting new Amelanchier plants. It’s simple and effective.
- Select Your Stems: Look for healthy, new growth from the current season. You want stems that are flexible but not floppy – think of a cooked asparagus spear, not a brittle twig. Aim for cuttings that are 4-6 inches long.
- Make the Cut: Using your clean shears, make a clean, angled cut just below a leaf node. This is where the magic happens – roots are more likely to form here.
- Prepare the Cutting: Gently remove the lower leaves, leaving just a couple at the very top. If any leaves are very large, you can even cut them in half to reduce water loss.
- Dip in Rooting Hormone: Dip the cut end of the stem into your rooting hormone powder or gel, tapping off any excess.
- Plant Your Cuttings: Fill your pots with the well-draining potting mix. Make a small hole in the center with your finger or a pencil. Gently insert the cutting into the hole, ensuring the root hormone-coated end is covered by soil. Firm the soil around the stem.
- Water Gently and Cover: Water thoroughly but gently so you don’t dislodge your cuttings. Then, cover the pots with a clear plastic bag or place them in a propagator. This creates a mini greenhouse, keeping the humidity high, which is crucial for cuttings.
Method 2: Division (for established plants)
If you have a larger, mature Amelanchier, you might find it has formed clumps or suckers at its base. This is a fantastic way to get a more established plant right away.
- Prepare to Dig: In early spring, before new growth really takes off, is the ideal time to divide.
- Carefully Excavate: Dig around the base of the plant. You want to expose the root ball as much as possible without causing excessive damage.
- Separate the Clumps: Once you can see the roots, you can often gently pull apart sections of the plant that have their own root systems. If it’s a bit stubborn, you can use a clean spade or a sharp knife to help separate the clumps.
- Replant Immediately: Replant the divided sections into prepared spots in the garden or into pots with fresh potting mix. Water them well and keep them consistently moist for the first few weeks.
The “Secret Sauce”: Insider Tips from My Garden
There are a few little tricks I’ve picked up over the years that really make a difference.
- Bottom Heat is Your Best Friend: If you can, use a heat mat under your pots of cuttings. Amelanchier roots love a little warmth from below. It significantly speeds up the rooting process and increases success rates, especially if your home is a bit on the cool side.
- Don’t Let Those Leaves Dangle! This applies more to water propagation (which can work, but I find stem cuttings in soil more reliable for Amelanchier), but it’s a good habit to get into: ensure that no leaves will be submerged in water or damp soil. Rot is the enemy, and waterlogged leaves are a direct invitation.
- Patience with the Propagation Medium: When using soil, don’t overwater! The goal is consistently moist, not soggy. The humidity from the plastic cover will do most of the work in keeping the leaves hydrated. You should only need to water lightly if the soil feels dry to the touch.
Tender Loving Care and When Things Go Wrong
Once you see tiny roots peeking out from the drainage holes, or new baby leaves starting to unfurl on your cuttings, it’s time for a little extra attention.
- Transition Gradually: When roots are well-established (you might feel some resistance when gently tugging a cutting), it’s time to gradually acclimate your new plants to normal conditions. Start by opening the plastic bag a little each day for a week, then remove it entirely.
- Watering: Continue to keep the soil consistently moist but never waterlogged. As they grow, you can let the top inch of soil dry out slightly between waterings.
- Feeding (Later On): Once your plant has been repotted into a slightly larger container or planted in the ground, you can start a diluted liquid fertilizer once a month during the growing season.
Troubleshooting: The most common issue you’ll face is rot. If your cuttings look limp and mushy, or the soil feels perpetually wet and smells off, it’s likely rot. This is usually due to overwatering or poor drainage. Unfortunately, once rot sets in, it’s hard to save a cutting, but you can learn from it and adjust your watering next time! Another sign of failure is if nothing happens after several weeks. This can just mean the plant didn’t take, and it’s a good reason to try again.
Happy Gardening, My Friends!
Seeing a new Amelanchier plant thrive from a little cutting is such a thrill. Remember to be patient; propagation takes time, and sometimes things don’t work out perfectly the first time. But that’s part of the joy of gardening – learning, experimenting, and enjoying the process. So go on, get your hands in the soil, and grow some beautiful new Serviceberries! You’ll be so glad you did.
Resource:
https://identify.plantnet.org/k-world-flora/species/Amelanchier%20interior%20E.L.Nielsen/data