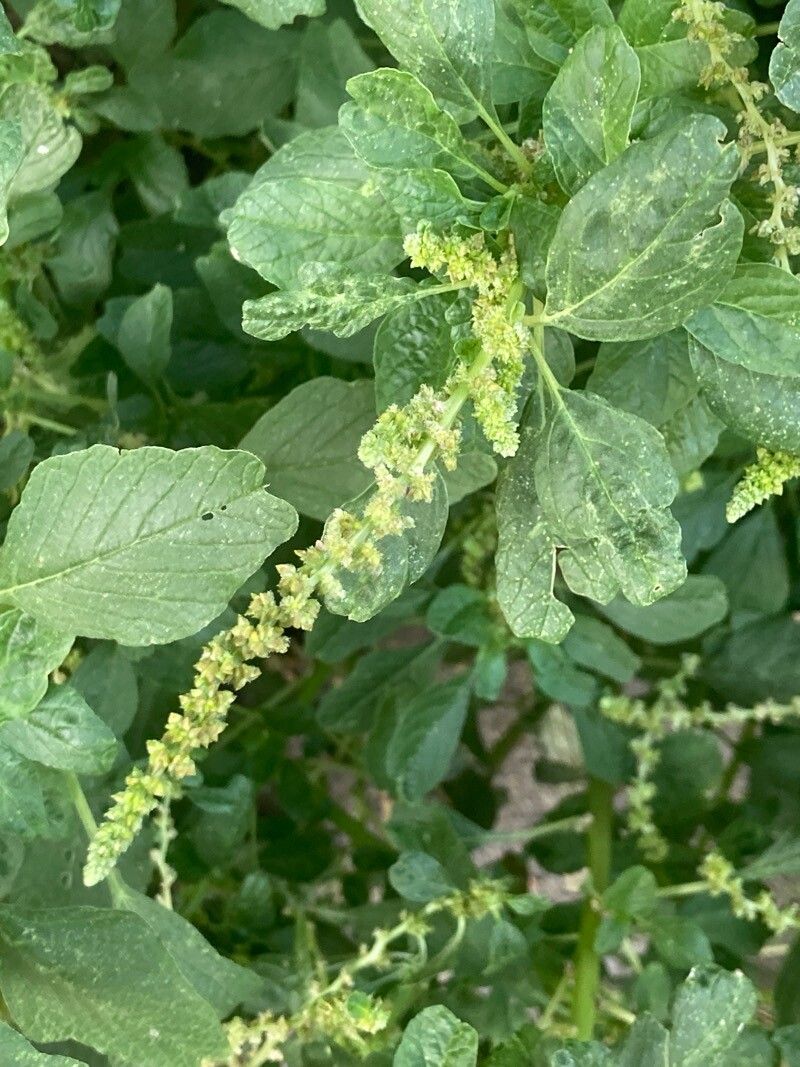
Hey there, fellow plant lovers! I’m so excited to chat with you today about a garden gem that deserves a bigger spotlight: Amaranthus blitum. You know, those beautiful plants with their striking, often deep-red or vibrant green, drooping flower heads. They add such a dramatic flair to the garden, and their edible leaves are a bonus for any foodie keen on growing their own ingredients.
Now, if you’re wondering if Amaranthus blitum is a finicky plant to prop, I’ve got good news for you! It’s surprisingly easy to propagate, even for folks just dipping their toes into the world of gardening. That makes it a truly rewarding project, as you can easily fill your garden beds or pots with these beauties without breaking the bank.
The Best Time to Start
For the absolute best chance of success with Amaranthus blitum, I always recommend starting in the spring, just as the weather warms up and the days get longer. You can also take cuttings throughout the summer. This gives your new plants plenty of time to establish themselves before things cool down. Look for healthy, actively growing stems; those are your prime candidates.
Supplies You’ll Need
Gathering your supplies is half the fun, right? Here’s what you’ll want to have on hand:
- Sharp pruning shears or a clean, sharp knife: For making neat cuts.
- Small pots or trays: Clean ones are a must to prevent disease.
- Well-draining potting mix: A standard all-purpose mix with some added perlite or horticultural sand works wonderfully.
- Rooting hormone (optional but helpful): A powder or gel.
- Water: For moistening the soil and misting.
- Plastic bags or a propagator lid: To create a humid environment.
- A warm location: Near a sunny window or a heat mat.
Propagation Methods
Amaranthus blitum is incredibly obliging when it comes to propagation. My favorite method, and the one I’ve had the most success with, is stem cuttings. It’s straightforward and yields results quickly.
Stem Cuttings:
- Select your parent plant: Choose a healthy, vibrant Amaranthus blitum.
- Take cuttings: Using your sharp shears or knife, cut a healthy stem that’s about 4-6 inches long. Make the cut just below a leaf node (where a leaf attaches to the stem).
- Prepare the cuttings: Gently remove the lower leaves from the cutting, leaving just a few at the top. This prevents them from rotting in the soil. If your leaves are quite large, you can even cut them in half to reduce water loss.
- Apply rooting hormone (optional): Dip the cut end of the stem into rooting hormone, tapping off any excess.
- Plant the cuttings: Fill your small pots with moist potting mix. Make a small hole in the center with your finger or a pencil and insert the cutting about an inch deep. Gently firm the soil around it.
- Create humidity: Water the soil lightly. Then, cover the pot with a plastic bag or a propagator lid to trap moisture. Poke a few small holes in the bag for ventilation.
- Place in a warm spot: Set the pot in a bright location that receives indirect sunlight. Avoid direct sun, as it can scorch the tender cuttings. I like to place mine on a windowsill that gets morning sun or a little further back from a brighter window.
The “Secret Sauce” (Pro Tips)
Here are a few little tricks I’ve picked up over the years that really give your propagation efforts a boost:
- Bottom heat is your friend! Amaranthus blitum absolutely loves warmth, and often, a simple windowsill isn’t quite enough. Placing your pots on a heat mat specifically designed for seedlings can dramatically speed up root development. You’ll see results much faster.
- Don’t let those leaves touch the water! If you’re tempted to try water propagation (which is also possible, but I find cuttings in soil more reliable for this plant), be absolutely sure that no leaves are submerged in the water. They will rot incredibly quickly and can even affect the stem.
- Mist, mist, mist! Even with the plastic bag, I like to give the cuttings a gentle misting of water every day or two. This keeps the humidity high and prevents the new foliage from drying out, especially on warmer days.
Aftercare & Troubleshooting
Once you start to see new growth appearing, that’s a great sign that roots are forming! You can gently tug on the cutting; if there’s resistance, it means it has rooted. At this point, you can gradually remove the plastic cover or lid over a few days to acclimatize the new plant to normal humidity. Continue to keep the soil moist but not waterlogged.
The most common issue you might encounter is rot. If you see mushy, brown stems or leaves that are wilting and discolored, it’s usually a sign of too much moisture and not enough air circulation. Ensure your potting mix is well-draining, and don’t keep the soil constantly soggy. If you catch rot early, you might be able to save the cutting by taking a fresh, healthy piece from further up the stem and starting again.
A Encouraging Closing
See? Not so daunting, is it? Propagation is such a wonderful way to connect with your plants and expand your garden without buying new ones. Be patient with your little Amaranthus blitum cuttings. Some will take a little longer than others, but with a bit of warmth and moisture, you’ll soon have a whole generation of these beautiful plants to enjoy. Happy propagating!
Resource:
https://identify.plantnet.org/k-world-flora/species/Amaranthus%20blitum%20L./data