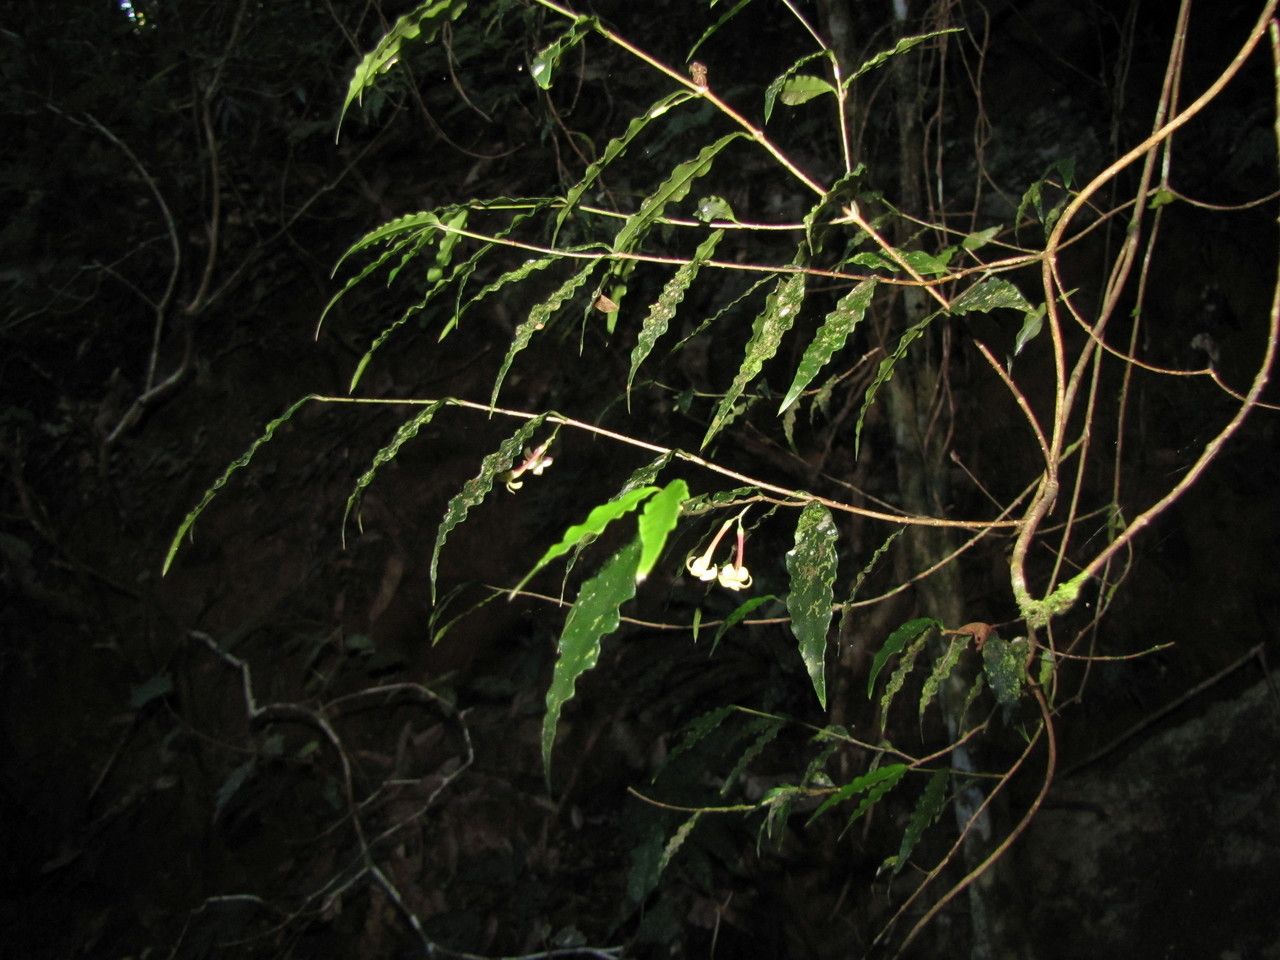
Oh, Alyxia margaretae! If you’ve ever had the pleasure of encountering this gem, you know why I’m so excited to talk about it. It’s got these darling, fragrant star-shaped flowers that just perfume the air, and its glossy foliage is a dream. Propagation is truly one of the most rewarding parts of gardening, and with Alyxia margaretae, you get to multiply that joy. For beginners, I’d say it’s moderately easy. A little know-how goes a long way with this lady, and I’m here to share exactly what that is.
The Best Time to Start
My absolute favorite time to get started with Alyxia margaretae propagation is during the late spring to early summer. This is when the plant is actively growing, bursting with energy. You’ll be looking for new, semi-hardwood growth. This means the stems are no longer super soft and floppy but haven’t quite hardened off into chunky wood. They have a bit of flexibility and are more likely to root.
Supplies You’ll Need
Gathering your supplies upfront makes the whole process much smoother. Here’s what you’ll want to have on hand:
- Clean, sharp pruning shears or a sharp knife: For making clean cuts.
- Rooting hormone (optional but recommended): Powder or gel. It gives cuttings a real boost.
- Well-draining potting mix: A blend of perlite, peat moss, and a bit of compost works wonders. Or, you can buy a good quality seed-starting mix.
- Small pots or rooting trays: Make sure they have drainage holes.
- Plastic bags or a propagation dome: To create a humid environment.
- Labels and a marker: So you don’t forget what you’ve planted where!
- Warmth (optional): A heat mat can speed things up considerably.
Propagation Methods
Let’s get our hands dirty! I find that stem cuttings are by far the most reliable method for Alyxia margaretae.
- Take Your Cuttings: Select a healthy stem from your mature plant. Look for that semi-hardwood growth I mentioned. Make a clean cut just below a leaf node (where a leaf attaches to the stem). You want cuttings that are about 4-6 inches long.
- Prepare the Cuttings: Gently remove the lower leaves, leaving just a few at the top. This helps prevent rot and allows the plant to focus its energy on rooting. If your leaves are large, you can even cut them in half to reduce water loss.
- Apply Rooting Hormone (Optional): Dip the cut end of the stem into your rooting hormone, tapping off any excess.
- Plant Them Up: Fill your small pots or trays with your moist, well-draining potting mix. Make a small hole with your finger or a pencil and insert the cutting, ensuring that at least one leaf node is buried beneath the soil line. Gently firm the soil around the cutting.
- Create Humidity: Water the soil lightly. Then, cover the pot or tray with a plastic bag or a propagation dome to create a mini-greenhouse. Make sure the plastic doesn’t touch the leaves too much.
- Provide Light and Warmth: Place the cuttings in a bright spot but out of direct, harsh sunlight. If you have a heat mat, place the pots on it. This bottom warmth is excellent for encouraging root development.
The “Secret Sauce” (Pro Tips)
Here are a couple of things I’ve learned that really make a difference:
- Don’t Over-Water: It’s a common mistake! The soil should be consistently moist, but not waterlogged. Soggy soil is the fast track to rot. I like to give my cuttings a good watering initially, then mostly just mist the leaves and the inside of the plastic cover daily. Checking the soil moisture by sticking your finger in about an inch is key.
- Bottom Heat is a Game-Changer: If you can manage it, a gentle heat mat from below will drastically speed up root formation. It mimics the warmth of the soil in warmer months and really encourages those roots to seek out the heat and grow.
Aftercare & Troubleshooting
Once your Alyxia margaretae cuttings have put on a bit of growth and you feel resistance when you gently tug on them, they’ve likely rooted! It might take anywhere from 4-8 weeks, sometimes longer.
- Gradual Acclimation: Slowly start to remove the plastic cover, a few hours per day, to let them get used to lower humidity.
- Transplanting: Once they’re well-rooted, you can transplant them into slightly larger pots with a good quality potting mix.
- Watch for Rot: The biggest sign of trouble is a rotting, mushy stem. This usually means too much moisture, not enough air circulation, or just a weak cutting. If you see it, sadly, it’s best to discard that cutting and start again. Sometimes, if you catch it very early, you can try to salvage a piece of the stem, but often it’s a lost cause. Yellowing leaves can also be a sign of stress, but if the stem is firm, it might just be adjusting.
A Little Patience Goes a Long Way
There you have it! Propagating Alyxia margaretae is a journey, and like any good journey, it’s filled with learning and often, a few happy surprises. Be patient with your little cuttings. Sometimes they take their sweet time, and that’s perfectly okay. Enjoy the process of watching new life emerge. Happy propagating!
Resource:
https://identify.plantnet.org/k-world-flora/species/Alyxia%20margaretae%20Boiteau/data