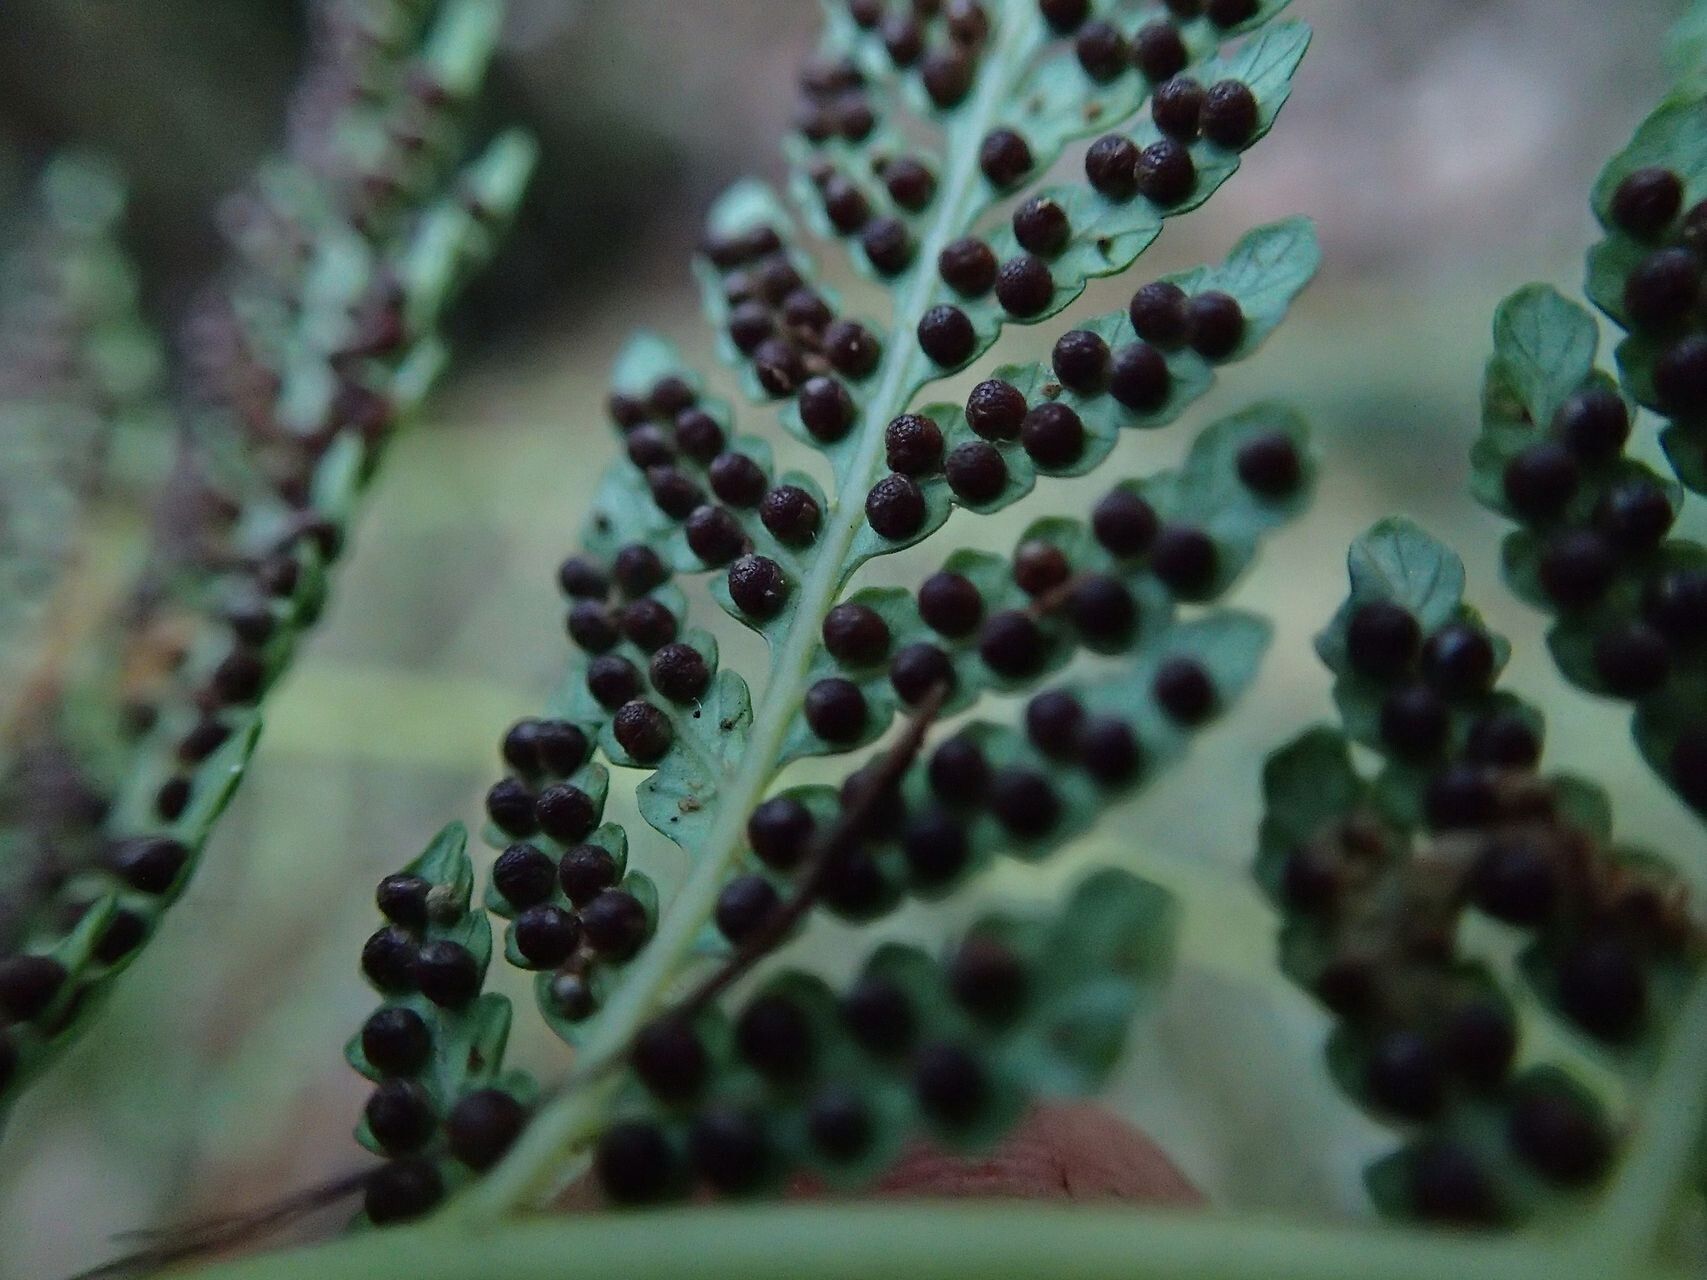
Hello, fellow plant lovers! I’m so excited to talk to you about a plant that truly captures the imagination: Alsophila vieillardii. This New Caledonian tree fern is a stunner, with its elegant fronds unfurling like intricate lace. There’s something incredibly special about nurturing a new life from an existing plant, and successfully propagating Alsophila vieillardii is a deeply satisfying journey. Now, I won’t lie, this fern can be a little finicky, so for complete beginners, it might be a bit of a challenge. But if you’re willing to put in a little extra care and attention, I promise, the rewards are well worth it.
The Best Time to Start
When it comes to coaxing new life from your Alsophila vieillardii, spring is absolutely your best bet. Think of it as working with the plant’s natural energy surge. The days are getting longer, the temperatures are warming up gently, and everything is primed for growth. Starting during this active growing season gives your new propagations the best chance to establish strong roots before the heat of summer or the chill of fall sets in.
Supplies You’ll Need
Before we dive in, let’s get our tools ready. A little preparation goes a long way!
- Sharp, sterile pruning shears or a clean knife: For making clean cuts.
- Well-draining potting mix: A good blend for ferns often includes orchid bark, perlite, and peat moss. I like a mix that feels airy and doesn’t hold too much moisture.
- Small pots or propagation trays: With drainage holes, of course!
- Clear plastic bags or a humidity dome: To create a mini-greenhouse effect.
- Rooting hormone (optional but recommended): For an extra boost.
- Spray bottle: For gentle misting.
- Trays for bottom heat (optional): A seedling heat mat can really speed things up.
Propagation Methods
Alsophila vieillardii is a bit unique, and typically we’re looking at propagating from its rhizomes or, for the more adventurous, its spores. Since spores can be notoriously tricky, I’ll focus on the rhizome method, which is more accessible.
First, you’ll need to gently excavate the rhizome. This is the thick, woody stem that grows horizontally or even upright on some tree ferns. It’s where new fronds and roots emerge. Take your existing, healthy plant and carefully remove it from its pot. Gently brush away some of the soil to expose the rhizome. Look for sections of the rhizome that have small, developing fronds or aerial roots. These are your prime candidates.
Using your sharp, sterile pruning shears or knife, carefully cut a section of the rhizome that includes at least one or two of these developing fronds and some root nodules. Make a clean cut to minimize damage. If you’re using rooting hormone, dip the cut end of your rhizome piece into it according to the product’s instructions.
Now, prepare your small pots with your well-draining potting mix. Plant the rhizome piece so that the frond(s) are pointing upwards, and the cut end is nestled into the soil. You want to ensure good contact with the potting mix but avoid burying the crown of the frond too deeply. Water gently but thoroughly, making sure the potting mix is evenly moist.
To create that essential humid environment, place the potted rhizome into a clear plastic bag, sealing it to trap moisture, or cover it with a humidity dome. Place the pot in a bright, indirect light location. Avoid direct sunlight, which can scorch the delicate new growth.
The “Secret Sauce” (Pro Tips)
Here are a couple of things I’ve learned over the years that make a big difference:
- Don’t overwater the rhizome initially. While humidity is key, soggy soil is the quickest way to invite rot. The potting mix should be consistently moist, not waterlogged. Let the surface dry out just a touch between waterings.
- A little warmth goes a long way. If you can, place your propagation pots on a seedling heat mat set to a gentle warmth, around 70-75°F (21-24°C). This mimics the conditions of its native rainforest floor and really encourages root development. You’ll be amazed at how much faster things take off.
Aftercare & Troubleshooting
Once you start seeing new fronds unfurling and feel some resistance when you gently tug on the pot (indicating roots are forming), it’s time to gradually acclimate your new fern to drier air. Slowly open the plastic bag or humidity dome a little more each day over a week or two. Continue to water as needed, allowing the top inch of soil to dry out slightly.
Signs of failure usually point to one of two things: rot or dehydration. If the fronds turn yellow and mushy, or if you see mold on the surface of the soil, it’s likely too wet and possibly not getting enough airflow. If the fronds become brown and crispy, it’s probably too dry and needs more humidity. If you suspect rot, you might need to remove the affected part, let the rhizome dry out for a day or two, and repot in fresh, slightly less damp mix.
A Warm Farewell
Propagating Alsophila vieillardii is a project that requires patience and observation. Don’t be discouraged if your first attempt isn’t perfect. Each plant is an individual, and the process of learning and adapting is part of the joy of gardening. Keep observing, keep caring, and soon you’ll be marveling at your own beautiful, homegrown tree fern. Happy propagating!
Resource: