Oh, hello there! It’s so lovely to have you join me in my little corner of the gardening world. Today, we’re diving into something truly special, a plant that whispers of ancient forests and brings a touch of the exotic to our homes: the magnificent Alsophila camerooniana, also known as the African Tree Fern.
Hello, Beautiful Tree Fern!
Honestly, there’s something so captivating about a tree fern. Their lush, feathery fronds unfurling from a sturdy, upright trunk just transport you. Alsophila camerooniana in particular has a graceful elegance that I just adore. Propagating one feels like you’re not just growing a plant, but nurturing a piece of natural history. It can be a bit of a project, and I’d say for absolute beginners, it might be a touch challenging. But, with a little patience and my guiding hand, I think you’ll find it incredibly rewarding.
When Does the Magic Happen?
For Alsophila camerooniana, the best time to think about propagation is when the plant is actively growing. That usually means early spring or late summer. You want to be working with healthy, vigorous material. Trying to propagate when the plant is stressed or dormant just won’t yield the results you’re hoping for.
Gathering Your Goodies
Before we get our hands dirty, let’s make sure we have everything we need. It’s always best to be prepared!
- Sharp Pruning Shears: Clean cuts are essential.
- Potting Mix: A well-draining mix is key. I like to use a blend of coco coir, perlite, and a bit of orchid bark. Something light and airy!
- Rooting Hormone: This isn’t strictly mandatory for all methods, but it certainly gives cuttings a helpful boost. Look for one with IBA.
- Small Pots or Trays: For your new little fern babies. Make sure they have drainage holes!
- Clear Plastic Bags or Cling Film: To create a humid environment.
- Water: Clean, preferably room-temperature water.
- A Digger or Trowel: If you’re going the division route.
Let’s Get Propagating!
Alsophila camerooniana is typically propagated through division, though you can sometimes take divisions from the base of the trunk. This isn’t like propagating a begonia from a leaf, you see; we’re working with a more substantial structure.
Here’s how I usually go about it:
- Prepare Your Parent Plant: If you’re dividing a larger specimen, gently remove it from its pot. You might need a friend to help; these can get heavy!
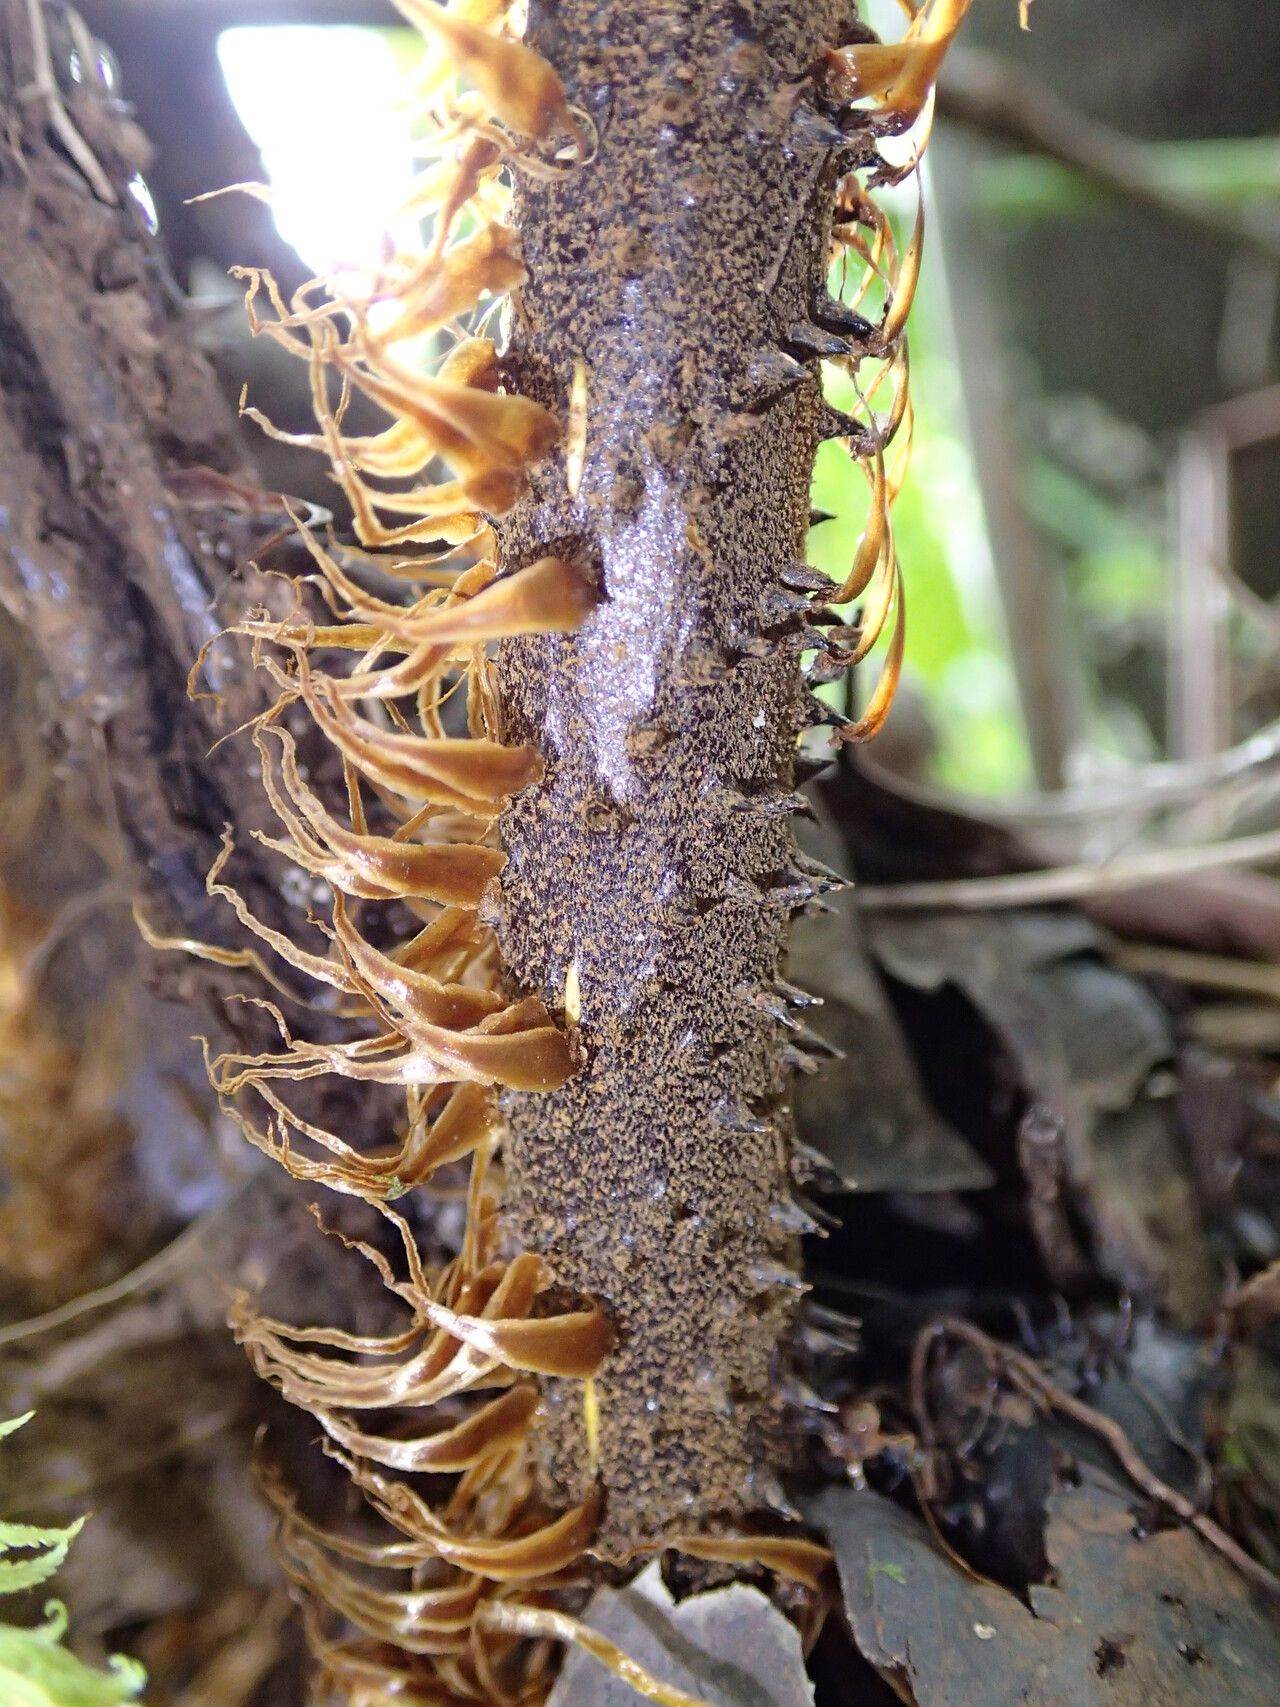
- Locate the Division Points: Examine the base of the trunk carefully. You’re looking for smaller offshoots or suckers that are starting to grow from the main trunk. Ideally, these offshoots should have some tiny roots already forming.
- Make the Cut: Using your sharp, clean pruning shears, carefully separate the division from the parent plant. Try to get as much of the root system attached to the division as possible. If it’s a clean separation, that’s perfect. If you have to make a cut into the main trunk, use a sterile knife or saw.
- Dress the Wounds: On both the parent plant and the division, you can apply a fungicide or cinnamon powder to the cut surfaces. This helps prevent rot, especially in a humid environment.
- Pot Up Your New Baby: Plant your division in a pot filled with your airy potting mix. Make sure the base where the roots start is at soil level. Water it gently but thoroughly.
The “Secret Sauce” – My Little Insider Tips
Now, here are a few things I’ve learned over the years that can make all the difference.
- Don’t Drench, Just Moisten: When you pot up your division, you want the soil to be consistently moist but never waterlogged. It’s a fine line, I know! Overwatering is the quickest way to invite rot, which is a tree fern’s nemesis.
- Embrace the Humidity Hug: These ferns love humidity. So, after potting, I’ll place the pot inside a plastic bag, sealing it loosely, or cover it with cling film. This creates a mini-greenhouse effect. Just remember to open it up for a bit of fresh air every few days to prevent mold.
- Patience is a Virtue (and a Fertilizer): Don’t expect miracles overnight. It can take several weeks, sometimes even a couple of months, for your division to show signs of active new growth. Resist the urge to tug or disturb it.
Aftercare and What to Watch For
Once you see new frond growth, that’s your sign of success! Gradually acclimate your new fern to less humid conditions by slowly opening the plastic bag over a week or two. Continue to water when the top inch of soil feels dry.
The main thing to watch out for is rot. If the base of your cutting turns mushy and black, or if you notice a foul smell, it’s likely that rot has set in. This is often due to overwatering or poor drainage. If you catch it early, you might be able to salvage a healthy piece, but it’s tough.
Keep Growing!
Propagating Alsophila camerooniana is a journey, not a race. There will be moments of anticipation, and maybe a little bit of worry, but the thrill of seeing a new fern unfurl its delicate fronds under your care is simply unmatched. Be patient, be observant, and most importantly, enjoy the process. Happy growing!
Resource: