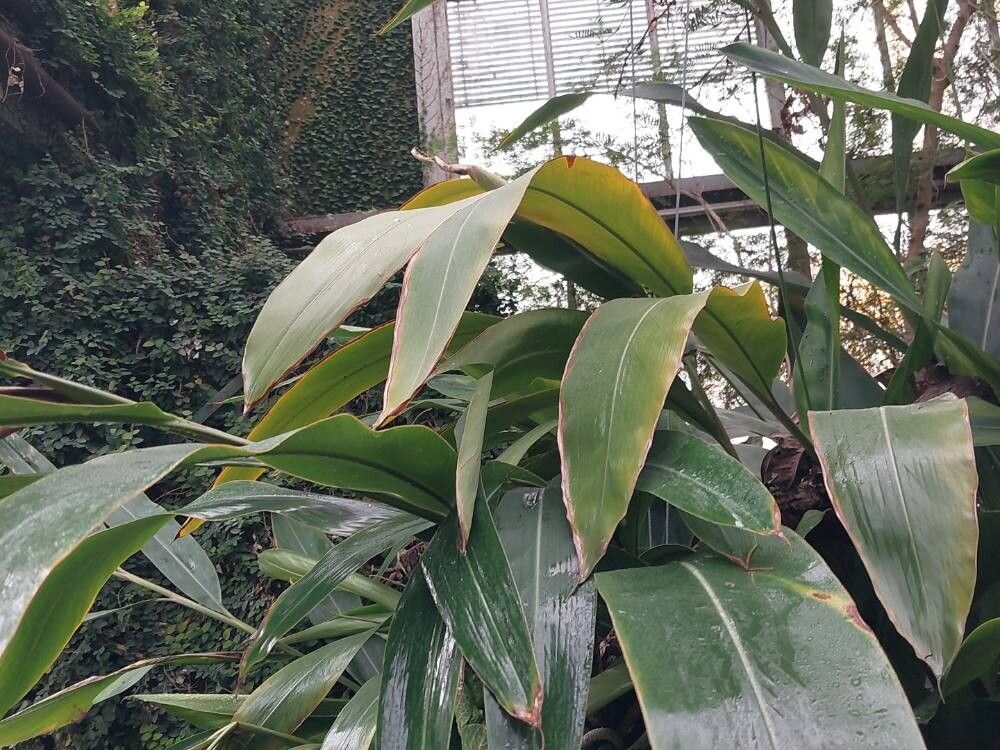
Oh, hello there! Grab a cup of your favorite brew, and let’s chat about one of my personal garden loves: Alpinia zerumbet, often called the Shell Ginger. Isn’t it just a stunner? Those elegant, arching stems topped with those delicate, shell-like blossoms – they bring such a tropical flair, even to my little corner of the world. And the fragrance! It’s a sweet, subtle perfume that I find incredibly soothing.
The best part, really, is how rewarding it is to grow more of these beauties. If you’re just starting out in the gardening world, I’m happy to tell you that propagating shell ginger is quite achievable. I’ve found it to be a pretty forgiving plant, which is always a bonus when you’re learning.
The Best Time to Start
When it comes to coaxing new life from your established Alpinia, spring and early summer are your best friends. This is when the plant is actively growing, bursting with energy. You’ll have the most luck taking cuttings or dividing those robust rhizomes when the weather is warm and consistently so. Forget about trying this in the dead of winter; they just won’t be as receptive to your efforts.
Supplies You’ll Need
To set yourself up for success, gather these handy helpers:
- Sharp Pruning Shears or a Clean Knife: You want clean cuts to prevent disease.
- Well-draining Potting Mix: Something light and airy is ideal. A good starting point is a mix of potting soil, perlite, and coco coir.
- Small Pots or Seed Trays: Choose containers with drainage holes.
- Rooting Hormone (Optional but Recommended): A little boost can speed things up.
- Plastic Bags or a Propagation Dome: To create a humid environment for cuttings.
- Watering Can with a Fine Rose: Gentle watering is key.
- Gloves (Optional): If you prefer to keep your hands clean!
Propagation Methods
Shell ginger is primarily propagated in two very straightforward ways: by dividing the rhizomes or by taking stem cuttings.
Dividing the Rhizomes
This is my absolute favorite and often the most successful method, especially for beginners.
- Gently Excavate: In spring or early summer, carefully dig up your Alpinia plant. You don’t need to pull the whole thing out if you don’t want to; you can often work right from the edges of the pot or garden bed.
- Locate the Rhizomes: Look for the thick, fleshy underground stems – these are the rhizomes. You’ll see where new shoots are emerging from them.
- Make the Split: Using your sharp pruning shears or knife, carefully divide the rhizome. Make sure each division has at least one healthy growing shoot and some attached roots. It’s okay if they look a little rugged; they’re tough plants!
- Pot Them Up: Plant each division in its own pot filled with your well-draining potting mix. Bury the rhizome just deep enough so the new shoots are peeking out.
- Water Well: Give them a good drink of water and place them in a warm spot with bright, indirect light.
Stem Cuttings
This method works well too, giving you smaller plants to get started.
- Take a Cutting: Select a healthy, vigorous stem that’s at least 6-8 inches long. Using your clean pruning shears, make a cut just below a leaf node (where a leaf attaches to the stem). Remove the lower leaves, leaving just a few at the top.
- Apply Rooting Hormone (Optional): Dip the cut end of the stem into your rooting hormone powder or gel. This helps encourage root development.
- Plant Your Cutting: Insert the cut end into a pot filled with your potting mix. Firm the soil gently around the stem.
- Create Humidity: Water the soil lightly. Then, tent a clear plastic bag over the pot, or place it inside a propagation dome. This traps moisture and creates that crucial humid environment.
- Provide Warmth and Light: Place the pot in a warm location with bright, indirect light. Avoid direct sun, which can scorch the delicate cuttings.
The “Secret Sauce” (Pro Tips)
Here are a couple of little tricks I’ve picked up over the years:
- Don’t Drown Your Cuttings: When taking stem cuttings, if you’re using water propagation (which can also work for Alpinia, though division is often easier), ensure the leaves don’t touch the water. Only the stem end should be submerged. Leaves sitting in water will quickly rot and take your cutting down with them.
- Bottom Heat is Your Friend: For stem cuttings, especially if your home tends to be a bit cool, placing your pots on a seedling heat mat can make a world of difference. It provides consistent warmth to encourage root formation from the bottom up.
Aftercare & Troubleshooting
Once your new Alpinia plants have started to grow – you’ll see new shoots and leaves forming – they’re well on their way!
- Slowly Acclimate: If you used a plastic bag for humidity, gradually remove it over a few days. Start by opening it for a few hours, then propping it open, until you can remove it entirely. This helps the plant adjust to normal air.
- Consistent Moisture: Keep the soil consistently moist but not waterlogged. Overwatering is the most common culprit for plant problems.
- Patience is Key: Don’t expect overnight miracles. It can take several weeks, sometimes months, for roots to establish fully.
- Signs of Trouble: The most common issue you might see is rot. This usually shows up as mushy, brown stems or leaves. If you see this, it’s a sign of too much moisture and not enough drainage. You might need to salvage a healthy piece if possible, or sadly, start again. Yellowing leaves on a cutting could mean it’s not getting enough light or it’s too dry, but mushy stems are a definite red flag for rot.
A Heartfelt Closing
So there you have it! Propagating Alpinia zerumbet is a wonderful way to multiply the beauty in your garden, share with friends, or simply enjoy the satisfaction of nurturing new life. Be patient with your little ones, offer them consistent care, and most importantly, enjoy the process. Happy gardening!
Resource: