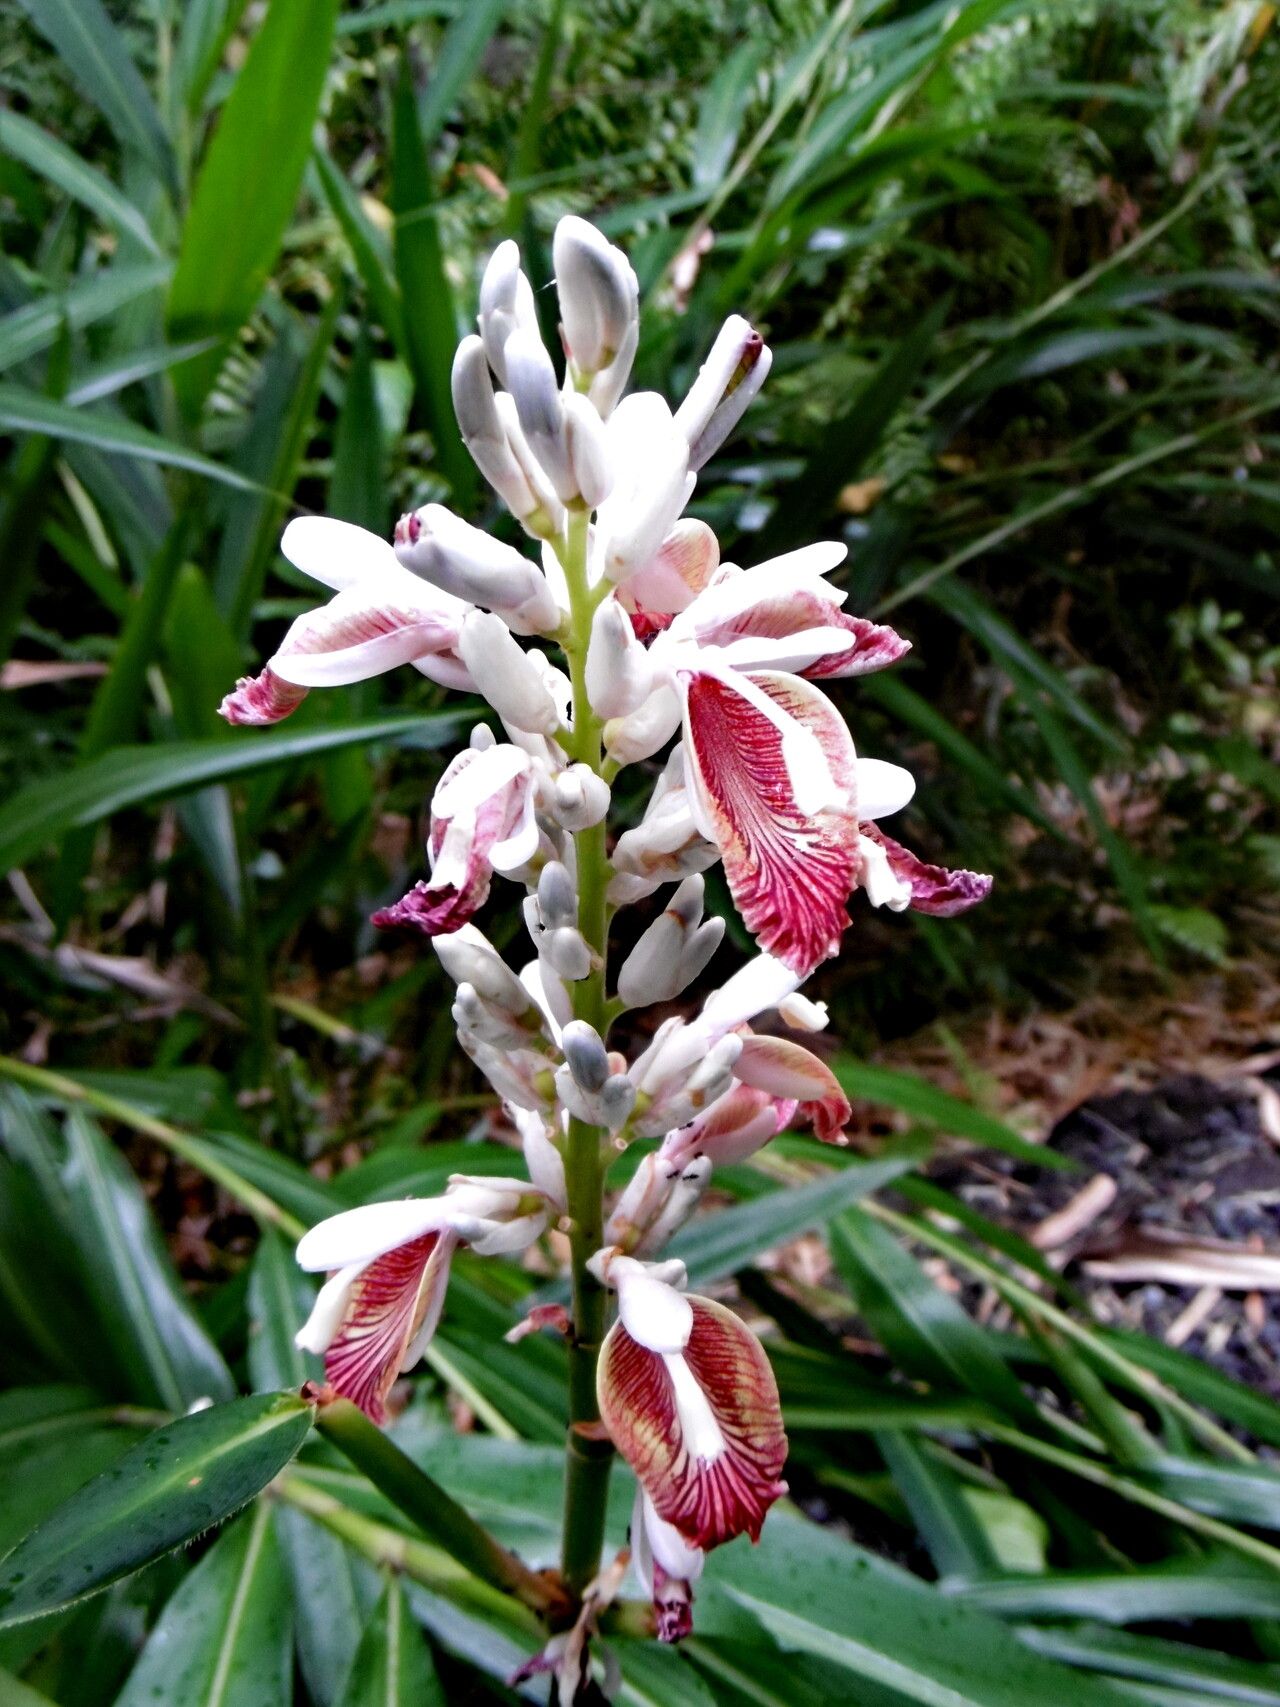
Hello, fellow plant enthusiasts! It’s wonderful to have you here. Today, we’re diving into the delightful world of propagating Alpinia calcarata, also known as the Cardamom Ginger. If you’ve ever admired its lush, architectural foliage and those beautiful, orchid-like blooms, you’re in for a treat. There’s something incredibly satisfying about taking a piece of a plant you love and coaxing it into a whole new life. And guess what? This one is surprisingly forgiving, even for those of you just starting your propagation journey.
The Best Time to Start
When it comes to getting your Alpinia calcarata to put down new roots, the spring and early summer are your best friends. This is when the plant is actively growing and has plenty of energy to spare for making new babies. You’ll want to work with healthy, vigorous parts of the plant. Avoid trying to propagate from stressed or dormant specimens.
Supplies You’ll Need
Here’s what you’ll want to have on hand before you get started:
- Sharp pruning shears or a clean, sharp knife: For making clean cuts.
- Potting mix: A well-draining mix is crucial. I often use a blend of potting soil, perlite, and a bit of orchid bark – something that won’t stay soggy.
- Small pots or propagation trays: With drainage holes, of course!
- Rooting hormone (optional but recommended): This little boost can really speed things up. Look for one with a fungicide in it, as ginger plants can be susceptible to rot.
- Clear plastic bags or a propagation dome: To create a humid environment.
- Water: For keeping things moist.
- Labels: To remember what you’ve potted!
Propagation Methods
Alpinia calcarata is wonderfully versatile, and we can propagate it in a couple of straightforward ways.
Division (The Easiest Way!)
This is my go-to for this plant, especially if you already have a mature specimen.
- Gently remove your plant from its pot. If it’s really snug, you might need to give the pot a firm squeeze or tap.
- Examine the root ball. You’ll see that the main plant grows from thick, fleshy rhizomes (underground stems). Look for sections that have at least one healthy stem and a good chunk of roots.
- Carefully tease apart the rhizomes. Sometimes, you can simply pull them apart with your hands. If they’re a bit stubborn, use your clean knife or shears to cut through the rhizome, ensuring each new division has roots and a shoot.
- Pot up your divisions. Plant each new piece in its own small pot, filling with your well-draining potting mix. The top of the rhizome should be just at or slightly below the soil surface.
- Water thoroughly and place the pots in a warm spot with bright, indirect light.
Stem Cuttings (A Bit More Patience Required)
This method is great for creating more plants without disturbing your main specimen too much.
- Select a healthy stem that has several leaf nodes (the points where leaves emerge). Cut a piece that’s about 4-6 inches long.
- Remove the lower leaves, leaving only the top two or three sets.
- Dip the cut end into your rooting hormone, tapping off any excess.
- Make a hole in your potting mix with your finger or a pencil and insert the cutting. Gently firm the soil around it.
- Water well, and then cover the pot with a clear plastic bag or a propagation dome to maintain high humidity. You can use stakes to keep the bag from touching the leaves.
- Place in bright, indirect light, and keep the soil consistently moist but not waterlogged.
The “Secret Sauce” (Pro Tips)
Here are a few things I’ve learned over the years that make a big difference:
- Don’t let the leaves touch the water if doing water propagation. While some plants love sitting in water, ginger plants can be prone to rot this way. If you choose to try water propagation (which I’m less keen on for this one), ensure the cut end is submerged, but keep the leaves high and dry.
- Bottom heat is your friend for stem cuttings. A seedling heat mat can significantly speed up root development. It mimics the warmth of spring soil and gives those cuttings an extra push.
- Be patient with divisions. Sometimes, a division might look a bit sad for a week or two as it settles in. Don’t panic! As long as the rhizome isn’t mushy, it’s likely just taking its time to establish.
Aftercare & Troubleshooting
Once your little Alpinia calcarata shows signs of new growth (a new shoot emerging from the soil or increased turgidity in the leaves), you’re almost there.
- Gradually acclimate your new plants to normal humidity levels. If you were using a plastic bag, start opening it for a few hours each day before removing it entirely.
- Continue to keep the soil consistently moist, but never soggy. Ginger plants love humidity, so misting occasionally or placing pots on pebble trays can be beneficial.
- Watch out for rot. The most common sign of failure is a mushy, black, or foul-smelling base to your cutting or division. This usually means it’s too wet and lacking airflow. If you see this, sadly, it’s usually best to discard it. Good drainage and not overwatering are your best defenses.
- Yellowing leaves could mean it’s getting too much sun or the soil is too dry. Adjust accordingly.
A Cheerful Closing
Propagating Alpinia calcarata is a rewarding journey. It’s a chance to learn more about your plant’s natural rhythms and to multiply the beauty in your home or garden. Don’t be discouraged if your first attempt isn’t perfect. Gardening is all about observation and a little bit of nurturing. Be patient, enjoy the process of coaxing new life, and soon you’ll have even more of these magnificent plants to share! Happy propagating!
Resource:
https://identify.plantnet.org/k-world-flora/species/Alpinia%20calcarata%20(Andrews)%20Roscoe/data