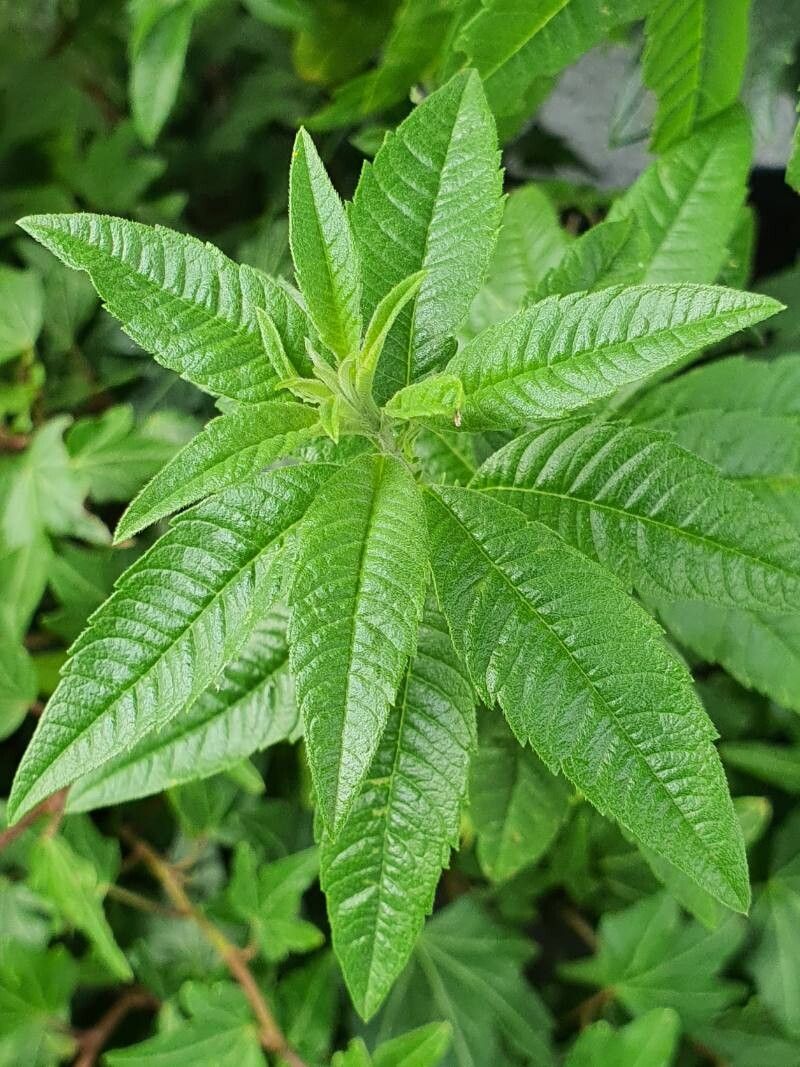
Oh, hello there! Come on in, grab a mug. Let’s chat about something wonderful: Lemon Verbena. If you’ve ever brushed against its fragrant leaves, you know the magic I’m talking about. That bright, zesty scent is pure sunshine in a garden. And the best part? You can easily bring that sunshine into your own home, or share it with friends, by propagating your own Lemon Verbena. Don’t worry, it’s not a fussy plant at all. In fact, I’d say it’s quite forgiving, a lovely one to start with if you’re new to the propagation game.
The Best Time to Start
When the sap is really running, that’s when you’ll have the most luck. For Lemon Verbena, the sweet spot is typically late spring through early summer. This is when the plant is actively growing and has plenty of energy to put into developing new roots. You can also take cuttings in late summer, but you’ll want to give them a bit more attention to ensure they establish well before cooler weather sets in. Look for stems that are semi-hardwood – not brand new and floppy, but not tough and woody either.
Supplies You’ll Need
Gathering your supplies makes the whole process so much smoother. Here’s what I usually have on hand:
- Sharp Pruning Shears or a Clean Knife: For making clean cuts.
- Rooting Hormone (Optional but Recommended): This really gives your cuttings a helpful boost.
- Small Pots or Seedling Trays: About 4-6 inches deep is perfect.
- Well-Draining Potting Mix: A good blend of peat moss, perlite, and a bit of compost works wonders. You can also buy a specialized seed starting mix.
- Plastic Bags or a Clear Dome Lid: To create a humid environment.
- Gardening Gloves: Because my hands get a little grubby!
- Watering Can or Spray Bottle: For gentle watering.
Propagation Methods
Lemon Verbena is wonderfully adaptable, but stem cuttings are my go-to. They’re straightforward and give excellent results.
Stem Cuttings
- Take Your Cuttings: With your clean shears, select healthy, vigorous stems. You want lengths of about 4-6 inches. Make your cut just below a leaf node (where the leaf attaches to the stem). This is where the magic starts to happen!
- Prepare the Cuttings: Gently remove the lower leaves. You only want to leave a couple of sets of leaves at the very top. This prevents them from rotting in the soil and encourages the plant to focus its energy on roots.
- Apply Rooting Hormone: If you’re using rooting hormone, dip the cut end of each stem into it. Tap off any excess.
- Plant Your Cuttings: Fill your pots with your prepared potting mix. Make a hole with your finger or a pencil and gently insert the cuttings, ensuring the leafless part is buried. I usually plant 2-3 cuttings per pot, spaced a few inches apart.
- Water Gently: Water the soil thoroughly but carefully. You don’t want to dislodge your new little plants.
Water Propagation (An Alternative)
This method is a bit more visual and can be fun for beginners.
- Select and Prepare Cuttings: Just like with stem cuttings, take 4-6 inch lengths and remove the lower leaves.
- Place in Water: Pop your cuttings into a clean jar or vase filled with fresh water. Make sure no leaves are submerged – this is crucial to prevent rot.
- Find a Bright Spot: Place the jar in a bright location, but out of direct, scorching sunlight. Change the water every few days to keep it fresh.
- Watch for Roots: You should start to see tiny white roots emerging from the cut end within a few weeks. Once the roots are about an inch long, you can transplant them into pots with soil.
The “Secret Sauce” (Pro Tips)
Here are a few little tricks I’ve learned over the years that can really boost your success:
- Don’t Let Leaves Touch Water: I know I mentioned it for water propagation, but it’s also true for any cuttings sitting in damp soil. If leaves are constantly in contact with moisture, they tend to rot way before roots even think about forming. Keep them up and out of the way!
- Bottom Heat is Your Friend: If you have a seedling heat mat, using it under your pots can make a world of difference. It gently warms the soil from below, encouraging the roots to grow much faster. It’s like giving your cuttings a warm hug.
- Mist, Don’t Drench: Those delicate leaves on your cuttings need humidity, but they can easily get waterlogged. A light misting with a spray bottle a couple of times a day is usually plenty, especially if you have your pots covered.
Aftercare & Troubleshooting
Once you see those little roots peeking out of the drainage holes or new growth appearing at the top, you’ve done it!
- Transition Gradually: If you used a plastic bag or dome, gradually remove it over a few days. This helps the new plant acclimatize to the drier air.
- Watering: Continue to keep the soil consistently moist but not soggy. Allow the top inch of soil to dry out a bit between waterings.
- Sunlight: As your cuttings grow stronger, you can slowly introduce them to more direct sunlight. They love a sunny spot!
Now, what if things don’t go as planned? The most common issue is rot. If your cuttings turn mushy and black, they’ve likely succumbed to too much moisture or lack of air circulation. Don’t be discouraged! This is all part of the learning process. Just toss the rotten ones and try again. Sometimes, a cutting just doesn’t have what it takes to root, and that’s okay too.
An Encouraging Closing
Bringing new life into the world from a simple cutting is one of the most satisfying parts of gardening, don’t you think? Be patient, enjoy the little triumphs, and don’t be afraid to experiment. Soon, you’ll have a whole bunch of fragrant Lemon Verbena to enjoy. Happy propagating!
Resource:
https://identify.plantnet.org/k-world-flora/species/Aloysia%20citrodora%20Paláu/data