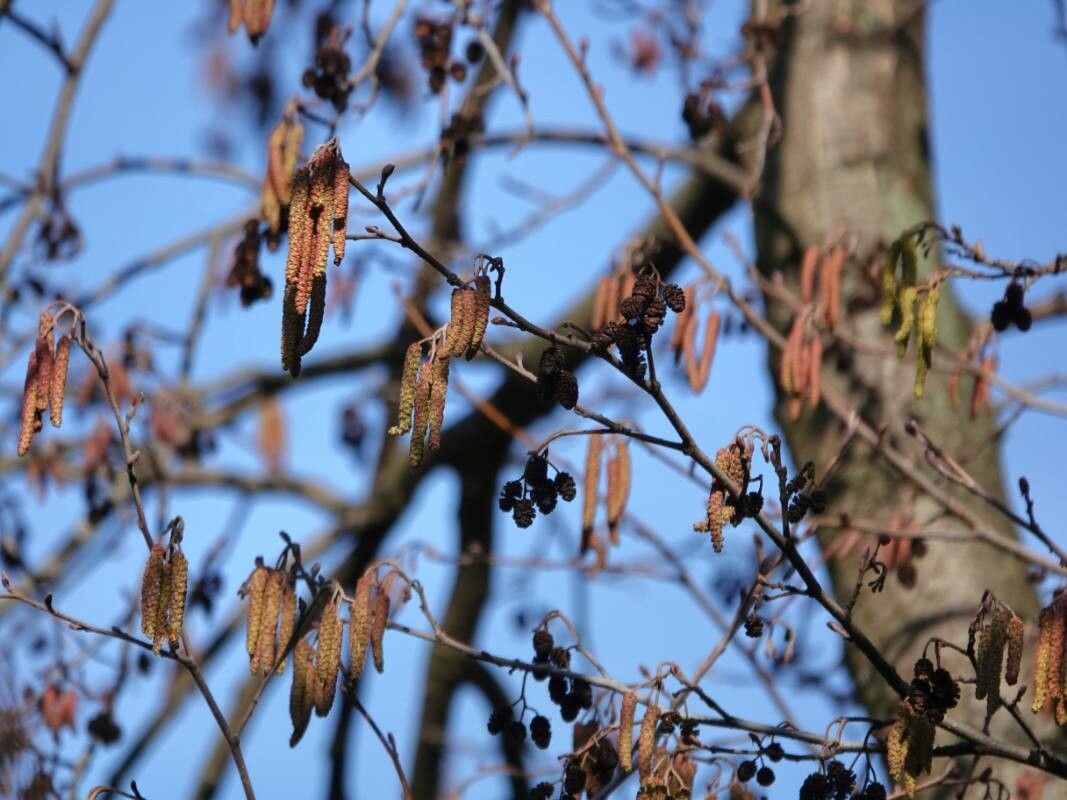
Oh, hello there! I’m so glad you’re interested in propagating Alnus hirsuta, or the Korean Alder, as it’s often called. If you’re looking for a tree that offers lovely dappled shade and attractive catkins, with a bit of wildlife appeal to boot, this one’s a charmer. And the joy of coaxing a new life from a parent plant? Well, that’s just about the most satisfying feeling a gardener can have. For those of you just starting out, I’d say propagating Alnus hirsuta is moderately easy. It’s not as tricky as some fussy orchids, but it does require a little attentive care.
The Best Time to Start
Timing is everything in the garden, isn’t it? For the best chance of success with Alnus hirsuta, I like to work with softwood cuttings. This means taking them when the new growth is still pliable and green, but starting to firm up a bit. For most of us, this falls right in the late spring to early summer. You’ll be looking for shoots that are about six inches long and snap cleanly rather than bending.
Supplies You’ll Need
Gathering your tools beforehand makes the whole process smoother. Here’s what I typically have on hand:
- Sharp Pruning Shears or a Clean Knife: For making clean cuts.
- Rooting Hormone: Especially helpful for encouraging strong root development.
- Potting Mix: A good sharp, free-draining mix is key. I often use a blend of perlite and peat moss, or a good quality seed-starting mix.
- Small Pots or Trays: With drainage holes, of course!
- Plastic Bags or a Propagator Lid: To maintain humidity.
- Watering Can with a Fine Rose: For gentle watering.
- Labels and a Marker: To keep track of your cuttings.
Propagation Methods
While you might have some luck with other methods, stem cuttings are my go-to for Alnus hirsuta. It’s reliable and gives you a good number of new plants.
- Take Your Cuttings: In late spring or early summer, select healthy, vigorous shoots. Using your clean shears or knife, take cuttings that are about 4-6 inches long. Make the cut just below a leaf node – that’s the point where leaves emerge from the stem. This is where the magic of root formation often begins.
- Prepare the Cuttings: Gently remove the lower leaves from the cutting, leaving just two or three at the very top. This reduces water loss. If you’re using rooting hormone, dip the cut end into the powder or gel. A little goes a long way! Just enough to coat the bottom inch or so.
- Pot Them Up: Fill your pots with your chosen potting mix. Make a small hole in the center of the soil with a pencil or your finger. Carefully insert the base of the cutting into the hole, ensuring the nodes are covered. Gently firm the soil around the cutting to hold it upright. Don’t pack it too tightly!
- Water Gently: Water your newly potted cuttings thoroughly but gently. You want the soil to be moist, but not waterlogged.
The “Secret Sauce” (Pro Tips)
Now, for a few things I’ve learned over the years that can really give you an edge.
- Humidity is Your Friend: After potting, I like to slip the pots into a clear plastic bag, making sure the leaves do not touch the sides of the bag. You can prop it open with a couple of skewers if needed. Alternatively, a propagator lid works wonders. This creates that humid microclimate young cuttings crave.
- A Touch of Warmth: If you have a heated propagator or can place your pots on a heat mat, bottom heat can significantly speed up root development. It mimics the warmth of spring soil and really encourages those roots to get moving.
- Cleanliness is Next to Goodness: Always use sterilized pots and tools. Fungus and bacteria are the enemies of tender cuttings, so a quick scrub with soapy water and a rinse with dilute bleach (then rinsed again thoroughly!) can prevent a lot of heartache.
Aftercare & Troubleshooting
Once your cuttings are potted and settled, they need consistent care. Keep them in a bright spot, but out of direct, scorching sun. Check the moisture levels regularly. The soil should feel damp to the touch. Gently lift the pot to check its weight – a lighter pot means it’s drying out.
You’ll know your cuttings are rooting when you see new leaf growth. You can also give them a very gentle tug. If you feel resistance, hooray! Roots are forming. Once they’ve established a decent root system, you can gradually acclimate them to slightly drier conditions by opening up the plastic bag or propagator lid more and more each day.
What if things go wrong? The most common issue is rot. If your cuttings start looking mushy and dark, it’s usually a sign of too much moisture or poor air circulation. Sadly, these are often unsalvageable. Prevention is key here – using that free-draining mix and being mindful of watering.
A Little Encouragement
Don’t be discouraged if not every single cutting takes. Gardening is a journey of learning and experimentation. Be patient, keep attentive, and celebrate every tiny sign of progress. There’s a wonderful sense of accomplishment in nurturing a new life from a simple stem. Happy propagating!
Resource:
https://identify.plantnet.org/k-world-flora/species/Alnus%20hirsuta%20(Spach)%20Rupr./data