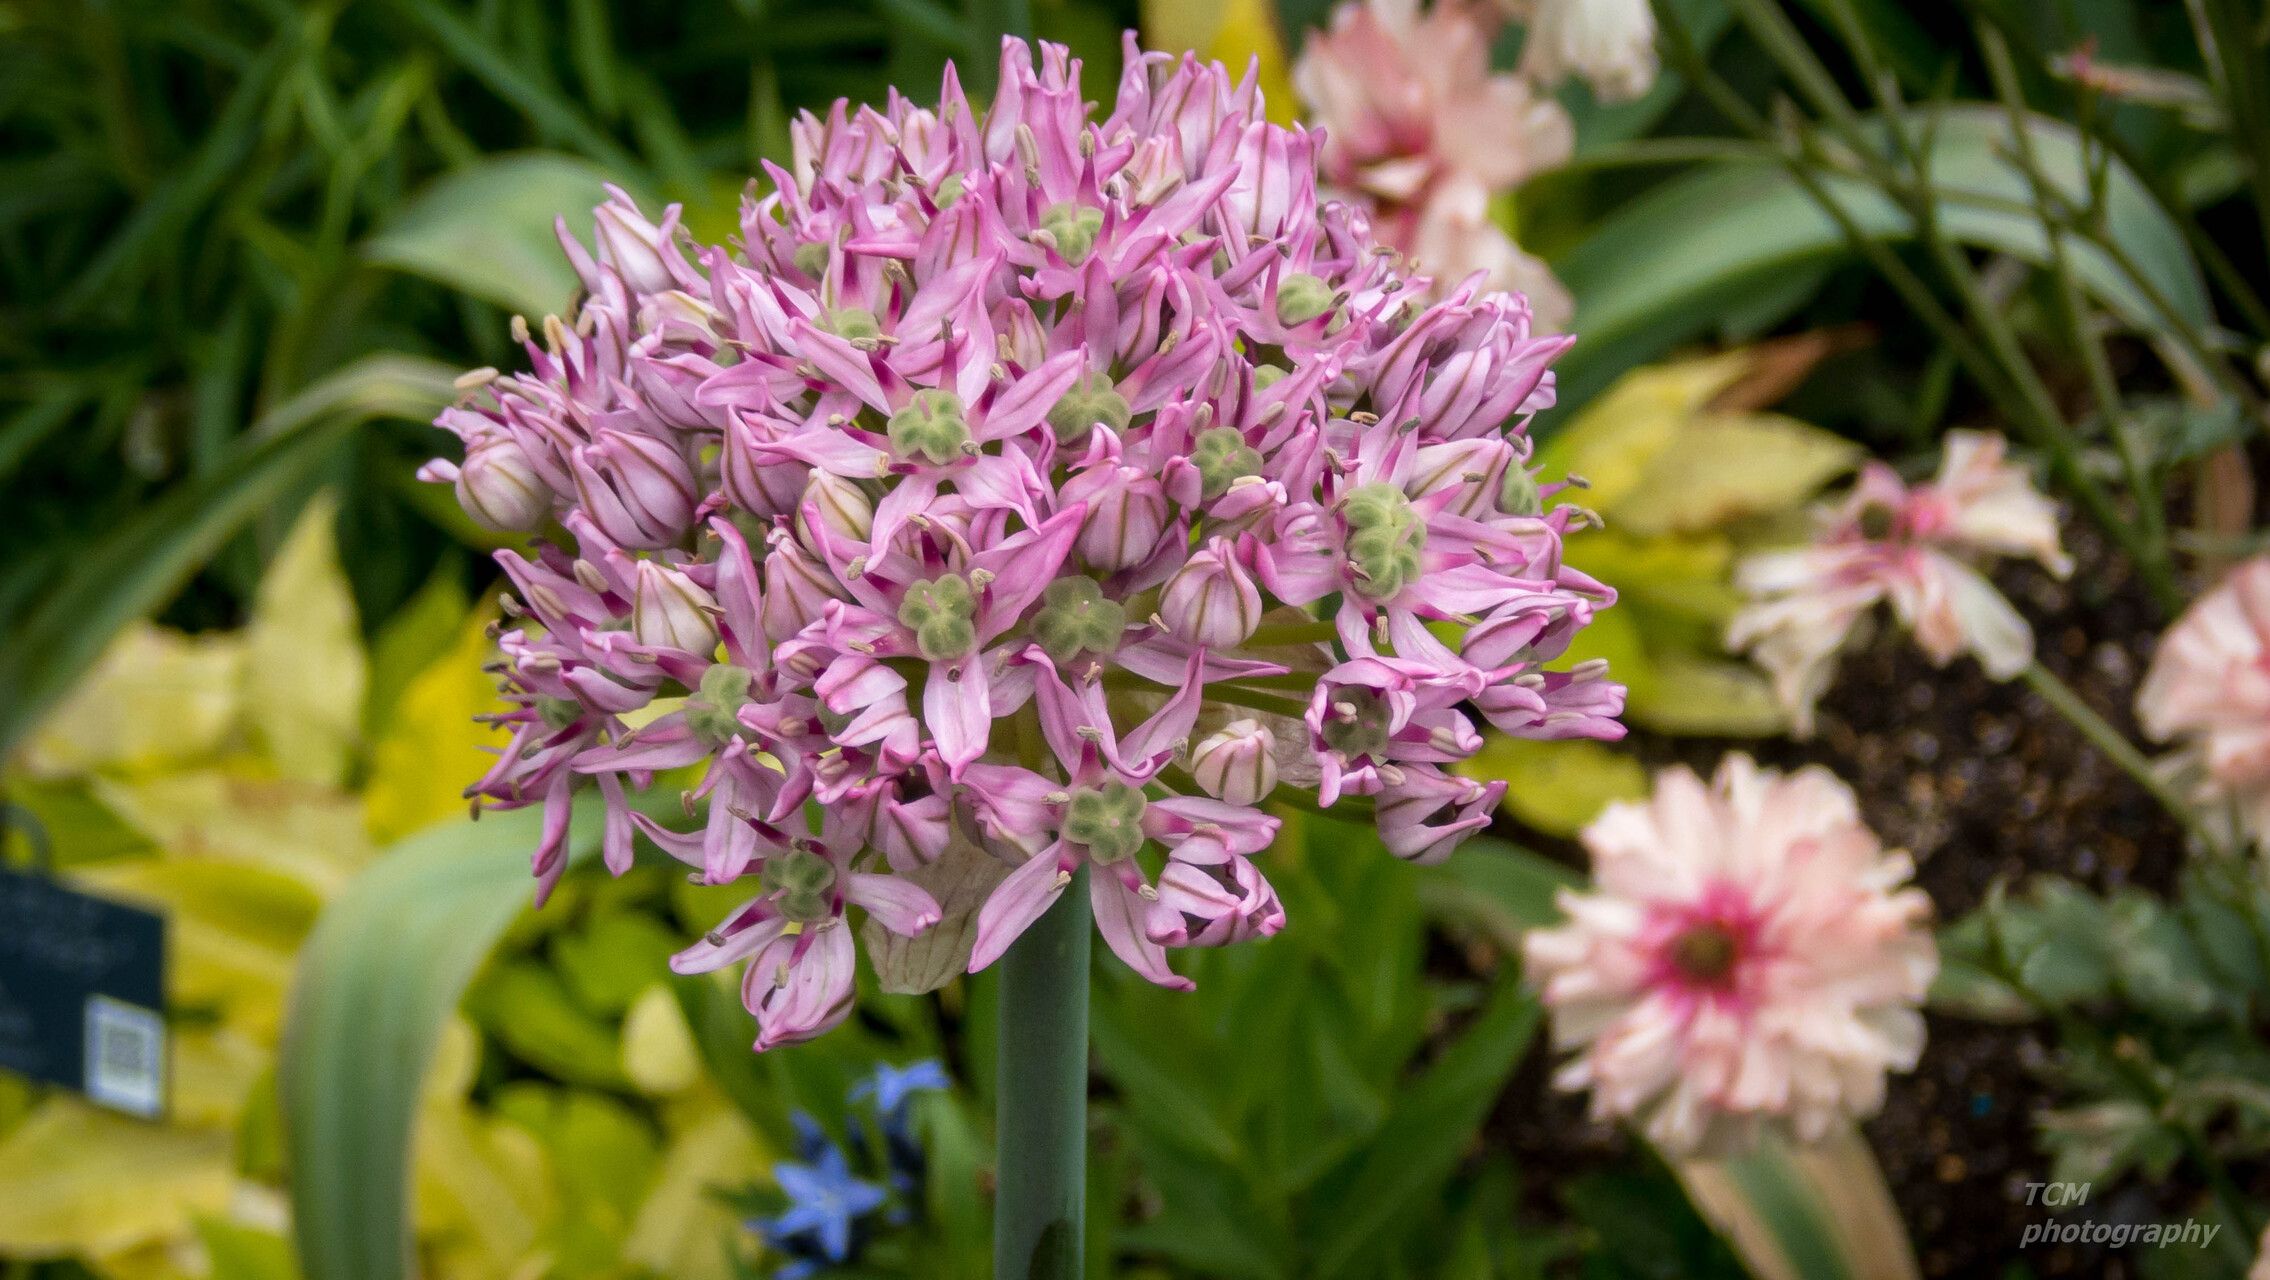
Oh, hello there! Grab a mug of your favorite brew, won’t you? Today, we’re going to delve into the delightful world of Allium aschersonianum. If you’re smitten with its unique charm – that delicate, almost ethereal bloom, sometimes with a whisper of purple or a dreamy pink – and you’re itching to multiply that joy, you’ve come to the right place. Propagating these beauties is a wonderfully rewarding endeavor, though I’d say it’s best suited for those who’ve already gotten their hands a little dirty. It’s not a “set it and forget it” kind of plant, but the results are absolutely worth the extra attention.
The Best Time to Start
Timing is everything, right? For Allium aschersonianum, the sweet spot for propagation is after it has finished blooming and begun to go dormant. You’ll notice the foliage will start to yellow and die back. This is nature’s cue that the plant is storing energy in its bulbs and roots, making it robust enough to handle being divided or having offsets taken. Aim for late summer or early fall. This gives the new divisions or propagations a chance to establish themselves before winter truly sets in.
Supplies You’ll Need
Here’s what you’ll want to have on hand to make this process smooth sailing:
- Sharp pruning shears or a clean knife: For making precise cuts. A sterile tool is your best friend here to prevent disease.
- A good quality potting mix or a specialized bulb/seed starting mix: Something that drains exceptionally well is key. I like a mix of peat moss, perlite, and a little compost.
- Small pots or trays: For your new divisions; make sure they have drainage holes!
- Labels and a permanent marker: So you don’t forget what you planted where!
- Watering can with a fine rose: For gentle watering.
- Optional: Rooting hormone: While not always strictly necessary for alliums, it can give an extra boost, especially if you’re propagating from offsets.
Propagation Methods
While you can try from seed (though it takes a very long time and is more challenging), the most successful and beginner-friendly methods for Allium aschersonianum involve its natural reproductive strategies:
1. Division (The Most Common and Easiest Method)
This is how most gardeners will expand their collection. Allium aschersonianum, like many alliums, tends to form clusters of bulbs or offsets over time.
- Carefully dig up the clump: Once the foliage has died back, gently dig around the base of the plant with your trowel or even your hands. Try to lift the entire clump out of the soil.
- Gently tease apart the bulbs: Inspect the clump. You’ll see the main bulb and smaller bulbs (offsets) attached to its base or sides. Gently separate these, trying to keep as much of the root system intact as possible. If they’re stubborn, a clean, sharp knife can help.
- Inspect for damage: Trim away any damaged roots or mushy sections.
- Replant immediately: Plant the individual bulbs or smaller clusters in your prepared potting mix. Bury them at about twice their depth. Water them in gently.
2. Offsets (A Subtle Approach)
Sometimes, you’ll notice smaller bulblets forming around the base of the parent bulb, even while the plant is still growing. You can carefully tease these off during the dormant period as described above. The key here is that the offset should have at least a small root attached. These are essentially mini-bulbs that are ready to grow.
The “Secret Sauce” (Pro Tips)
Now for a couple of little tricks I’ve picked up over the years:
- Don’t overwater dormant bulbs: It’s tempting to keep things moist, but in the dormant phase, a soggy bulb is a recipe for rot. Let the soil dry out a bit between waterings, especially after planting divisions. Think “moist, not wet.”
- Consider a light dusting of cinnamon: After you’ve separated bulbs or offsets, especially if you’ve had to make a cut, you can lightly dust the cut surface with cinnamon powder. It’s a natural antifungal and can help prevent rot. It’s a simple, old-school remedy that really works!
Aftercare & Troubleshooting
Once your new divisions are planted, give them a good but gentle watering. Keep them in a place where they’ll be protected from extreme weather.
- Watering: Water sparingly until you see signs of new growth. Once they start actively growing, water as you would a mature plant – when the top inch of soil feels dry.
- Sunlight: They’ll appreciate a bright spot, but avoid scorching midday sun, especially for tiny new propagations.
- Troubleshooting: The most common issue you’ll face is rot. This is almost always due to overwatering or poor drainage. If you see a bulb becoming soft, mushy, or developing dark spots, it’s likely succumbing to rot. Unfortunately, there’s rarely anything you can do to save a truly rotted bulb. The best prevention is good drainage and a light hand with the watering can. If a propagated bulb simply doesn’t sprout, it might not have had enough stored energy, or perhaps the conditions weren’t quite right. Don’t be discouraged; just try again next year!
There you have it! Propagating Allium aschersonianum through division is a straightforward process that yields beautiful results. Be patient with your new plants. They might take a season to reach their full glory, but watching them grow from your efforts is one of the greatest joys of gardening. Happy propagating, and enjoy the beauty you’re creating!
Resource:
https://identify.plantnet.org/k-world-flora/species/Allium%20aschersonianum%20Barbey/data