Hello, fellow garden enthusiasts! Today, I want to chat about a truly delightful plant that often flies under the radar: Allium ascalonicum, more commonly known as shallots. These aren’t your everyday onions; they have a milder, sweeter flavor and grow in charming clusters. Propagating them yourself is incredibly rewarding, and thankfully, it’s a wonderfully forgiving process, even for those just dipping their toes into the world of plant propagation. Think of it as multiplying your kitchen garden magic with minimal fuss!
The Best Time to Start
The sweet spot for multiplying your shallots really comes down to their natural life cycle. You’ll get the best results if you aim to divide your shallot bulbs in late summer or early autumn, just as they’re finishing up their growing season. This is when they’ve stored up plenty of energy and are ready to be separated and planted out for the next year.
Supplies You’ll Need
Here’s what you’ll want to have on hand to make the process smooth sailing:
- Mature Shallot Bulbs: Healthy ones you’ve harvested or purchased.
- Sharp, Clean Knife or Trowel: For separating the bulbs.
- Well-Draining Potting Mix: A good quality mix with plenty of aeration is key. I often add a little perlite or coarse sand.
- Small Pots or Garden Beds: Ready to receive your new shallot divisions.
- Watering Can: With a gentle spray nozzle.
Propagation Methods
For shallots, the primary and most straightforward method is division. It’s marvelously simple!
- Harvest and Clean (if necessary): If you’re using bulbs you’ve just harvested, gently brush off excess soil. If they’ve been stored for a while and look a bit dry, that’s perfectly fine.
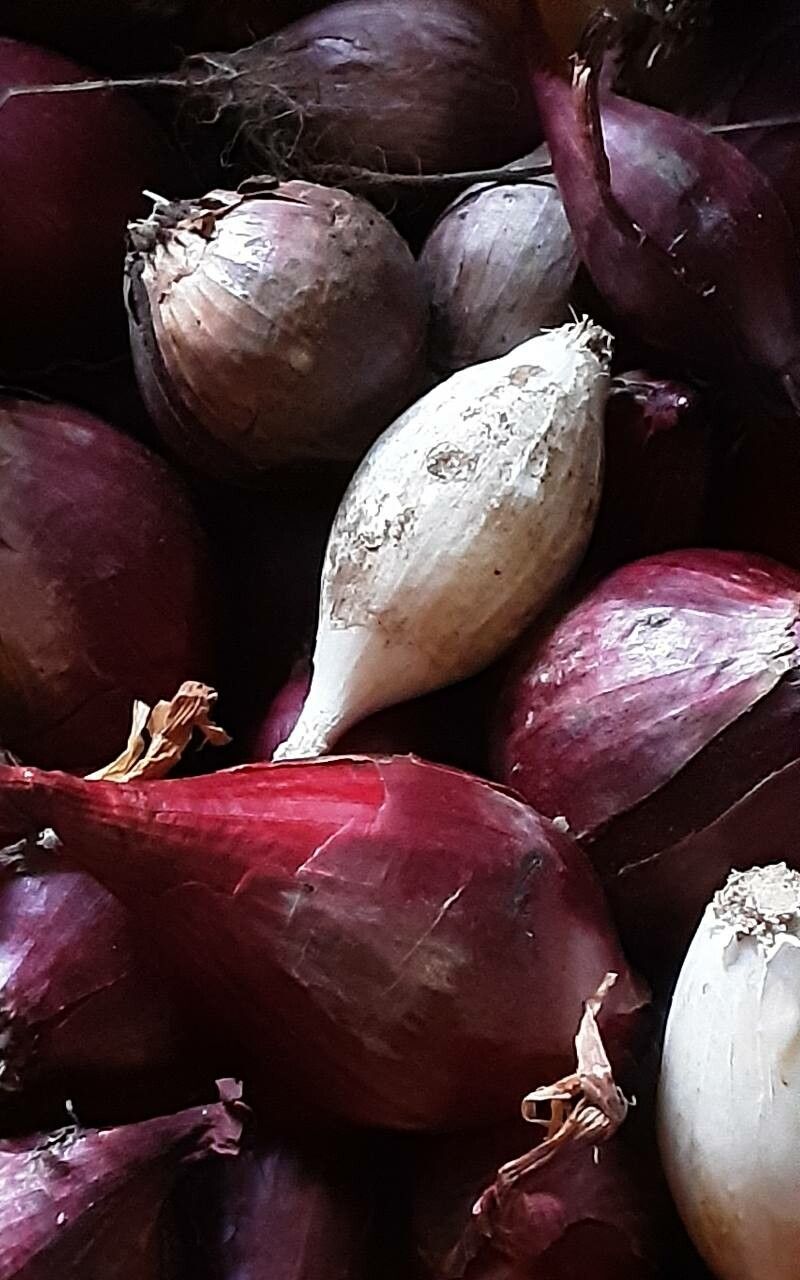
- Examine Your Clump: Pick up a shallot bulb. You’ll notice it’s likely composed of several smaller cloves clustered together. This is exactly what we want to work with.
- Gentle Separation: Using your clean knife or even just your fingers, carefully separate the individual cloves. Try to keep a bit of the basal plate (the very bottom part where roots emerge) intact on each clove. Don’t worry if a few of the outer layers peel away; the core is what matters.
- Planting Your Divisions:
- In Pots: Fill your pots with your well-draining mix. Plant each shallot clove about 2-3 inches deep, with the pointed end facing upwards. Space them a few inches apart so they have room to grow.
- In the Garden: Prepare your garden bed by loosening the soil and adding some compost. Plant the cloves at the same depth and spacing as you would in pots.
- Water Gently: Water the newly planted divisions thoroughly but gently to settle the soil around them.
The “Secret Sauce” (Pro Tips)
Now, for a couple of little tricks I’ve learned over the years that can boost your success:
- Don’t Overwork Them: When you’re separating the cloves, be firm but gentle. If you rip them apart too roughly, you can damage the growing point. Think of it as a polite separation, not a wrestling match!
- Plant Them Soon: Shallot cloves don’t store indefinitely once separated. It’s best to plant them out within a few days of division for maximum vigor. If you have to wait a little longer, keep them in a cool, dry, dark place.
Aftercare & Troubleshooting
Once your shallots are planted, life gets pretty easy.
- Watering: Keep the soil consistently moist, but not soggy. Regular watering, especially during dry spells, will encourage good root development.
- Sunlight: They love sunshine, so make sure they’re planted in a spot that gets at least 6-8 hours of direct sun daily.
- Watch for Rot: The most common issue you might encounter is rot, usually caused by overwatering or poor drainage. If a clove turns mushy and black, it’s best to remove it promptly to prevent it from affecting neighboring plants. Ensure your soil drains well! If you see signs of new green shoots emerging, that’s a great indicator that all is well.
So there you have it – a simple and incredibly satisfying way to multiply your shallot supply. Gardening is all about patience and observation, and with shallots, you’ll be rewarded with delicious harvests and the joy of growing your own. Happy propagating!
Resource:
https://identify.plantnet.org/k-world-flora/species/Allium%20ascalonicum%20L./data