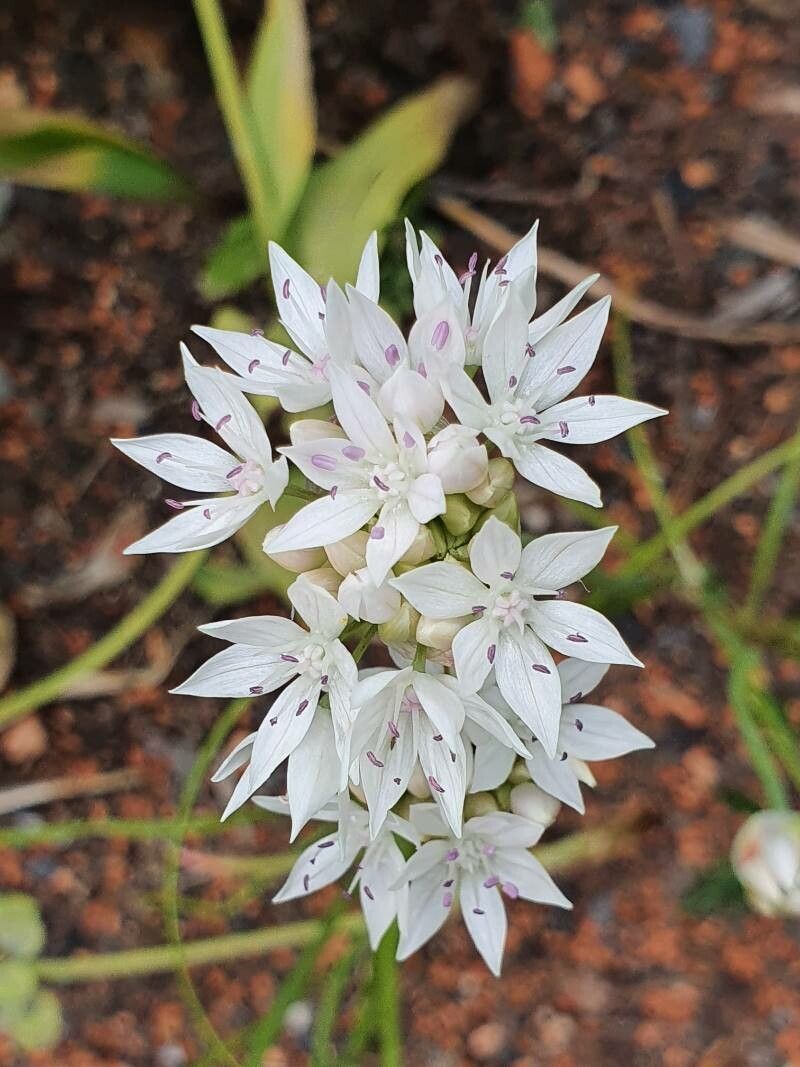
Oh, Allium amblectens! What a charming little onion relative. I’ve always loved their delicate, nodding blooms and the lovely grassy foliage. They bring such a sweet, informal touch to just about any garden space, whether you’re tucking them into a sunny border or letting them cascade from a hanging basket. And honestly, propagating them? It’s a truly satisfying endeavor. You get to create more of that floral magic, and in my experience, it’s a remarkably easy plant to work with, even for those just dipping their toes into the world of plant propagation.
The Best Time to Start
When it comes to getting the most bang for your buck with Allium amblectens, after flowering and as the foliage begins to yellow and die back is your prime time. This is typically late spring to early summer, depending on your climate. The plant is naturally going dormant, preparing to regroup, and that’s the perfect moment to get busy with divisions.
Supplies You’ll Need
Here’s what you’ll want to have on hand for a successful propagation session:
- Well-draining potting mix: A good quality blend with plenty of perlite or grit is essential. You want air to reach those roots!
- Clean trowel or small spade: For gently separating the bulbs.
- Pruning shears or a sharp knife: For tidying up any damaged roots or foliage. Make sure they’re sterilized with rubbing alcohol.
- Gloves: Optional, but I find they help keep my hands clean and prevent any minor nicks.
- Small pots or trays: For repotting your new divisions.
- Watering can with a fine rose: To give your newly planted babies a gentle drink.
Propagation Methods
The primary and most successful way to propagate Allium amblectens is through division. These plants naturally form clumps of bulbs, and separating them is straightforward.
- Gently Unearth: Dig carefully around the base of the parent plant. You want to lift the entire clump out of the ground without damaging the bulbs. If the soil is packed tightly, it’s sometimes easier to do this just after a rain.
- Loosen the Earth: Gently shake off excess soil from the root ball. You’ll immediately see how the bulbs are clustered together.
- Separate the Divisions: Here’s where you get to be a bit hands-on. Gently pull the bulbs apart. Most of the time, they’ll naturally separate with a bit of coaxing. If they’re stubbornly attached, use your sterilized pruning shears or knife to carefully cut between them. Aim to have at least one healthy bulb and some attached roots per division.
- Tidy Up: Trim away any old, dead foliage or any roots that look mushy or damaged. This encourages the plant to put energy into new growth.
- Replant: Pot each division into its own small pot filled with your well-draining potting mix. Plant them so that the tops of the bulbs are just at or slightly below the soil surface.
The “Secret Sauce” (Pro Tips)
Now, for a couple of little tricks I’ve picked up over the years:
- Let Them Breathe: After you’ve divided your Allium amblectens, resist the urge to plant them immediately. Let the divisions sit out of direct sun for a day or two. This allows any small cuts on the bulbs to callus over, which helps prevent rot and disease. It’s a small step, but it makes a big difference.
- The Initial Soak: When you do replant them, give them a thorough but gentle watering. I like to water from the bottom if they’re in pots, letting the pot sit in a shallow tray of water. This encourages the roots to reach down, rather than spreading out shallowly.
Aftercare & Troubleshooting
Once your new Allium amblectens divisions are planted, keep them in a bright spot out of scorching direct sun. Water them whenever the top inch of soil feels dry. You’re looking for signs of new leaf growth.
The main thing to watch out for is rot. If you see stems turning yellow and mushy right at the soil line, or if bulbs become soft and black, it’s usually a sign of too much moisture or poor drainage. Don’t overwater! If a division doesn’t seem to be taking off within a few weeks, don’t fret. Some plants are just a little slower to get going. Remove any rotting material immediately.
A Warm Welcome Home
And there you have it! Propagating Allium amblectens is a wonderfully rewarding practice. Be patient with your new plants; they’ll thank you for it by gracing your garden with their beauty for seasons to come. Happy planting!
Resource:
https://identify.plantnet.org/k-world-flora/species/Allium%20amplectens%20Torr./data