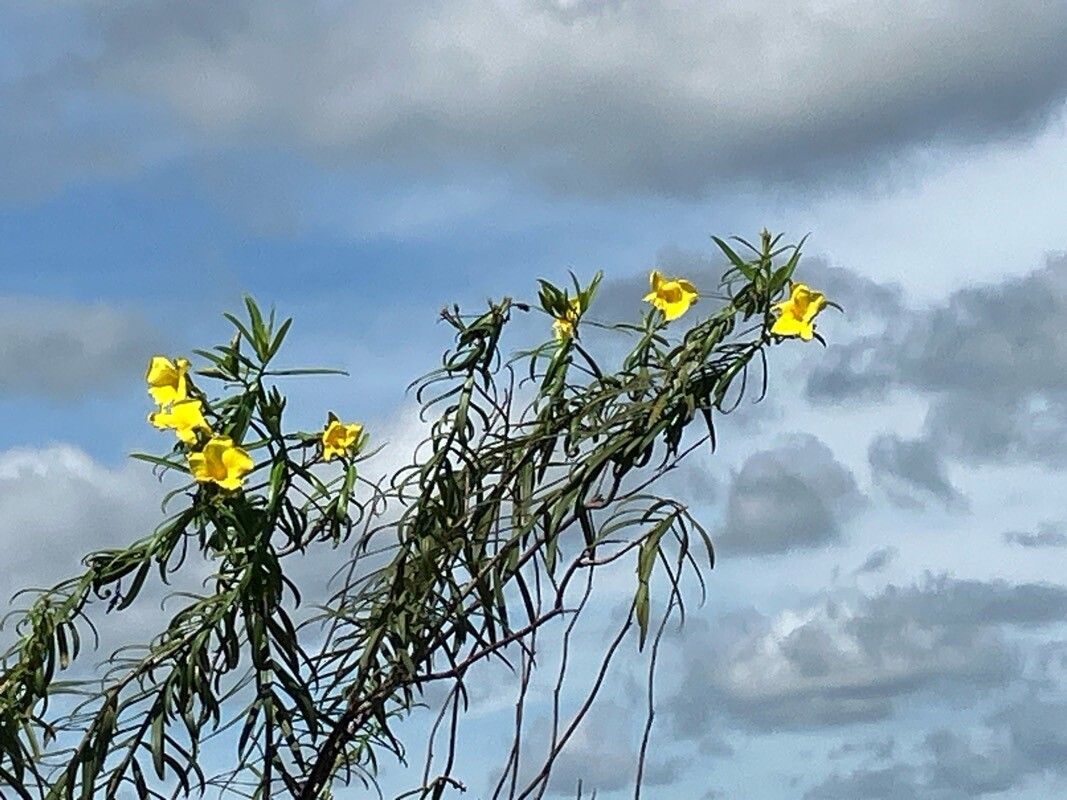
Ah, Allamanda angustifolia! It’s one of those beauties, isn’t it? Those vibrant, trumpet-shaped flowers in glorious shades of yellow are just pure sunshine in the garden. And guess what? Bringing more of that sunshine into your life by propagating it yourself is incredibly rewarding. You get to watch a tiny piece of a plant transform into something magical. For most gardeners, Allamanda is a pretty forgiving plant, and propagating it isn’t an insurmountable challenge at all. I think you’ll find it quite enjoyable, honestly!
The Best Time to Start
The sweet spot for propagating Allamanda angustifolia is definitely during its active growing season. Think late spring through summer. That’s when the plant has plenty of energy, and the warmer temperatures really help those cuttings get going. You’ll want to select stems that are mature but not woody. They should be firm to the touch, a nice green color, and snapped easily if you were to bend them. Avoid brand-new, flimsy growth or branches that are turning brown and tough.
Supplies You’ll Need
Here’s what I always have on hand when I’m looking to create more of these lovely Allamandas:
- Sharp Pruning Shears or a Craft Knife: Cleanliness is key!
- Rooting Hormone (Optional but Recommended): Look for one with IBA (indole-3-butyric acid).
- Small Pots or Seed Starting Trays: With drainage holes, of course.
- Well-Draining Potting Mix: A good blend of peat moss, perlite, and vermiculite works wonders. You can also use a specific succulent or cactus mix.
- Small Stake or Pencil: To make a handy planting hole.
- Plastic Bag or Clear Dome: To create a humid environment.
- Spray Bottle: For misting.
Propagation Methods
My go-to for Allamanda angustifolia is stem cuttings. It’s reliable and usually provides excellent results.
- Select Your Cuttings: Find a healthy, non-flowering stem. You’re looking for pieces that are about 4-6 inches long. Make a clean cut just below a leaf node (where the leaf attaches to the stem). This is where the magic of rooting usually happens.
- Prepare the Cuttings: Gently remove the lower leaves from the stem, leaving just a couple of leaves at the very top. This prevents them from rotting once planted. If your cuttings are very long, you can even cut the remaining leaves in half to reduce water loss through transpiration.
- Apply Rooting Hormone (If Using): Dip the cut end of the stem into your rooting hormone powder, giving it a gentle tap to shake off any excess. This helps stimulate root development.
- Potting Up: Fill your pots with your well-draining potting mix. Use your pencil or stake to poke a hole deep enough to accommodate about a third of the cutting’s length.
- Planting: Gently insert the cutting into the hole, firming the soil gently around the base. You want it to stand upright.
- Create Humidity: Water the soil lightly, then cover the pot with a plastic bag or a clear dome. Make sure the plastic doesn’t touch the leaves too much. If it does, prop it up with a small stake.
The “Secret Sauce” (Pro Tips)
Here are a couple of things I’ve learned over the years that make a big difference:
- Keep Those Leaves High and Dry! When you’re using a plastic bag or dome, it’s crucial to ensure the top leaves aren’t constantly touching condensation. This is a fast track to fungal issues and rot. A little bit of air circulation is a good thing, so I often poke a few small holes in the plastic bag after the first day or two.
- Consider a Touch of Warmth: Allamandas love warmth, and that applies to their roots, too. If you have a heating mat designed for plant propagation, placing your pots on it can significantly speed up the rooting process. It’s like giving them a cozy warm bed to sprout in!
Aftercare & Troubleshooting
Once your cuttings are potted, place them in a location that receives bright, indirect light. Avoid direct, scorching sun, especially initially. Keep the soil consistently moist but not waterlogged. Think damp sponge, not a soggy mess.
You’ll know your cutting has rooted when you see new leaf growth appearing from the top. You can also give a very gentle tug; if there’s resistance, roots are forming! Once you see good signs of life, you can gradually acclimate them to lower humidity by removing the plastic cover for increasingly longer periods over a week.
The most common problem you’ll encounter is rot. If a cutting turns mushy and black, it’s usually a sign of too much moisture or not enough airflow. Don’t be discouraged if a few don’t make it; it’s part of the learning process! Just discard the rotten ones and try again.
A Encouraging Closing
Propagating Allamanda angustifolia is a simple joy. It’s a beautiful way to connect with your plants, share them with friends, or simply fill your garden with more of that fantastic yellow cheer. Be patient with the process, embrace the learning curve, and most importantly, have fun watching those little green shoots emerge. Happy propagating!
Resource:
https://identify.plantnet.org/k-world-flora/species/Allamanda%20angustifolia%20Pohl/data