Well hello there, fellow garden lover! I’m so glad you’ve stumbled upon my little corner of the internet, where we talk all things green and growing. Today, we’re diving into the delightful world of Alkanna lutea, also known as Golden Bugloss.
A Little Ray of Sunshine: Why Propagate Alkanna Lutea?
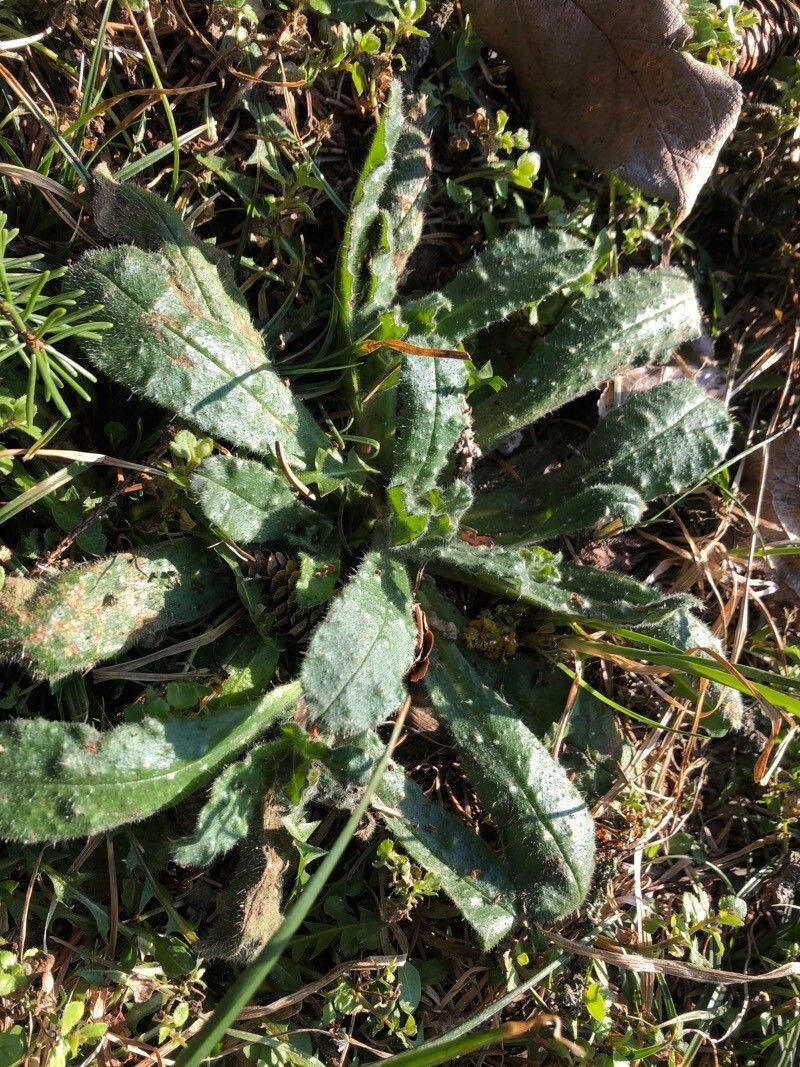
Honestly, Alkanna lutea is just a charmer. Its fuzzy, grey-green leaves are lovely on their own, but when it bursts forth with those bright, butter-yellow flowers, it truly lights up the garden. It’s like a little piece of sunshine! Propagating it yourself is incredibly rewarding. You get more of that cheerful color, and there’s a special kind of satisfaction in nurturing a tiny new plant from a parent you already adore.
Now, for the beginner gardener, I’d say Alkanna lutea is moderately easy to propagate. It’s not a fuss-pot, but it does appreciate a little attention to the right conditions. Don’t let that deter you, though – with a few key steps, you’ll be well on your way!
The Perfect Moment: When to Start
The sweet spot for propagating Alkanna lutea is typically late spring to early summer, right after the plant has finished its main flowering flush. You want to work with new, healthy growth that’s firm but not woody. Think of it as catching the plant at its most vigorous and ready to spring into action.
Your Toolkit for Success
Gathering the right supplies makes all the difference. Here’s what I usually have on hand:
- Sharp pruning shears or a clean knife: For making clean cuts.
- Rooting hormone (optional, but helpful): A gentle powder or gel can give new cuttings a good start.
- Well-draining potting mix: I like a blend of equal parts seed-starting mix and perlite or coarse sand. This is crucial to prevent soggy roots.
- Small pots or trays: Clean ones are important! About 3-4 inch pots are usually perfect.
- Plastic bags or a clear propagator lid: To create a humid environment.
- Labels and a marker: So you don’t forget what you’ve planted and when!
Bringing New Life: Propagation Methods
The most reliable way I’ve found to propagate Alkanna lutea is through stem cuttings. It’s pretty straightforward and gives excellent results.
- Select and Cut: On your healthiest Alkanna lutea plant, look for stems that are about 4-6 inches long with no flowers. Using your clean shears or knife, make a clean cut just below a leaf node. A leaf node is where a leaf attaches to the stem.
- Prepare the Cuttings: Carefully remove the lower leaves from the cutting, leaving just a few at the top. This prevents them from rotting when you plant them. If your cuttings are particularly long, you can even trim them in half, making sure each piece has at least one leaf node.
- Apply Rooting Hormone (Optional): If you’re using rooting hormone, dip the cut end of the stem into the powder or gel, tapping off any excess.
- Plant Your Cuttings: Moisten your well-draining potting mix. Then, firmly push the cut end of each cutting about an inch deep into the soil. I like to plant 2-3 cuttings per pot to increase my chances of success.
- Create Humidity: Gently water the soil to settle it around the cuttings. Then, cover the pot with a clear plastic bag or place it inside a propagator with a lid. This creates a mini-greenhouse effect, which is vital for preventing the cuttings from drying out.
The “Secret Sauce”: My Insider Tips
Here are a couple of things I’ve learned over the years that really give Alkanna lutea cuttings a boost:
- One of my absolute favorite tricks is to use bottom heat. Whether you have a heating mat specifically for plants or you place your pots on top of a warm appliance (like a router that stays gently warm), a little bit of warmth from below encourages root formation like magic. Just make sure the heat isn’t so intense that it bakes the soil.
- When you’re misting your cuttings or watering the soil, try not to let the leaves sit in water for too long. While humidity is great, standing water on the leaves can encourage fungal issues. I usually mist the air around them or water the soil directly.
Nurturing Your New Sprouts and What to Watch For
Once your cuttings are planted and covered, find them a spot with bright, indirect light. Avoid direct sun, as it can scorch those delicate new shoots. Keep the soil consistently moist but not waterlogged. You can lift the plastic or lid briefly every few days to allow for some air circulation.
You’ll know your cuttings have rooted when you see new leaf growth or feel a slight resistance when you gently tug on a stem. This usually takes anywhere from 3 to 6 weeks.
Don’t be discouraged if some cuttings don’t make it. It’s part of the process! The most common issue is rot, which is usually a sign of too much moisture and not enough air circulation. If you see a cutting turning mushy or black, unfortunately, it’s best to remove it before it affects others.
Happy Rooting!
Propagating Alkanna lutea is such a wonderful way to extend the joy of this beautiful plant. Be patient with your little cuttings – they’re working hard to establish themselves. Enjoy the process, celebrate every new leaf, and soon you’ll have a whole collection of these sunny darlings! Happy gardening!
Resource:
https://identify.plantnet.org/k-world-flora/species/Alkanna%20lutea%20A.DC./data