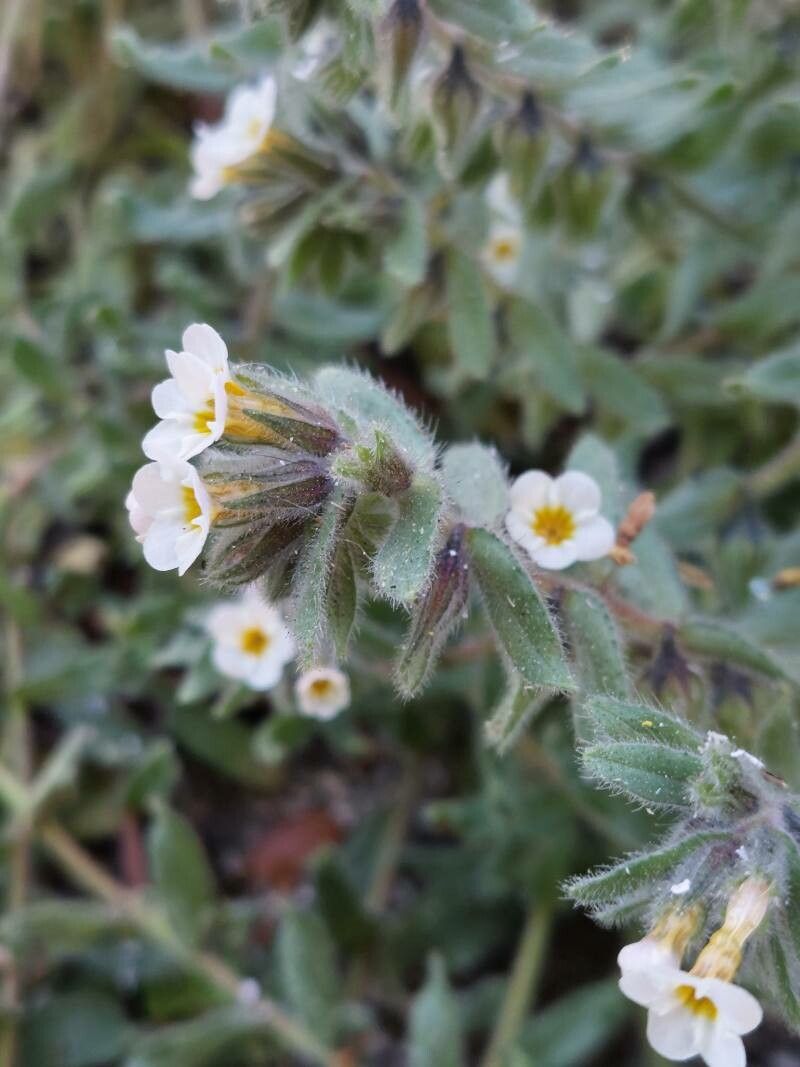
Hello fellow plant enthusiasts! Today, we’re diving into the charming world of Alkanna corcyrensis, a truly special plant that brings a touch of Mediterranean magic to our gardens. It’s that lovely little beauty with its fuzzy, silver foliage and delicate blue flowers that just makes you smile. And the best part? It’s incredibly rewarding to grow more of these beauties yourself. If you’re new to the propagation game, don’t fret! Alkanna corcyrensis is a pretty forgiving plant, making it a fantastic starter project for anyone looking to expand their green collection.
The Best Time to Start
For the highest success rate with Alkanna corcyrensis, spring is your golden ticket. This is when the plant is really waking up from its winter slumber and has the most energy to put into new growth. You’ll find it’s much easier to get cuttings to root and divisions to establish when the days are getting longer and the temperatures are warming up.
Supplies You’ll Need
To get our Alkanna propagation off to a great start, gather these handy tools:
- Sharp, clean pruning shears or scissors
- Small pots or seed trays
- A well-draining potting mix (I like a blend of 50% coco coir and 50% perlite, or a standard succulent/cactus mix works wonders)
- Rooting hormone powder (optional, but helpful!)
- A watering can with a fine rose
- A small trowel or dibber
- A clear plastic bag or propagation dome (for creating a mini-greenhouse effect)
Propagation Methods
Let’s get our hands dirty! Alkanna corcyrensis is quite amenable to a couple of common propagation methods.
Stem Cuttings
This is my go-to method for increasing my Alkanna stock.
- Select your stems: Look for healthy, non-flowering stems that are at least 3-4 inches long. They should be firm but not woody.
- Make the cut: Using your sharp pruning shears, take cuttings just below a leaf node (where a leaf emerges from the stem). This is a prime spot for root development.
- Prepare the cuttings: Gently remove the lower leaves, leaving just a few at the top. If your cutting is particularly long, you can even cut it in half, ensuring each piece has at least one or two leaf nodes.
- Apply rooting hormone (optional): If you’re using rooting hormone, dip the cut end into the powder, tapping off any excess.
- Plant the cuttings: Fill your small pots or trays with your well-draining potting mix. Make a small hole with your trowel or finger and insert the cutting, ensuring the leaf nodes are below the soil surface. Gently firm the soil around the base.
- Water gently: Give the soil a light watering to settle it around the cuttings.
Division
If your Alkanna plant has become a bit crowded, dividing it is a fantastic way to get more plants.
- Identify a mature plant: Choose a healthy, established plant.
- Gently dig it up: Carefully dig around the root ball and lift the plant from its pot or the ground.
- Separate the clumps: You’ll likely see several individual crowns or clumps. Gently pull or use your trowel to tease apart these clumps. Try to ensure each new division has a good amount of roots and at least one healthy shoot.
- Replant immediately: Plant each division into its own pot filled with well-draining potting mix, or back into the garden, ensuring the root crown is at soil level. Water thoroughly.
The “Secret Sauce” (Pro Tips)
Here are a couple of little tricks I’ve picked up over the years that really boost success:
- Air Circulation is Key: When you place your potted cuttings inside a plastic bag or under a dome, just slightly open it or poke a few small holes. Too much humidity without any airflow can lead to rot, and we definitely don’t want that!
- Bottom Heat is Your Friend: If you have a propagation mat or can place your pots on top of a sunny windowsill that gets warm from the sun, providing a little bottom heat can really encourage those roots to develop faster. It’s like a cozy little spa day for your cuttings!
Aftercare & Troubleshooting
Once your cuttings are planted, give them a good drink and place them in a bright location with indirect sunlight. Keep the soil consistently moist but not soggy. This is crucial.
You’ll know your cuttings are rooting when you see new growth appearing at the tips or when they resist a very gentle tug. This typically takes anywhere from 3-6 weeks. Once they have a good root system and are showing new development, you can gradually acclimate them to drier conditions and more direct light.
The most common issue you might encounter is rot. If you see your cuttings turning mushy or black at the base, it’s a sign of too much moisture or not enough air circulation. Don’t be discouraged if a few don’t make it; it’s all part of the learning process!
Just Keep Growing!
Propagating Alkanna corcyrensis is such a fulfilling way to share the joy of these beautiful plants. Be patient with your new babies, show them a little love, and don’t be afraid to experiment. Before you know it, you’ll have a whole collection of these delightful silver-leaved wonders. Happy propagating!
Resource:
https://identify.plantnet.org/k-world-flora/species/Alkanna%20corcyrensis%20Hayek/data