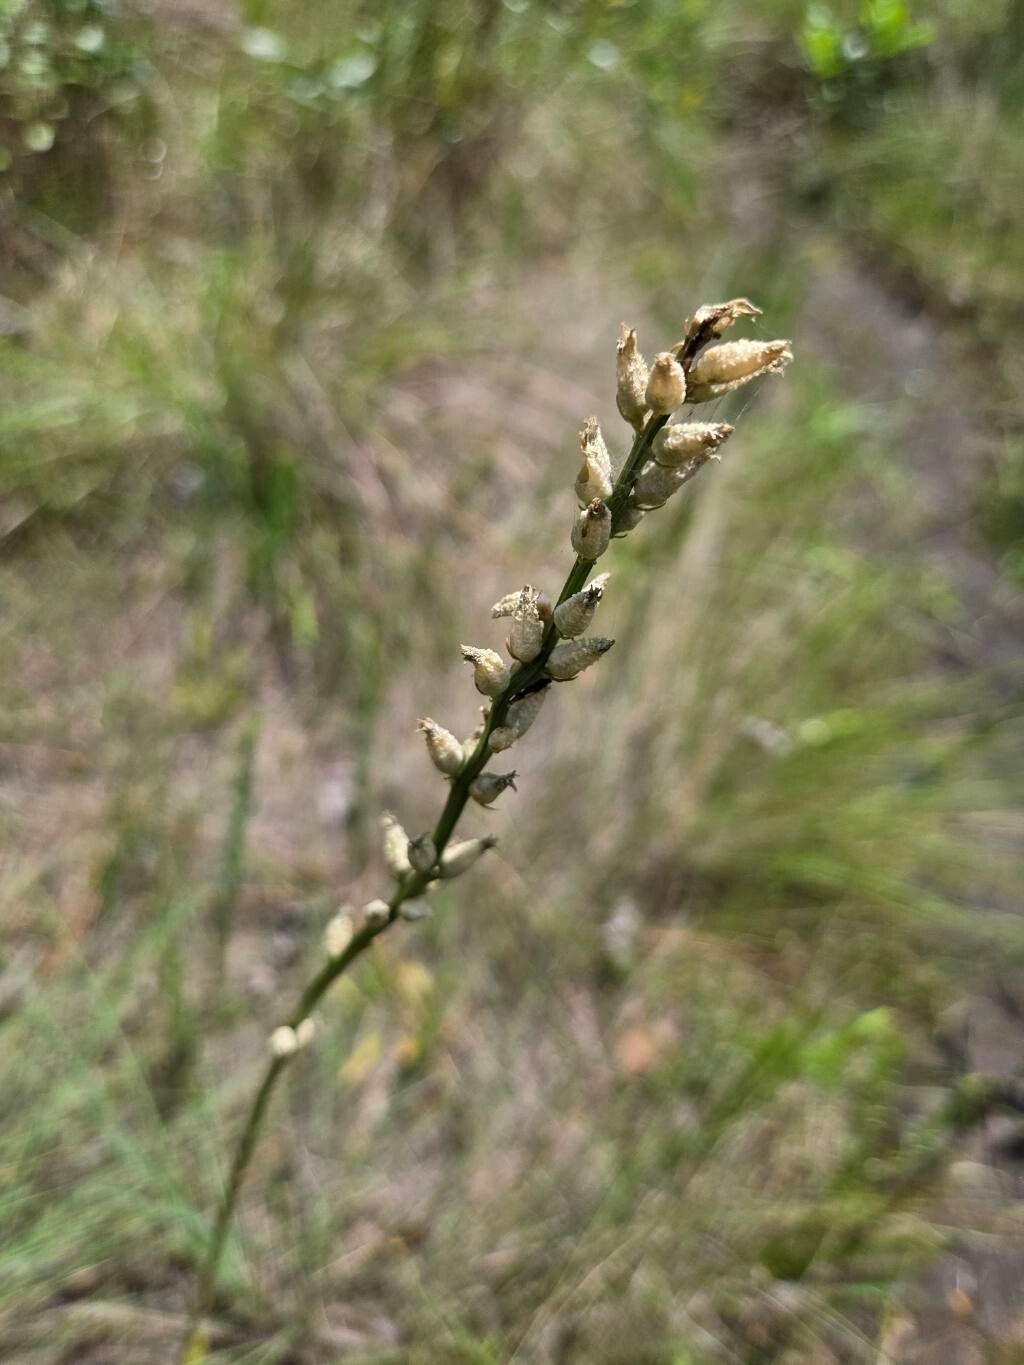
Hello fellow plant enthusiasts! I’m so glad you’ve stopped by. Today, we’re going to talk about a truly special native plant: Aletris farinosa, also known as the Stargrass or Colic Root. This beauty boasts elegant, star-like flower spikes that rise from a rosette of grassy leaves, offering a delicate charm to any garden. Propagating it is a wonderful way to fill your garden with these ethereal blooms and share them with friends. Now, I’ll be honest, Aletris farinosa isn’t the absolute easiest plant to propagate from scratch for a complete beginner. It takes a little attention to detail, but that’s what makes the success so incredibly rewarding!
The Best Time to Start
For Aletris farinosa, the sweet spot for propagation is generally late winter to early spring. This is when the plant is still relatively dormant, or just beginning to stir from its winter rest. Starting then gives your new plants a good long growing season to establish themselves before the heat of summer or the chill of autumn sets in. You’ll be looking for a plant that’s well-established and healthy.
Supplies You’ll Need
Gathering your supplies beforehand makes the whole process smoother. Here’s what I usually have on hand:
- Sharp, clean pruning shears or a knife: For making clean cuts.
- A good quality, well-draining potting mix: I prefer a blend of peat moss, perlite, and a bit of coarse sand. Aletris farinosa really dislikes soggy feet.
- Small pots or seed trays: Whatever you have that’s appropriate for the size of your cuttings or divisions. Drainage holes are a must!
- Watering can with a fine rose: To avoid disturbing delicate new roots.
- Rooting hormone (optional but helpful): Especially for stem cuttings.
- Labels and a permanent marker: To keep track of what you planted and when.
- A spray bottle: For misting.
Propagation Methods
While you can sometimes find seeds, propagating Aletris farinosa is most reliably done through division. This is where you split a mature plant into smaller, independent ones.
Method: Division
- Gently dig up the parent plant: You want to be as careful as possible to disturb the roots as little as you can. Use a trowel or a digging fork to loosen the soil around the plant. Once it’s loose, you can lift the entire clump out of the ground.
- Inspect the root ball: Gently brush away excess soil. Look for distinct crowns or sections of the plant where roots naturally divide. You might see new shoots pushing up from the base.
- Separate the divisions: This is the crucial part. You can often gently pull the clumps apart by hand. If the roots are a bit tangled, use your clean pruning shears or knife to carefully cut through them. Aim for divisions that have at least a few healthy roots and a couple of leafy shoots.
- Pot up your new plants: Fill your clean pots with your well-draining potting mix. Make a small hole in the center of the mix and place your division inside. Ensure the roots are spread out. Backfill with soil, firming gently around the base. The top of the root ball should be level with the soil surface.
The “Secret Sauce” (Pro Tips)
Here are a couple of things I’ve learned that can really make a difference:
- Don’t overwater divisons: This is probably the most common mistake! After potting, water thoroughly once, then allow the soil to dry out slightly between waterings. You want the soil to be consistently moist, but never soggy. Soggy conditions are a recipe for rot, and Aletris farinosa is particularly susceptible.
- Give them a quiet spot: Once you’ve divided and potted your plants, place them in a shady to partially shaded location. They don’t need direct, intense sun while they’re establishing. I like to give them a sheltered spot on a porch or in a greenhouse if I have one.
Aftercare & Troubleshooting
Once your divisions are potted, continue to water them as needed, checking the soil moisture regularly. A light misting can be beneficial if your environment is dry, but avoid waterlogged conditions.
Keep an eye out for any signs of trouble. Rot is your biggest enemy. You’ll know if rot is setting in if the leaves turn mushy, yellow, and then black, often starting from the base. If you see this, it’s usually a sign of too much moisture and poor air circulation. Unfortunately, once rot takes hold, it’s often difficult to save the plant. Wilting can also occur, but this is often a sign of underwatering, so check the soil first. Healthy new growth, tiny shoots emerging from the soil, is your sign of success!
A Encouraging Closing
Propagating Aletris farinosa might take a little patience, but observing those first signs of new growth is such a joy. Don’t be discouraged if your first attempt isn’t perfect; every gardener learns through experience. Enjoy the process of nurturing these delicate plants, and soon you’ll have more of these enchanting stargazers to grace your garden and share with fellow plant lovers. Happy gardening!
Resource:
https://identify.plantnet.org/k-world-flora/species/Aletris%20farinosa%20L./data