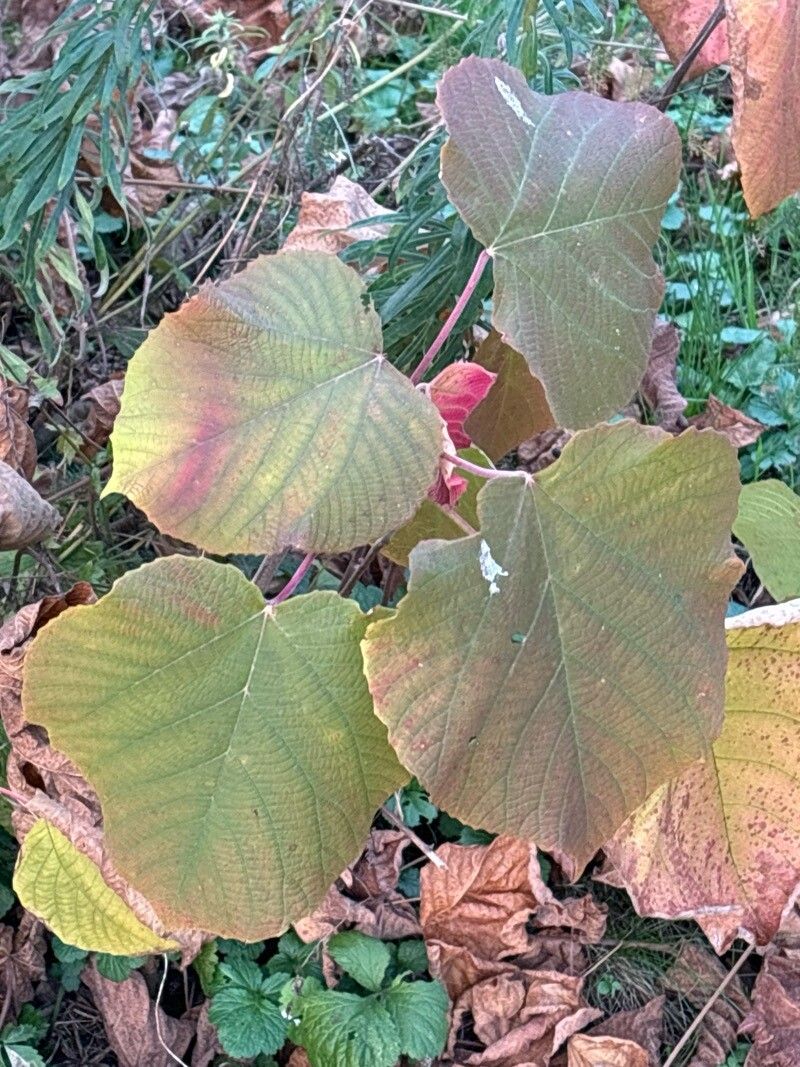
Oh, Alchornea davidii! What a treat that plant is. I’m so glad you’re interested in multiplying your collection. Believe me, there’s a special joy in watching a little twig transform into a whole new, thriving plant. It’s like magic, but it’s really just good gardening.
Why You’ll Love Propagating Alchornea davidii
This shrub, with its lovely leaves and often attractive growth habit, adds a real splash of green to the garden. Propagating it yourself means you can easily share this beauty with friends, fill in bare spots, or simply enjoy the satisfaction of creating more plant life from your existing specimens. And the best part? For those of you just dipping your toes into propagation waters, Alchornea davidii is generally quite forgiving. You might even call it beginner-friendly!
The Best Time to Start
For the highest chance of success, I always reach for my pruners in late spring to early summer. This is when the plant is in active growth, and the new growth is still a bit soft and pliable. This “semi-hardwood” stage is perfect for taking cuttings. Avoid trying to propagate from brand new, floppy growth or old, woody stems.
Supplies You’ll Need
Here’s what I gather before I begin:
- Sharp pruning shears or a clean knife: You want a cut that’s clean, not mashed.
- Rooting hormone: This is optional but can give your cuttings a really good boost. I prefer the powdered kind.
- Small pots or seed trays: Clean ones, please!
- A good potting mix: I like a blend of seed-starting mix and perlite (about a 50/50 ratio). This ensures good drainage, which is crucial.
- A plastic bag or propagator: This will create a humid environment for your cuttings.
- Water: For misting.
- A small spade or dibber: For making holes in the soil.
Propagation Methods: Stem Cuttings
Stem cuttings are my go-to for Alchornea davidii. It’s a straightforward method that usually yields great results.
- Take Your Cuttings: Select healthy stems from your Alchornea davidii. Look for those semi-hardwood shoots. Cut a stem about 4-6 inches long. Make your cut just below a leaf node (where a leaf attaches to the stem).
- Prepare the Cuttings: Gently remove the leaves from the lower half of the cutting. You want to expose those nodes, as that’s where roots will emerge. If the remaining leaves are very large, feel free to cut them in half to reduce water loss through transpiration.
- Apply Rooting Hormone (Optional): Dip the cut end of the stem into your rooting hormone. Just a light coating is fine. Tap off any excess.
- Pot Them Up: Fill your clean pots or trays with your prepared potting mix. Moisten the soil thoroughly. Use your dibber or a pencil to make a hole in the center of the pot.
- Insert the Cuttings: Carefully place the prepared cutting into the hole, making sure the nodes are below the soil surface. Gently firm the soil around the base of the cutting.
- Create Humidity: Once all your cuttings are planted, water them gently again. Then, cover the pots with a plastic bag or place them in a propagator. Make sure the leaves don’t touch the sides of the bag if possible, as this can encourage rot.
The “Secret Sauce” (Pro Tips)
These are a few little tricks I’ve learned over the years that really make a difference:
- Bottom Heat is Your Friend: If you have a heated propagator or can place your pots on a heat mat, this is a game-changer, especially if the weather is a bit cooler. It encourages root development from below.
- Don’t Disturb Them Too Soon: Resist the urge to peek constantly! Cuttings need time to settle and form roots. I usually wait at least 4-6 weeks before gently tugging on a cutting to see if it has resistance, indicating root formation.
- Cleanliness is Key: Everything you use – your pots, your hands, your tools – should be as clean as possible. This drastically reduces the chances of fungal diseases that can quickly kill your precious cuttings.
Aftercare & Troubleshooting
Once you see new leaf growth, it’s a great sign that roots are forming!
- Gradual Acclimation: If you’ve covered your cuttings with a plastic bag, gradually introduce them to drier air over a few days by opening the bag for longer periods.
- Watering: Keep the soil consistently moist but not waterlogged. You’ll learn to judge this by the weight of the pot and the feel of the soil.
- Hardening Off: Before planting them out permanently, you’ll need to harden them off. This means slowly getting them used to outdoor conditions by placing them in a sheltered spot for increasing amounts of time over a week or two.
The most common problem you might encounter is rot. This is usually due to overwatering or poor drainage. If a cutting looks mushy or black at the base, it’s likely lost. Don’t be discouraged! Just try again, focusing on that well-draining soil and being careful not to overwater.
Happy Propagating!
Watching those tiny roots emerge and the first new leaves unfurl is one of the most rewarding parts of gardening. Be patient with your Alchornea davidii cuttings. They have their own timetable, and with a little care and attention, you’ll soon have plenty of your own beautiful specimens to enjoy and share. Happy growing!
Resource:
https://identify.plantnet.org/k-world-flora/species/Alchornea%20davidii%20Franch./data