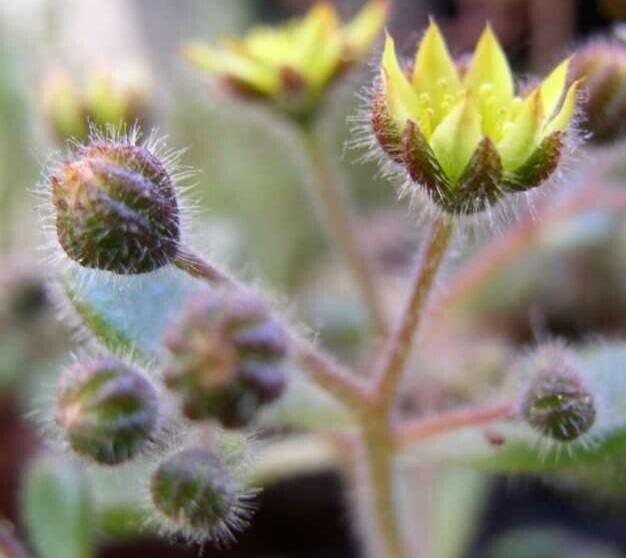
Hello there, fellow plant lovers! I’m so excited to chat with you today about one of my absolute garden delights: Aichryson villosum. If you’ve ever had the pleasure of seeing this little gem up close, you’ll know why I’m smitten. Its fuzzy, heart-shaped leaves are just darling, and it adds such a unique texture to any collection. Best of all, propagating it is a wonderfully rewarding experience, and I think even beginners can dive in with confidence. It’s a plant that’s eager to share its beauty!
The Best Time to Start
For the most robust growth and highest success rate, I find that late spring or early summer is your golden ticket for propagating Aichryson villosum. This is when the plant is actively growing after its winter rest, and those fresh, new stems are full of energy. You’ll get stronger cuttings and quicker root development then.
Supplies You’ll Need
Before we get our hands dirty, let’s gather our trusty tools:
- Sharp Pruning Shears or a Clean Knife: For making clean cuts.
- Well-Draining Potting Mix: I often use a mix of regular potting soil with added perlite or coarse sand to ensure good drainage. A cactus or succulent mix is also a great option.
- Small Pots or Trays: These should have drainage holes, of course!
- Rooting Hormone (Optional but Recommended): Helps speed up the rooting process, especially for beginners.
- Watering Can or Spray Bottle: For gently moistening the soil.
- Labels (Optional): To remind yourself when you started your cuttings!
Propagation Methods
Aichryson villosum is remarkably versatile, and I’ve had great luck with a couple of easy methods.
Stem Cuttings
This is my go-to for Aichryson villosum.
- Select Your Stem: Look for healthy, non-flowering stems. You want pieces that are at least 3-4 inches long.
- Make the Cut: Using your sharp shears or knife, make a clean cut just below a leaf node (where a leaf attaches to the stem). This is where roots are most likely to form.
- Prepare the Cutting: Gently remove the lower leaves. You want to expose a little of the stem so it can develop roots. You can even carefully remove a leaf or two from the very top if the stem is getting too crowded.
- Apply Rooting Hormone (Optional): If you’re using rooting hormone, dip the cut end into the powder or gel. Tap off any excess.
- Plant Your Cutting: Moisten your potting mix slightly. Make a small hole in the soil with your finger or a pencil and gently insert the cut end of the stem. Firm the soil around it so the cutting is stable.
- Water Gently: Give the soil a light watering, just enough to settle it around the cutting.
Water Propagation
This method is a bit more visual and can be really satisfying!
- Prepare the Cutting: Follow steps 1-3 from the stem cuttings method.
- Place in Water: Fill a small jar or glass with clean water. Make sure the water level is high enough to cover the exposed leaf nodes, but crucially, ensure none of the remaining leaves are submerged.
- Find a Spot: Place the jar in a bright spot with indirect light.
The “Secret Sauce” (Pro Tips)
Here are a couple of things I’ve learned over the years that really give your propagation efforts a boost:
- Air Flow is Key: When using stem cuttings in soil, I like to avoid overwatering like the plague. Soggy soil is the fastest way to invite rot. A good practice is to let the top inch of soil dry out completely between waterings. Give your cuttings some gentle air circulation too – a small fan on a low setting can make a big difference.
- Bottom Heat (Optional but Terrific): If you’re aiming for truly rapid root development, especially if your home is a bit cooler, a seedling heat mat can accelerate things considerably. Just place your pots on the mat. It provides gentle warmth from below, encouraging those roots to emerge.
Aftercare & Troubleshooting
Once you see those first tiny roots appearing (you might see them peeking out of the drainage holes or starting to grow in the water), your new Aichryson villosum is ready for a little more attention.
- For Water Cuttings: Once the roots are about an inch long, you can carefully transplant them into your well-draining potting mix. Treat them just like a newly potted cutting.
- For Soil Cuttings: Continue to water sparingly after rooting. Gradually introduce them to more light as they establish.
- Signs of Trouble: The most common issue you’ll encounter is rot. If your cutting turns black and mushy, it’s usually a sign of too much moisture. Don’t be discouraged if one or two don’t make it; it happens to all of us! If your stem looks shriveled and dry, it might need a little more consistent moisture, but be careful not to overdo it.
It takes patience, my friends, but seeing those little roots develop into a whole new plant is incredibly satisfying. Don’t be afraid to experiment a little, and most importantly, enjoy the process of nurturing new life. Happy propagating!
Resource: