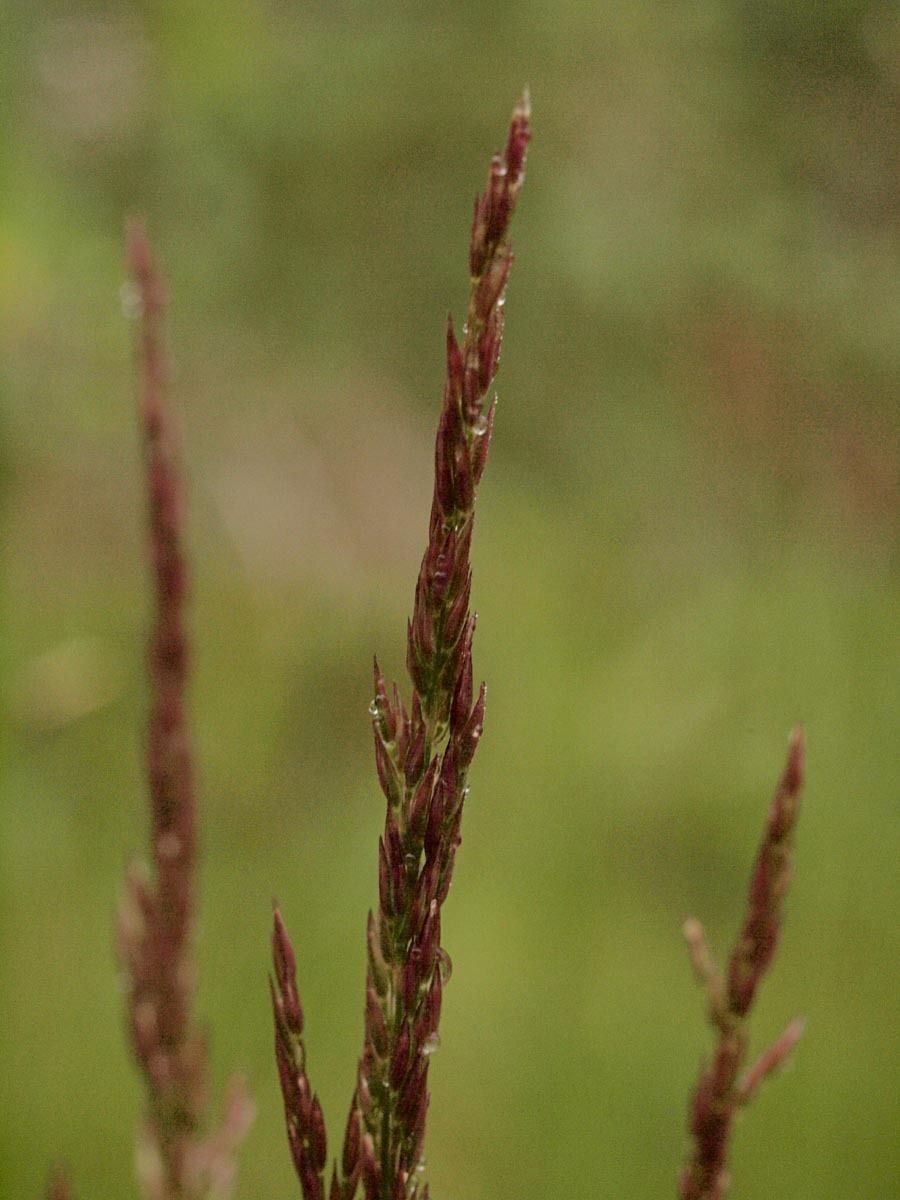
Well hello there, fellow plant admirer! I’m so glad you’ve stopped by today. We’re going to dive into the wonderful world of propagating Agrostis variabilis, or as some of us affectionately call it, “Variable Bentgrass.” This lovely grass brings such delicate texture and movement to a garden. Its fine blades, often with subtle color variations, can create a soft, ethereal feel. And the best part? Successfully propagating it yourself is incredibly satisfying. While it might have a tiny bit of a learning curve, I promise it’s well within reach for even the most enthusiastic beginner.
The Best Time to Start
You’ll get the best results when you start propagating Agrostis variabilis in late spring or early summer. This is when the plant is actively growing and has a good reserve of energy for putting out new roots. You can also try in early autumn, but spring is usually your safest bet for robust new growth. Look for healthy, vigorous stems that are just starting to firm up – not too leggy and not too old.
Supplies You’ll Need
Gathering your tools beforehand makes the whole process smoother. Here’s what I usually have on hand:
- Sharp, clean pruning shears or a sharp knife: You want a clean cut to prevent disease.
- Seed-starting mix or a well-draining potting mix: I often use a blend of peat moss, perlite, and a bit of compost. You want something that drains beautifully.
- Small pots or trays: Choose ones with drainage holes.
- Rooting hormone powder or gel (optional but helpful): This can give your cuttings a little boost.
- Watering can with a fine rose or a spray bottle: For gentle watering.
- A clear plastic bag or humidity dome: To create a mini-greenhouse effect.
- Labels and a permanent marker: So you don’t forget what you’ve planted where!
Propagation Methods: Let’s Get Our Hands Dirty!
For Agrostis variabilis, division is by far the easiest and most successful method. While stem cuttings can work, they’re a bit more fiddly with grasses. So, we’ll focus on a tried-and-true technique.
Method: Division
This is like giving your plant a little haircut and a fresh start!
- Gently excavate: First, carefully dig up the parent plant from its pot or garden bed. Try to disturb the root ball as little as possible. I usually use my hands or a trowel to loosen the soil around the edges.
- Clean the roots (partially): Gently shake off some of the excess soil. You don’t need to get every speck off, just enough to see where the plant’s natural divisions are.
- Identify the divisions: Look for natural breaks in the root system and foliage. You’ll often see clumps that are clearly separate from each other.
- Separate the clumps: This is the core of division! You can use your hands to gently pull the clumps apart. For tougher divisions, your sharp pruning shears or knife can come in handy. Aim for sections that have both healthy roots and some leafy shoots.
- Pot them up: Pot each division into its own pot filled with your well-draining potting mix. Make sure the base of the plant is at soil level, just as it was before.
- Water gently: Water thoroughly but gently. You want to settle the soil around the roots.
The “Secret Sauce” (Pro Tips)
After years of gardening, you learn a few tricks that make all the difference. Here are a couple of my favorites for grass propagation:
- Don’t drown it! While we want to keep the soil moist, overly soggy conditions are the fastest way to rot your divisions. Ensure excellent drainage and water only when the top-most layer of soil feels dry.
- Mimic a humid environment: After potting, I always pop a clear plastic bag over the pots or place them under a humidity dome. This creates a humid microclimate that helps the divisions conserve moisture while they establish their new root systems. Just be sure to lift the bag daily for a few minutes to allow for air circulation and prevent fungal issues.
Aftercare & Troubleshooting
Once your divisions are potted up, keep them in a bright, indirect light location. Avoid harsh, direct sun initially, as it can scorch delicate new growth. Continue to water when the soil feels dry to the touch.
You’ll know your divisions are happy when you start to see new, fresh green shoots emerging. This usually happens within a few weeks.
What if things go wrong? The most common culprit is rot. Signs of rot include wilting, yellowing leaves, and a mushy base. If you see this, it’s likely due to overwatering. You might be able to save it by carefully removing the affected part and allowing it to dry out a bit more, but often it’s a tough battle once rot sets in. Prevention is key here – good drainage and mindful watering are your best friends.
Happy Propagating!
See? It’s not so intimidating, is it? Propagating Agrostis variabilis through division is a rewarding way to expand your collection of this beautiful grass. Be patient, observe your new plants, and don’t be afraid to get your hands dirty. The joy of watching a tiny division grow into a lush clump is truly special. Happy gardening, my friend!
Resource:
https://identify.plantnet.org/k-world-flora/species/Agrostis%20variabilis%20Rydb./data