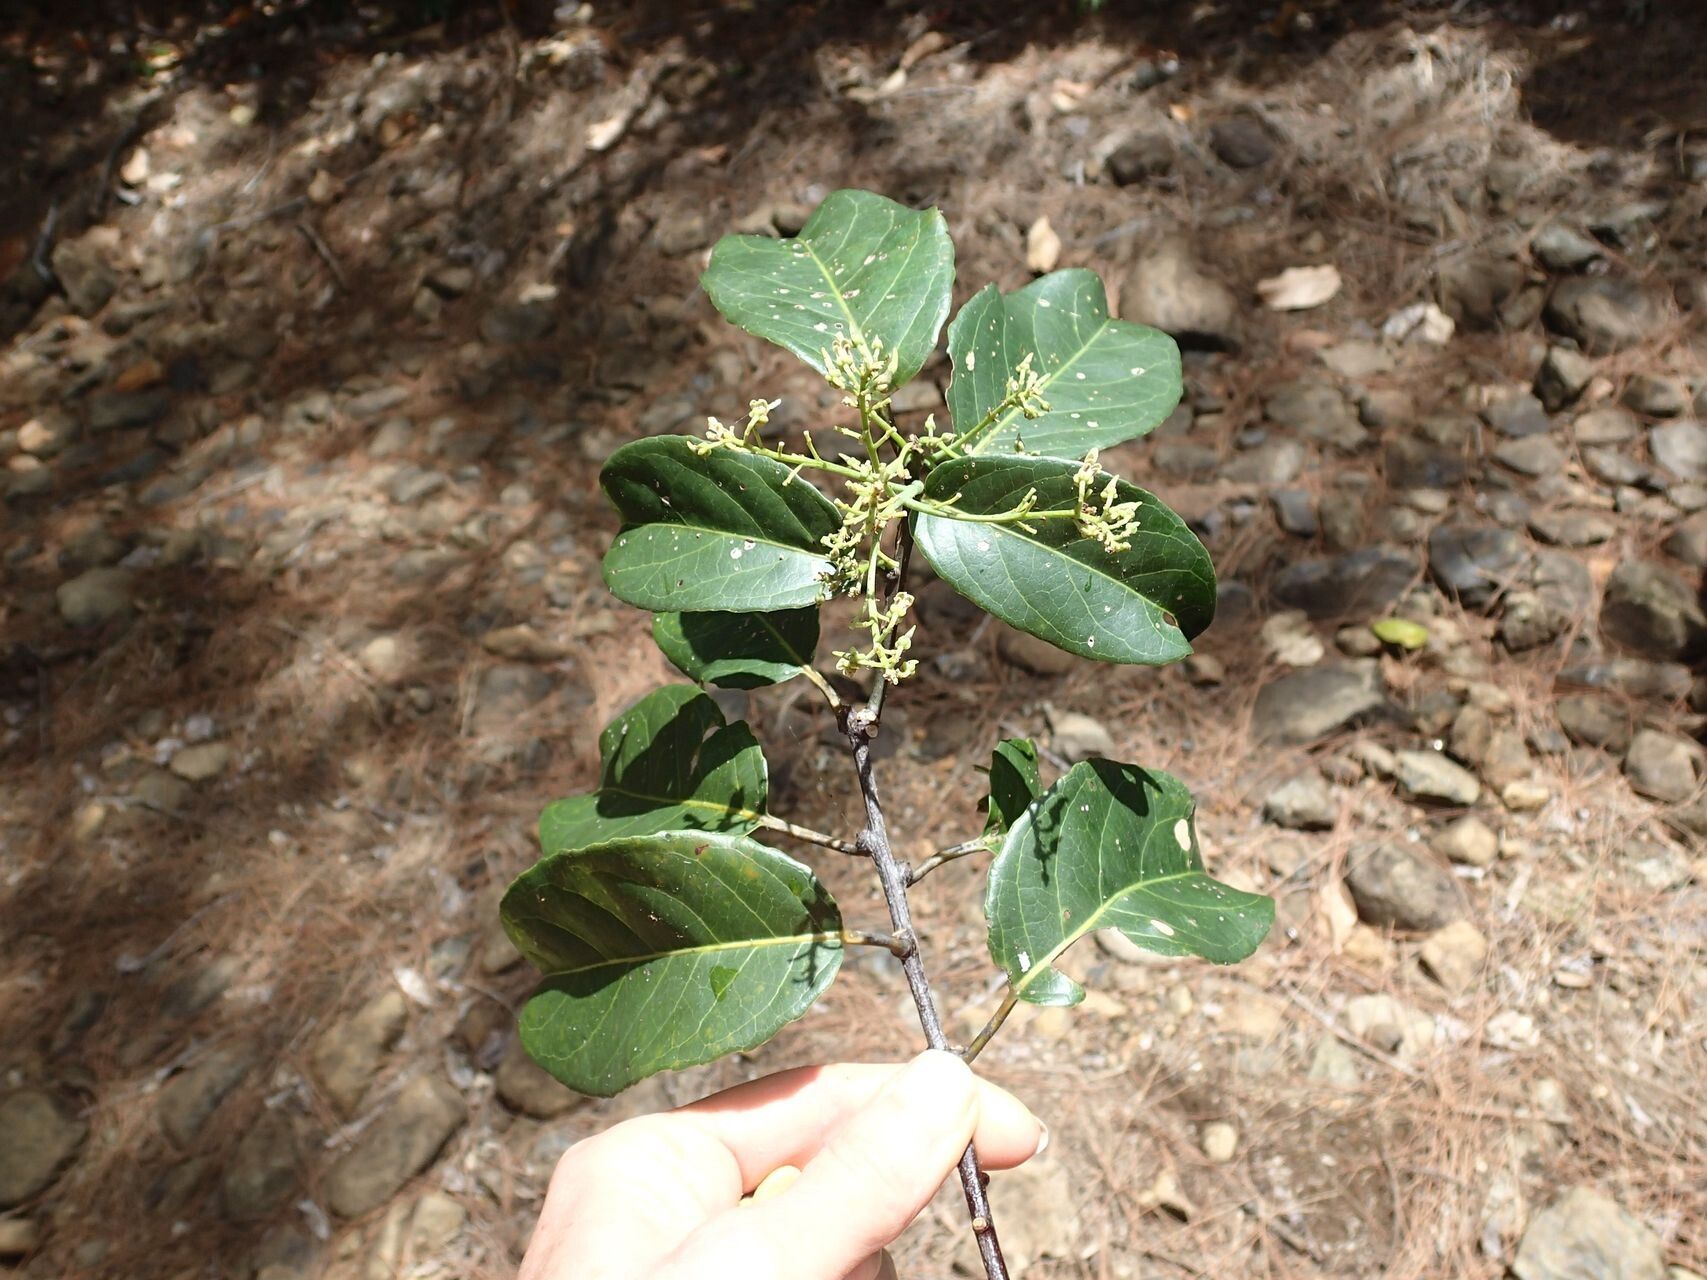
Oh, I’m so glad you’re interested in Agatea pancheri! This is a truly gorgeous plant, isn’t it? With its lovely blue-green foliage and delicate flowers, it really adds a touch of understated elegance to any garden. And the best part? You can easily create more of them! Propagating Agatea is a wonderfully rewarding experience, and I’m happy to share how I do it. If you’re new to the plant world, don’t worry. Agatea is generally quite forgiving, making it a great choice for beginners looking to expand their collection.
The Best Time to Start
For the highest success rate with Agatea pancheri, I aim to take cuttings in late spring or early summer. This is when the plant is actively growing and has plenty of energy to put into developing new roots. You want to take cuttings from healthy, new growth – those slightly soft, yet firm stems. Avoid any woody or leggy bits.
Supplies You’ll Need
Here’s what you’ll want to have on hand before you get started:
- Sharp Pruning Shears or a Knife: Make sure they’re clean to prevent disease.
- Rooting Hormone (Optional but Recommended): A little powder or gel can give your cuttings a real boost.
- Well-Draining Potting Mix: I like a blend of perlite, peat moss, and a bit of compost. You can also find specific propagation mixes.
- Small Pots or Seed Trays: About 4-inch pots are usually a good size for cuttings.
- Clear Plastic Bag or Dome: This creates a humid environment for your cuttings.
- Water: For watering and, if you choose, for water propagation.
- Patience!
Propagation Methods
Agatea pancheri is really quite versatile when it comes to propagation. I’ve had great luck with both stem cuttings and division.
Stem Cuttings: My Go-To Method
- Select and Cut: Find a healthy, non-flowering stem that is about 4-6 inches long. Using your clean shears, make a clean cut just below a leaf node. A leaf node is where a leaf attaches to the stem.
- Prepare the Cutting: Gently remove the lower leaves from the cutting, leaving just a couple of leaves at the top. This helps the plant focus its energy on rooting rather than trying to sustain too many leaves.
- Apply Rooting Hormone (Optional): If you’re using rooting hormone, dip the cut end into the powder or gel. Tap off any excess.
- Plant the Cutting: Make a small hole in your well-draining potting mix with a pencil or your finger. Insert the cutting so that a few leaf nodes are buried in the soil. Gently firm the soil around the stem.
- Water and Cover: Water the cutting gently so the soil is moist but not soggy. Then, cover the pot with a clear plastic bag or a propagator lid to maintain high humidity. Make sure the leaves aren’t touching the plastic if possible.
- Find a Bright Spot: Place the pot in a location with bright, indirect light. Avoid direct sunlight, which can scorch the delicate cuttings.
- Be Patient: Keep the soil consistently moist, but not waterlogged. You should start to see signs of new growth within a few weeks.
Water Propagation: The Simple Choice
If you’re feeling a bit more experimental or just want a super simple method, try water propagation!
- Prepare the Cutting: Follow steps 1 and 2 from the stem cutting method.
- Place in Water: Place the cutting in a jar or glass of water, ensuring the leaf nodes (where you removed leaves) are submerged.
- Change Water Regularly: Change the water every few days to keep it fresh and prevent bacterial growth.
- Watch for Roots: You’ll start to see tiny roots emerge from the leaf nodes. Once the roots are about an inch long, you can transplant them into your potting mix as described in step 4 of the stem cutting method.
Division: For Established Plants
If you have a mature Agatea pancheri that’s looking a bit crowded, division is a great way to get new plants and give your mother plant a refresh.
- Gently Remove from Pot: Carefully ease the plant out of its pot.
- Inspect the Root Ball: You’ll see clumps of roots. Gently tease apart the root ball with your fingers or a clean trowel. You want to separate sections that have both roots and shoots.
- Pot Up Separately: Plant each division into its own pot with fresh, well-draining soil. Water well.
The “Secret Sauce” (Pro Tips)
Here are a couple of little tricks I’ve learned over the years that really make a difference:
- Bottom Heat is Your Friend: If you can, place your pots on a heat mat or a warm surface (like the top of a refrigerator). This warmth encourages root development significantly. It’s like giving the roots a warm hug to get them going!
- Don’t Drown Your Cuttings: While humidity is crucial, soggy soil is the enemy. It can lead to rot. I always tell people to water until it drains from the bottom, then wait until the top inch of soil feels dry before watering again. A light misting of the leaves inside the plastic tent can help maintain humidity without waterlogging the soil.
Aftercare & Troubleshooting
Once you see new leaves emerging, that’s a great sign your Agatea has rooted! Gradually acclimatize your new plant to less humidity. You can start by opening the plastic bag or dome for a few hours each day. Continue to keep the soil consistently moist, and feed with a diluted liquid fertilizer once a month once it’s established.
The most common issue you might run into is rot. If you see your cutting turning black and mushy, it’s likely too much moisture. Unfortunately, it’s usually a goner. The best prevention is good drainage and not overwatering. If you see wilting, it could be underwatering, or sometimes shock from transplanting.
A Encouraging Closing
Propagating plants is a journey, and it’s all about learning and enjoying the process. Don’t be discouraged if every cutting doesn’t take. Keep experimenting, keep observing your plants, and celebrate every success. Happy propagating!
Resource: